Attachments are the cheapest, fastest way to turn a stock gun into a meta gun in ARC Raiders. The same Renegade that sprays all over the screen with no mods becomes a laser the moment you bolt on the right stock and muzzle — and the difference shows up immediately in how many fights you win Topside. This guide covers every weapon mod slot, the exact stat each tier gives you, where to get mods, and the best attachment loadouts to run for PvP and against ARC machines.
Quick answer (TLDR): The best all-round attachment package on most ARC Raiders guns is Compensator + Stable Stock + an Extended Magazine, with a Muzzle Brake or Vertical Grip if you need raw recoil control instead of dispersion. If you only have resources for one upgrade, build Stable Stock III first — at Tier III it cuts both recoil and dispersion recovery by 50%, the single biggest stability gain in the game. Read on for the full slot-by-slot breakdown, exact numbers, and per-gun loadouts.
ARC Raiders - Blueprints
Get blueprints in 10 minutes
Why attachments matter in ARC Raiders
Every gun you craft has empty mod slots, and filling them is the highest-value-per-coin upgrade in the game. Unlike augments (one per Raider, locked once you deploy) or shields, attachments are flexible, comparatively cheap, and stack: a few mods can swing a weapon's effective range, recoil, mag size and noise all at once. In a game where you lose everything you're carrying when you die unless it's in your safe pocket, winning the first engagement matters — and a properly modded gun wins more first engagements.
There's also a smart-economy angle. A Renegade IV with green (uncommon) attachments often out-performs a Renegade II stacked with purple (rare) mods, because the base weapon's stats scale harder than the mod bonuses. So the right play isn't "buy the rarest mods" — it's "upgrade the weapon first, then fill the slots with mods that fix that gun's specific weakness." Below we break down every slot so you know exactly which weakness each mod fixes.
How weapon mods work
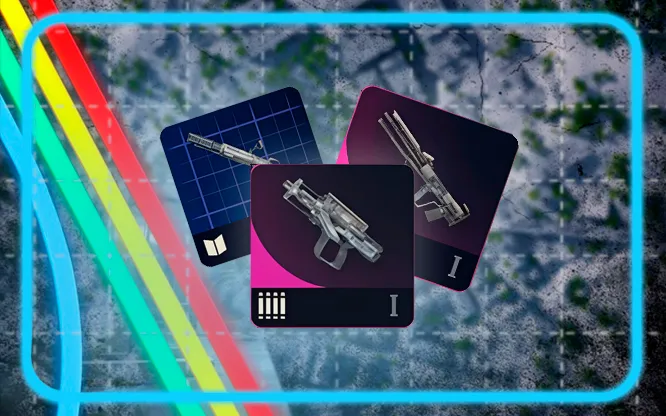
The 7 mod slots
ARC Raiders weapons use seven mod slot types (not every gun has every slot):
- Muzzle — Compensator, Muzzle Brake, Extended Barrel, Silencer (and Shotgun Choke on shotguns)
- Underbarrel (Grip) — Angled Grip, Vertical Grip, Horizontal Grip
- Stock — Stable Stock, Lightweight Stock, Padded Stock, Kinetic Converter
- Light Magazine — capacity for light-ammo guns
- Medium Magazine — capacity for medium-ammo guns
- Shotgun Magazine — capacity for shotguns
- Tech Mod — special modifiers (e.g. the Anvil Splitter)
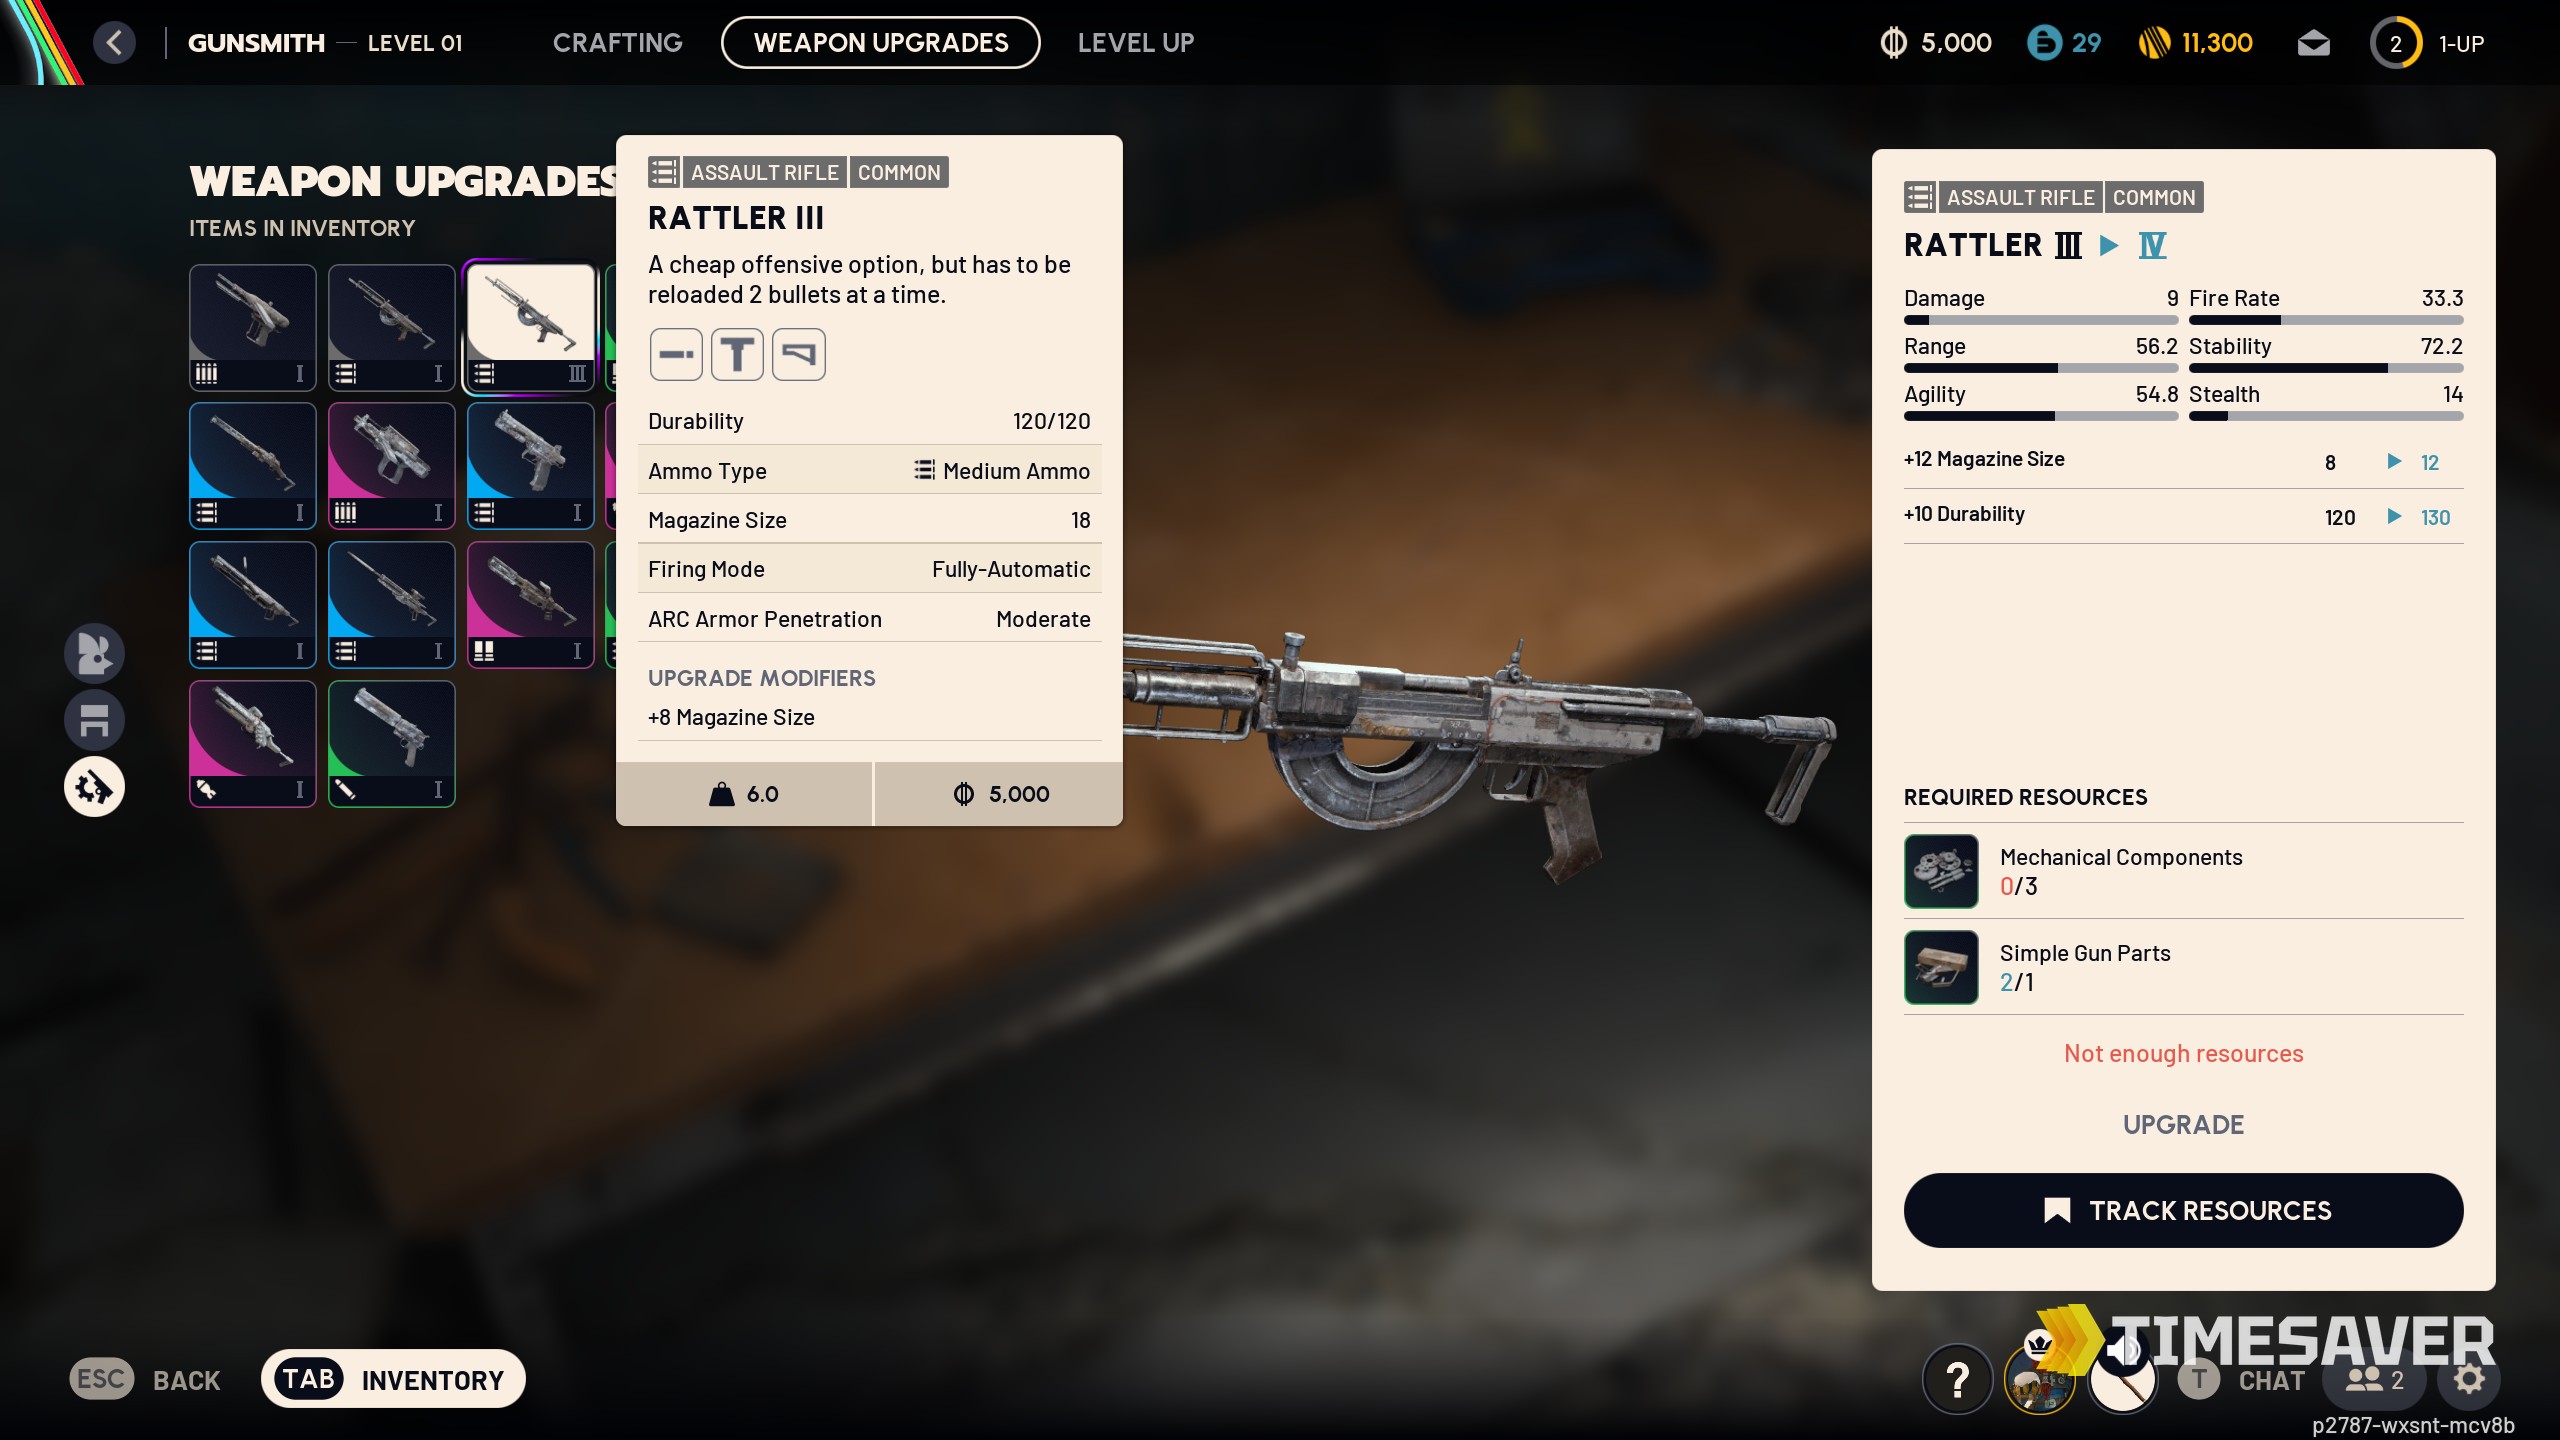
Tiers I–III and the Gunsmith
Most mods come in three tiers (I, II, III), and the tier you can install is gated by your Gunsmith workshop level in Speranza: Tier I needs Gunsmith 1, Tier II needs Gunsmith 2, Tier III needs Gunsmith 3. Levelling the Gunsmith is therefore a hard prerequisite for the meta loadouts — there's no point chasing a Tier III blueprint if your bench can't fit it yet.

The important rule on rarity: lower tiers are pure upside; Tier III adds a trade-off. Tier I and II mods generally give you only the benefit, while Tier III layers on a downside — usually faster durability burn, slower ADS, or extra recoil. As the ARC Raiders Wiki lists it, Stable Stock III gives "50% Reduced Recoil Recovery Duration, 50% Reduced Dispersion Recovery Time" but pays for it with "20% increased equip/unequip time." That's the pattern across the board, so don't reflexively slot Tier III everywhere — only where the benefit outweighs the tax.
Where to get attachments
You acquire mods three ways:
- Loot Topside — mods drop in the world; attachment blueprints come mostly from Residential Containers (with Tier III blueprints gated behind major map conditions like EM Storm, Locked Gate and Night Raid).
- Craft at the Gunsmith — once you've learned a mod blueprint, build it from materials at the matching Gunsmith tier.
- Buy from Tian Wen — the weapons trader in Speranza stocks mods in rotation.
ARC Raiders attachment tier list (best mods ranked)
This ranks the mods by how much they improve a typical gun, assuming you have the Gunsmith level to fit them.
S-Tier — slot these first
- Stable Stock (III) — "50% reduced recoil recovery duration, 50% reduced dispersion recovery time." This is the single most impactful attachment in the game for any gun you fire in bursts. It fixes the thing that loses fights: how fast your reticle settles between shots. Trade-off is 20% slower equip/unequip — irrelevant on a primary.
- Compensator (III) — 60% reduced per-shot dispersion, 30% reduced max shot dispersion. Turns spray into precision. The Tier III tax is 20% faster durability burn; on a main weapon it's worth it.
- Extended Magazine (Light/Medium/Shotgun) — Light +15, Medium +12, Shotgun +6 rounds at Tier III. Magazines (like Silencers) have no downside at any rarity, so this is a free upgrade — more rounds before a reload that could get you killed.
A-Tier — situational best-in-slot
- Muzzle Brake (III) — 25% reduced horizontal AND vertical recoil. Pick this over the Compensator when your problem is kick (vertical climb) rather than horizontal spread, e.g. on high-recoil ARs.
- Vertical Grip / Angled Grip — up to 40% recoil reduction (vertical or horizontal respectively) at Tier III, but with a 30% ADS speed penalty — great on a defensive/PvE gun, costly on a snappy PvP gun.
- Extended Barrel — +30% bullet velocity, +15% distance until damage falloff at Tier III (+15% vertical recoil). The go-to PvE mod: it stretches your effective range against ARC machines, turning a mid-range gun into a reliable long-poke option.
B-Tier — niche / playstyle picks
- Silencer — up to 60% reduced noise with no accuracy downside (Tier III burns durability 20% faster). Excellent for rat/stealth playstyles where you don't want every ARC and Raider on the map hearing you; the trade is the loss of a muzzle slot you could spend on recoil/dispersion.
- Lightweight Stock — +200% ADS speed, −30% equip/unequip time, but +50% vertical recoil and +50% recoil recovery time. A specialist pick for fast-swap secondaries and shotguns where you fire one or two shots and re-stow, not for sustained fire.
- Kinetic Converter — +15% fire rate at the cost of +20% horizontal and vertical recoil. Tempting on paper, punishing in practice — most testers skip it.
- Horizontal / Padded Stock combos — heavy stability for the price of mobility; fine for a stationary anti-ARC build.
Best attachment loadouts by weapon
Renegade (battle rifle) — the PvP workhorse
The Renegade is one of the strongest guns in ARC Raiders even bare, and its one real weakness is dispersion recovery, so you build to fix that:
- Best PvP build: Compensator II/III + Extended Medium Magazine II/III + Stable Stock III. Community testing consensus is that Stable Stock III is the priority — it produces the largest single performance jump, to the point that a cheaper kit running only a blue (III) stock and empty barrel/mag is still very effective if you're saving materials.
- PvE / anti-ARC build: swap the muzzle to an Extended Barrel to turn the Renegade into a near-hitscan laser at range against machines.
- Avoid Lightweight Stock and Kinetic Converter on the Renegade — both fight its strength. And remember the economy rule: a Renegade IV with green mods beats a Renegade II with purple mods, so upgrade the gun before you sink rare materials into Compensator III / Stable Stock III.

High-recoil ARs (Ferro / Anvil-class)
Lead with recoil control: Muzzle Brake III + Vertical Grip + Stable Stock III. These guns out-DPS the Renegade up close but climb hard, so prioritise vertical recoil first, dispersion second. Add an Extended Magazine if the slot is free.
Shotguns (Dolabra-class)
Shotgun Choke III (−30% base dispersion) tightens your pellet pattern for consistent one-shot range, plus an Extended Shotgun Magazine for the extra follow-up shell. A Lightweight Stock suits the fire-one-then-reposition rhythm of close-quarters shotgun play.
Long-range anti-ARC (Jupiter / sniper-class)
Range and stability over fire rate: Extended Barrel + Stable Stock + Compensator. The Jupiter already has very little damage falloff and can pierce armour into an ARC core, so the Extended Barrel pushes that reach even further for poking Bombardiers, Rocketeers and the Queen's legs from safety.
ARC Raiders - Materials
Get materials in 10 minutes
Attachment tips that win fights
- Build Stable Stock III first if you can only afford one mod — it helps every burst-fire gun more than any other single attachment.
- Match the muzzle to the problem: Compensator for spray/dispersion, Muzzle Brake for vertical kick. Don't run both logic in your head — pick the one that fixes your gun's actual weakness.
- Magazines and Silencers are free wins (no downside) — slot them whenever the slot would otherwise sit empty.
- Upgrade the weapon before the mods. Base-weapon tiers scale harder than attachment bonuses, so a higher-tier gun with cheap mods beats a low-tier gun with expensive ones.
- Level the Gunsmith to 3 as a priority — every Tier III mod above is locked behind it.
Check out our ARC Raiders services
Skip the blueprint grind and get straight to the meta loadout:
- ARC Raiders Blueprints — from $0.99 — 60+ blueprints · unlock rare weapons & mods · fast & secure delivery
- ARC Raiders Materials — from $0.02 — every rarity · the crafting mats behind Tier III mods · instant delivery
- All ARC Raiders services — leveling, gear and more, trusted delivery
Want the gun before the mods? See our ARC Raiders best weapons tier list, and pair your loadout with the best augments for the full build.
FAQ
What is the best attachment in ARC Raiders? Stable Stock III is the strongest single attachment for most guns — it reduces recoil recovery and dispersion recovery by 50%, the biggest stability gain available. After that, a Compensator and an Extended Magazine round out the best general package.
What are the best Renegade attachments? Compensator II/III, Extended Medium Magazine II/III, and Stable Stock III for PvP; swap the muzzle to an Extended Barrel for an anti-ARC range build. Avoid Lightweight Stock and Kinetic Converter on the Renegade.
How many attachment tiers are there, and how do I unlock them? Three tiers — I, II and III. Each tier is gated by your Gunsmith workshop level in Speranza: Tier I at Gunsmith 1, Tier II at Gunsmith 2, Tier III at Gunsmith 3. Level the Gunsmith to fit the best mods.
Do higher-tier attachments have downsides? Tier I and II mods are generally pure upside. Tier III usually adds a trade-off — faster durability burn (Compensator, Silencer), slower ADS (grips), or slower equip time (Stable Stock). Magazines and Silencers are the exceptions with no accuracy downside at any rarity.
Where do I get weapon mods in ARC Raiders? Three ways: loot them Topside (attachment blueprints drop mostly from Residential Containers, Tier III gated behind major map conditions), craft them at the Gunsmith once learned, or buy them from the trader Tian Wen in Speranza.
Compensator or Muzzle Brake — which is better? Compensator if your gun's problem is dispersion/spray (it cuts per-shot dispersion up to 60%); Muzzle Brake if the problem is recoil kick (it cuts both vertical and horizontal recoil up to 25%). Match the muzzle to the gun's weakness.
Mod slots, tiers and stat values verified against the ARC Raiders Wiki (Weapon Mods / Weapon Attachments) and arcraiders.com. Renegade loadout reflects current community testing on r/ArcRaiders. Exact percentages are current-build and may change with patches — confirm in-game. Brand: timesaver.gg.
Related Guides
- More ARC Raiders
- ARC Raiders Weekly Trials
- ARC Raiders Dam Staff Room Key — Location & Loot Breakdown (2026)
- ARC Raiders Forgotten Relics Guide
- ARC Raiders Blue Gate Cellar Key — Location & Loot Breakdown (2026)
- ARC Raiders Best Weapons Tier List — Every Gun Ranked for PvP & PvE
- ARC Raiders How to Get Materials Fast — Best Farming Methods,