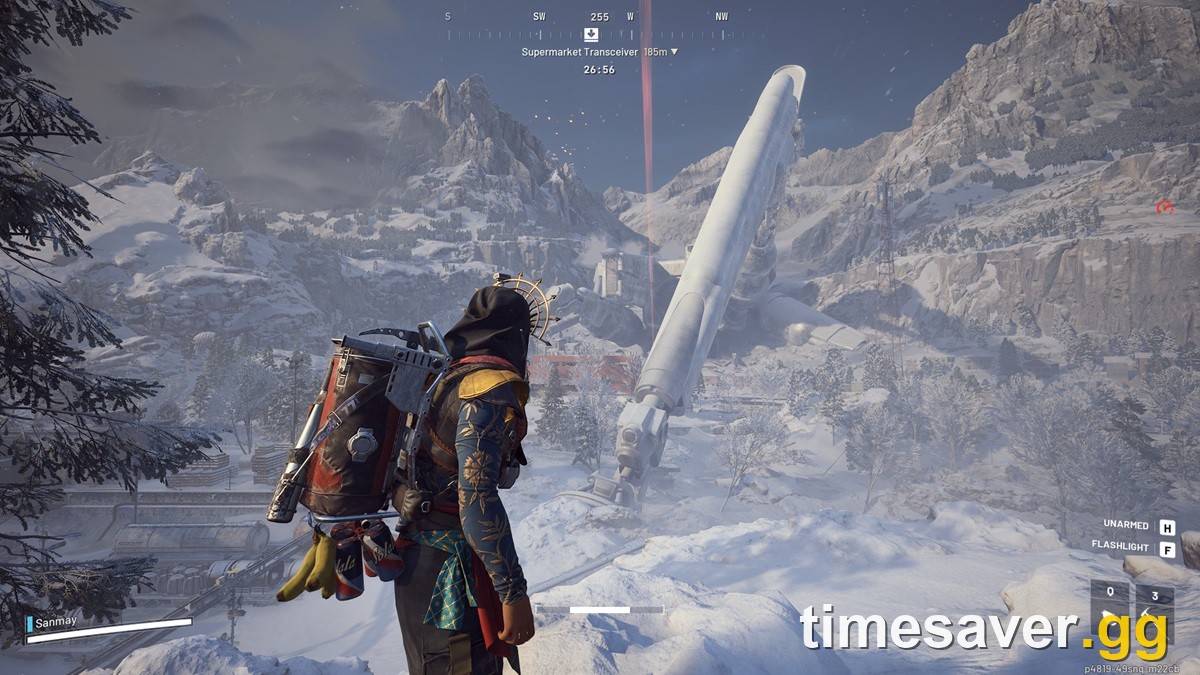
Belly of the Beast is widely regarded by the ARC community as one of the toughest quests in the Frozen Trail update (launched October 8, 2026), and it is gated behind an Emperor Gateway Conduit, a dungeon crawl through the Fallen Emperor on Pendola Pass, and a gauntlet of Hydras, poison, and lasers. This guide covers the full quest chain — how to get the Emperor Gateway Conduit, where to enter the Emperor, every room and hazard inside, the Amplification loot in the vault, and how to extract with it.
Quick answer (TLDR): To complete Belly of the Beast, first finish Sizing Things Up (the lead-in quest from the trader Celeste); Belly of the Beast itself is given by Shani. Then, on Pendola Pass under its Redirection condition, loot Damaged Emperor Relays for Emperor Beacons, spawn a Harvester Payload to get the Emperor Gateway Conduit blueprint, and craft the Conduit at the Workbench (needs one ARC Plated, one Conductive, and one Insulated Coupler). Carrying a Conduit is optional — a squadmate or any other Raider with one can open the gateway for you. Head west to the Fallen Emperor, open the gateway, clear the multi-room dungeon (poison chamber, Hydra rooms, laser room, maze, vault), loot the Legendary quest item from the main vault, and extract. The dungeon has randomized room order and multiple Hydras plus a possible Vaporizer — bring a Hullcracker and a Snap Hook. Read on for the full room-by-room breakdown.
ARC Raiders - Blueprints
Get blueprints in 10 minutes
Why Belly of the Beast matters in ARC Raiders
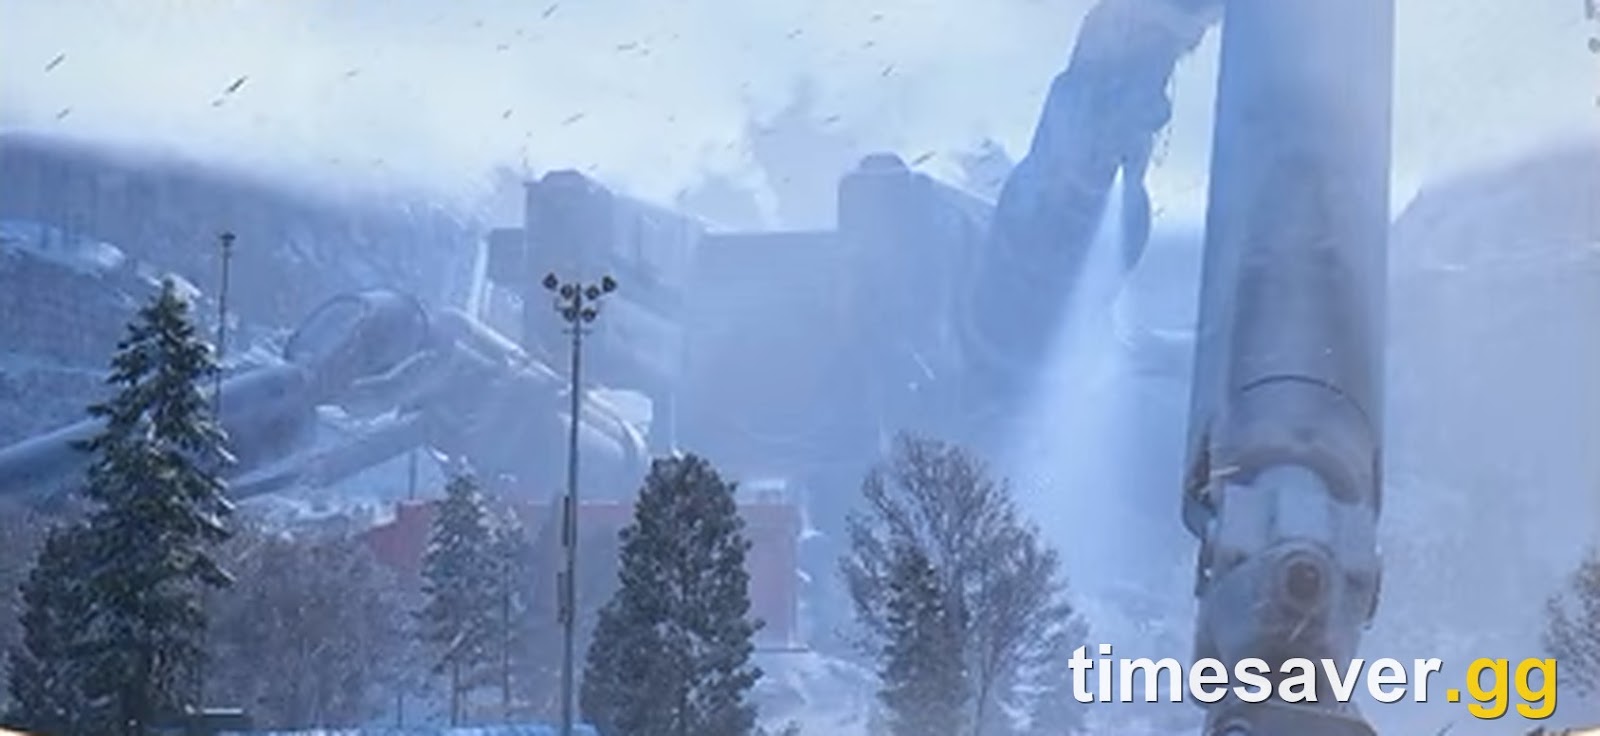
Frozen Trail (update 2.0) is ARC's biggest post-launch update so far, and it drove a clear resurgence: ARC Raiders pushed back over 92,000 concurrent players on Steam the same week, with reports of one creator pulling around 125,000 simultaneous livestream viewers across Twitch and YouTube. Belly of the Beast is the story and progression capstone of that update — it is how you get inside the Fallen Emperor, the giant downed ARC vessel at the heart of the new Pendola Pass map, and it is a main gate to the new endgame's Amplification loot.
It is also a wall. The Emperor is a full dungeon — not a single boarding action like the Frigate — with randomized room layouts, repeated Hydra fights, environmental hazards that can kill you faster than any machine, and a crafting gate for the key. That combination is exactly why so many players stall here, and why a clean walkthrough is worth more than a dozen scattered Reddit tips. (The room-by-room sequence below follows the published community walkthroughs; room order shuffles per run and layouts have not been exhaustively play-tested.)
How Belly of the Beast works
The quest chain: Sizing Things Up → Belly of the Beast
Belly of the Beast is given by the trader Shani and follows directly from the previous quest, Sizing Things Up (that lead-in is handed out by Celeste, not Shani). If Belly of the Beast is not in your log yet, finish Sizing Things Up first — the objective will then update to the single, deceptively short line: "Enter the Emperor." Everything below is what that one line actually requires.
The crafting gate: the Emperor Gateway Conduit
The circular gateway stays sealed until someone carrying an Emperor Gateway Conduit opens it. Crafting your own is optional — if a squadmate or another Raider on the map already has a Conduit and opens the gateway, you can walk in behind them. But you can't rely on that, so here is how to make your own; it is a mini-quest in itself:
- Load into Pendola Pass under its Redirection condition — that is when the Emperor Relays are active and farmable (the Emperor only appears on this map).
- Find and loot the Damaged Emperor Relays scattered around the map — each can drop Emperor Beacons.
- Use an Emperor Beacon to spawn a breachable Harvester Payload. That Payload has a chance to drop the blueprint for the Emperor Gateway Conduit.
- The same Harvester Payload also drops the three crafting materials: an ARC Plated Coupler, an ARC Conductive Coupler, and an ARC Insulated Coupler.
- Take the blueprint and couplers back to your Workbench and craft the Conduit.
| Step | What you need | Where it comes from |
|---|---|---|
| Spawn the Payload | Emperor Beacon | Loot from Damaged Emperor Relays (Pendola Pass, Redirection) |
| Get the recipe | Emperor Gateway Conduit blueprint | Drops from the spawned Harvester Payload |
| Craft the Conduit | ARC Plated + Conductive + Insulated Coupler | Drops from the same Harvester Payload |
| Open the Emperor | A carried Emperor Gateway Conduit (yours or an ally's) | Workbench craft (or borrow an ally's open gateway) |
Because the blueprint is a chance drop, expect to spawn and clear more than one Harvester Payload. This whole phase is a PvPvE fight — other Raiders are farming the same relays and Payloads on a map at peak population.
How do you get inside the Fallen Emperor?

With a Conduit in play — yours or an ally's — load into Pendola Pass and move west across the map to the Fallen Emperor. Carrying the Emperor Gateway Conduit opens the large circular gateway; if a squadmate carries it instead, follow them through.
A few things to bring and know before you drop in:
- Bring a Hullcracker. The first Hydra spawns right before the first doorway. Deal with it, then push inside.
- Do not touch the electrical parts near the entrance — they will hurt you before the fight even starts.
- Bring a Snap Hook. It is a general burst-mobility traversal gadget (not Emperor-specific, and distinct from the newly added Grappling Hook), but you lean on it hard here to cross hazard rooms and climb between platforms — treat it as essential kit for this run.
- Room order is randomized. The Emperor has different layouts per run, so the doors that are open for you may send you through the rooms below in a different order. Learn the rooms, not a fixed route.
Once you clear the entrance Hydra and step into the next room, you complete the first internal objective ("find where the power comes from"). From there, shoot the yellow buttons to call the elevator. Note the lift quirk: it travels downward, so you have to step off at each upper level and climb up to the next platform manually — riding it down is the wrong instinct. Breach the containers along the way for Amplification parts.
Belly of the Beast dungeon — every room and hazard
Because the layout shuffles, here is each confirmed room so you can handle whatever the run throws at you.
The poison chamber
As you drop in, the walls begin closing in and the floor fills with poison that stops you from sprinting. Pull your Snap Hook and grapple straight across to the far side before the room crushes you. The capsule-shaped containers there are safe to loot — except the orange ones, which explode once you start searching them. Grab and move.
The Harvester Payload room (triple Hydra)

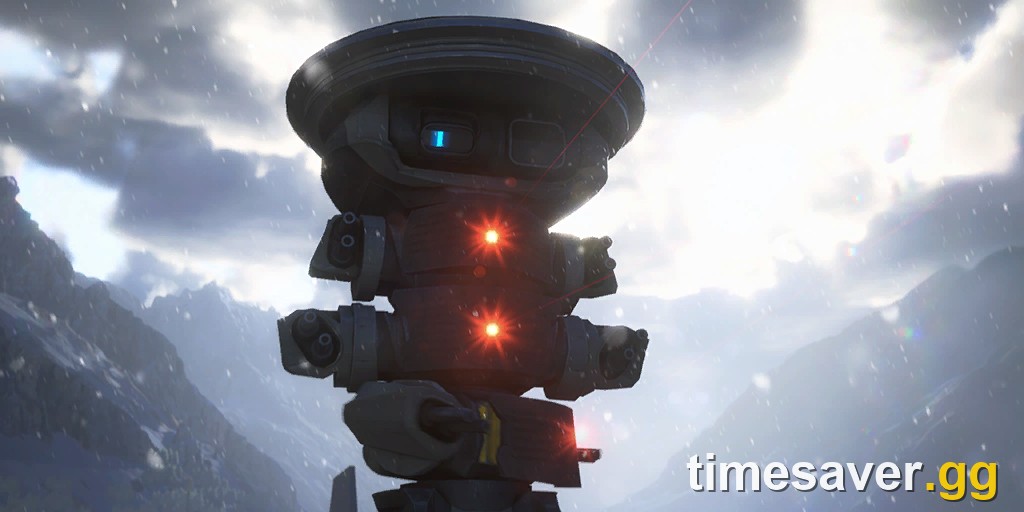
Grapple back up to the closing-wall area, climb the ladders, and you reach the room where the Harvester Payloads enter the Emperor. This is the nastiest fight: up to three Hydras spawn, each triggered when it enters your line of sight. Embark describes the Hydra as a turret "split into three stacked and autonomous portions" with a "triple-threat of weaponry" that "can handle entire squads" (arcraiders.com/news — Frozen Trail content preview). The counter the devs give is simple: divert its attention, find cover fast, and attack in rapid windows. Take cover between shots, pull them one at a time where you can, and burst each down.
The purple laser room
The lasers deal fire damage. Jump while running to clear them and reach the elevator down on the far side. Exit through the opening door into the next section — a narrow circular tube you descend carefully, because the drop at the bottom deals heavy fall damage.
The maze room
Watch for Pops and Fireballs as you navigate to the exit. The far side opens into another narrow tube — this time you climb all the way up with the Snap Hook.
The main vault (Vaporizer + the Legendary)
The final room is the main vault where the Payloads sent to the Emperor are stored. Drop down and the giant door opens — be ready for a Vaporizer (laser enemy, energy-shield capable) to spawn. Clear it, then work the vault containers: the quest objective here has you search five containers, not just one. They are loaded with Amplification parts, and the vault holds the Legendary quest-completion loot — community trackers list the Emperor Modulator among the required pickups. With the containers searched and the loot in hand, leave through the large door, drop down, slide to the extraction point, and extract.
ARC Raiders - Materials
Get materials in 10 minutes
Belly of the Beast rewards
Return to Shani after extracting to turn in the quest. Confirmed rewards:
- Snap Hook
- Pendola Pass Observatory Key
- Shield Recharger x3
- Sterilized Bandages x3
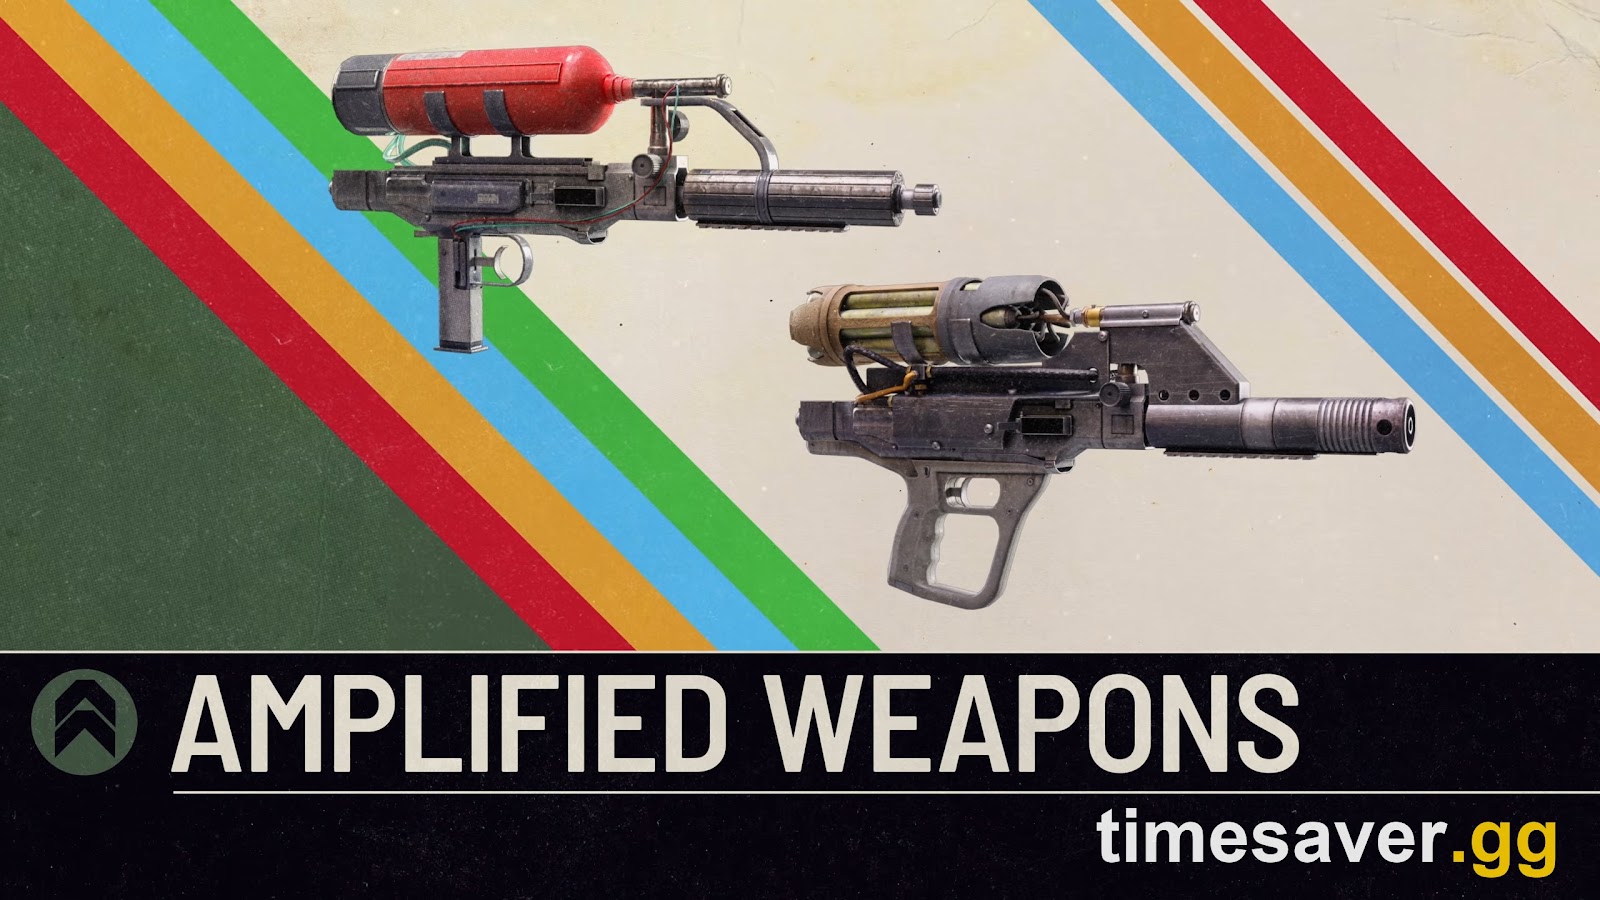
The bigger prize is really everything you carry out of the vault — the Amplification parts feed the new fifth-tier Amplified Weapons, and the Emperor is one of the key endgame sources for them alongside the Frigate.
Tips to clear it faster (and without losing your loot)
- Loadout: Hullcracker for the entrance Hydra, a reliable mid-range weapon for the triple-Hydra room, a Snap Hook for every hazard room, and a Photoelectric Cloak if you have one (it blocks Turbine lightning and Matriarch missiles elsewhere; useful insurance on a long run).
- Go in with a squad. The randomized rooms, triple Hydras, and a possible Vaporizer make solo runs brutal; a coordinated squad splits aggro and revives.
- Pre-farm your Conduit. Do the Payload/blueprint grind in a dedicated run or two so you are not trying to craft the key and clear the dungeon in a single panicked session.
- Extraction is the real boss. Dying before you extract drops your loot — anything not protected in a safe pocket is lost (safe-pocketed items survive death). Don't greed the last capsule if a rival squad is inbound; the Legendary and the Amplification parts only count once they are banked.
If the Conduit grind, the triple-Hydra room, or the extraction is where your runs keep ending, our ARC Raiders carry and completion services clear Belly of the Beast and the rest of Frozen Trail for you — loot stays yours.
Check out our ARC Raiders services
Stuck in the Emperor or short on time? Our Frozen Trail specialists craft the Conduit, clear the dungeon, kill the Hydras and Vaporizer, and extract the quest loot for you — fast and secure, with all loot kept.
- ARC Raiders Frozen Trail Quest Line — full questline completed, no grind
- ARC Raiders Keys — conduits & locked-room keys delivered instead of farmed
- ARC Raiders Frozen Trail Boss Kill — new ARC machines killed by hand, loot stays yours
- ARC Raiders Operation Carry — Frozen Trail co-op endgame, 1–15 runs, keep all loot
- ARC Raiders Blueprints — unlock Amplified weapons, fast & secure delivery
Frequently Asked Questions
What is Belly of the Beast in ARC Raiders? It is a Frozen Trail quest given by the trader Shani (following the lead-in quest Sizing Things Up from Celeste) that tasks you with entering the Fallen Emperor — the downed ARC vessel on the Pendola Pass map. The community widely rates it one of the toughest quests in the Frozen Trail update because it is gated behind the Emperor Gateway Conduit and a full multi-room dungeon.
How do you get the Emperor Gateway Conduit? On Pendola Pass (Redirection), loot Damaged Emperor Relays for Emperor Beacons, use a Beacon to spawn a Harvester Payload, and that Payload can drop the Conduit blueprint plus the three couplers (Plated, Conductive, Insulated) you need to craft it at the Workbench. The blueprint is a chance drop, so expect multiple Payloads. Crafting your own is optional — if another Raider opens the gateway with their Conduit, you can enter without one.
Where is the Fallen Emperor on Pendola Pass? It sits on the west side of the Pendola Pass map. Once you are carrying a crafted Emperor Gateway Conduit, the large circular gateway there will open and let you inside.
What enemies are inside the Emperor dungeon? A Hydra spawns right at the entrance, up to three more Hydras appear in the Harvester Payload room, and a Vaporizer can spawn in the final vault. The hazard rooms (poison, fire lasers, Pops and Fireballs) are as dangerous as the machines.
What are the rewards for Belly of the Beast? Turning the quest in to Shani grants a Snap Hook, the Pendola Pass Observatory Key, three Shield Rechargers, and three Sterilized Bandages — plus the Amplification parts and a Legendary item you loot from the vault on the way out.
Can you do Belly of the Beast solo? Yes, but it is very hard solo because of the randomized rooms, multiple Hydras, and a possible Vaporizer. A coordinated squad is strongly recommended to split aggro and handle revives.
Sources — quest chain, rewards and map: ARC Raiders Wiki — Belly Of The Beast and Sizing Things Up. Conduit crafting and Emperor Beacons: Emperor Beacon and Emperor Gateway Conduit. Enemies: Vaporizer and the Frozen Trail content preview (Hydra quote, fifth-tier Amplified Weapons). Update and gadget details: Frozen Trail 2.0 update. Room-by-room sequence follows the published GameRant walkthrough and ARC Tracker objective list. Written by Strain for timesaver.gg — published October 10, 2026.