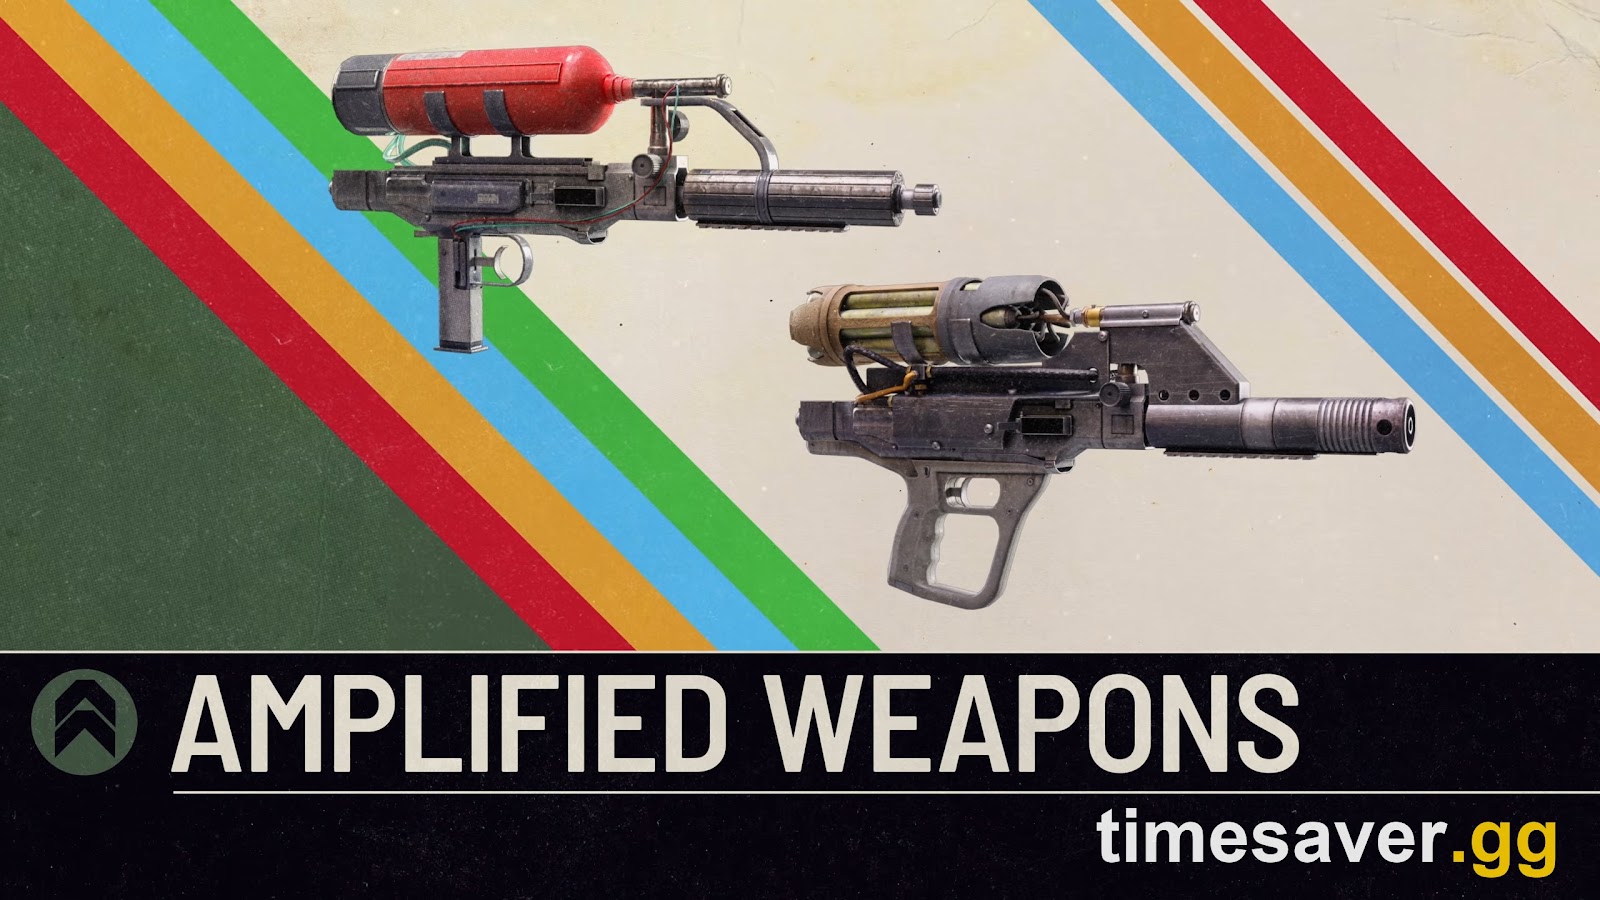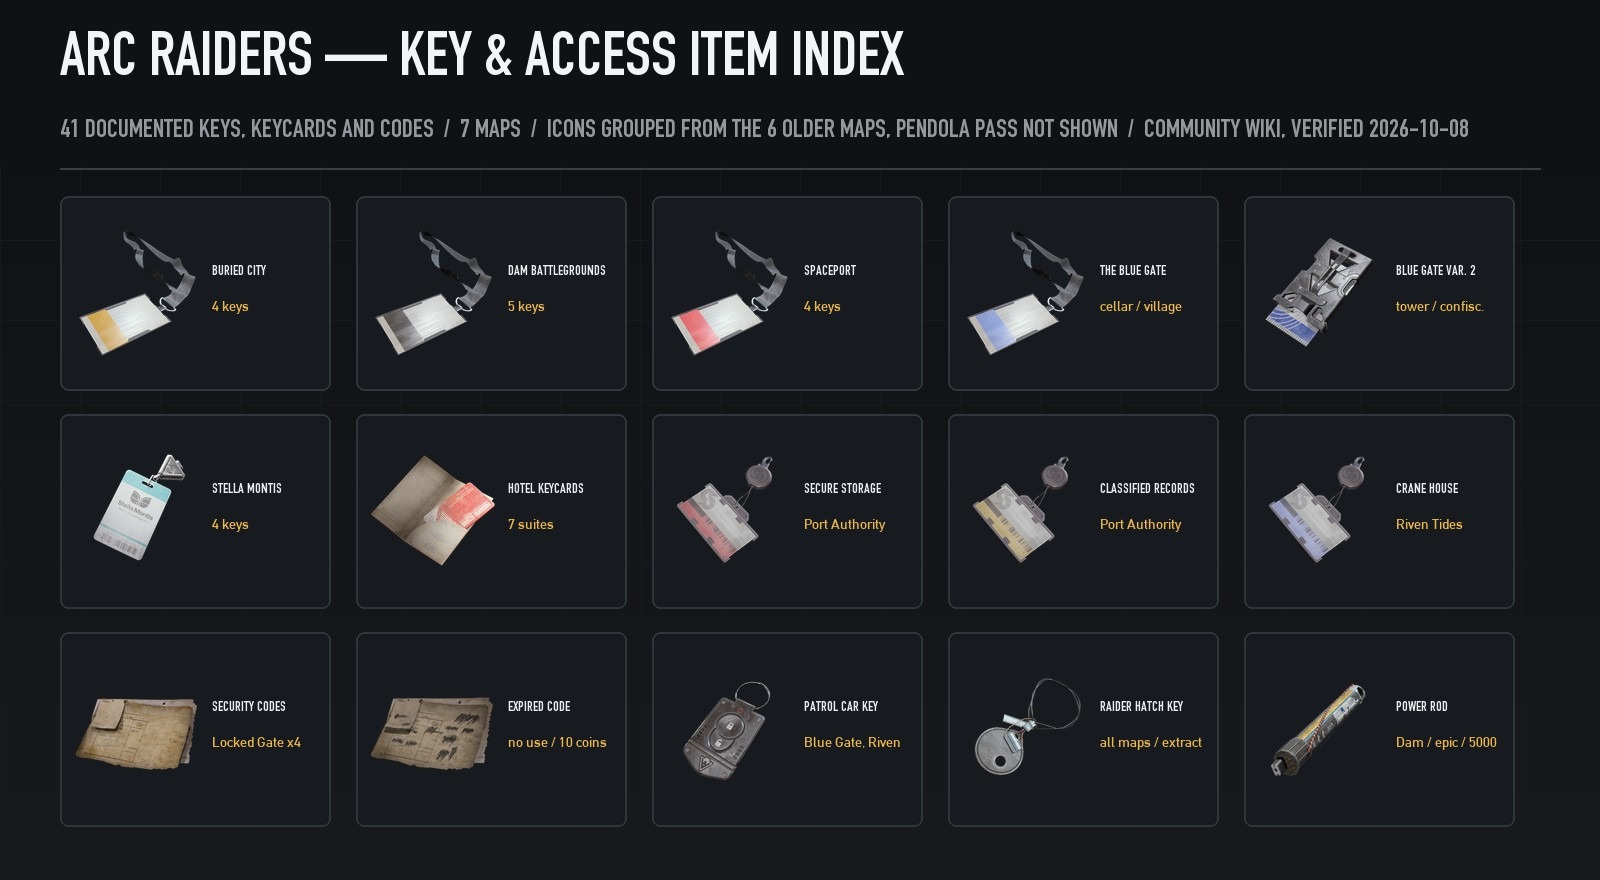
Amplified weapons are the Frozen Trail endgame chase, and the only thing standing between you and one is the Amplification Module — the mk1-to-mk5 component you feed into the Research Bench to unlock a weapon's fifth tier. The problem every raider hits in week one is the same: the modules barely drop, and nobody agrees on where to grind them. The answer is two activities, the downed Fallen Emperor and the airborne Frigate, and they reward completely different playstyles. This guide ranks the two, gives you the exact run each one wants, and settles the tier and drop questions flooding r/ArcRaiders right now.
TLDR — the quick answer: Amplification Modules (Mk. I-V) are an endgame drop that comes from exactly two places, both added in Frozen Trail 2.0: the Fallen Emperor dungeon on Pendola Pass and the ARC Frigate map condition. The Mark number is weapon rarity, not farm difficulty, and every Mark can drop from either source. Neither is the "easy" option. The Fallen Emperor is the game's first dungeon: you must first craft a key (the Emperor Gateway Conduit), then survive ~a dozen interior trials under a closing safe-window timer — but its loot panels are quieter and far fewer players can open it yet. The Frigate skips the key but is a boarding operation full of puzzles, Hydra turrets and heavy raider competition for the loot ports. Pick the Emperor if you'll invest in the key and want less-contested panels; pick the Frigate for a faster entry and a big team payout.
ARC Raiders - Blueprints
Get blueprints in 10 minutes
What is an Amplification Module and why farm it?
An Amplification Module is the gatekeeper component for the entire Amplified Weapons system. Amplified weapons are a fifth level of weapon, unlocked at your Outpost Research Bench, that bolt a new behaviour onto a gun — a full-auto conversion, a sniper scope, an incendiary-rounds mod, an oversized magazine. Embark's Frozen Trail Q&A put the dependency in one line:
"AMP weapons require AMP modules (mk1 - mk5) that spawns from the Fallen Emperor and the Frigate."
That makes the module the bottleneck. You can own the blueprint and sit at a fully built Research Bench, but without the matching module you cannot craft the Amplified branch in the first place — and keeping an Amplified weapon running leans on the same economy, since modules recycle into the Amplified Fragments the 2.0 notes list as repair material. Amplification is available on 15 weapons at launch, with more promised, so demand only climbs the deeper you get into the Reward Pass.
The payoff is real. Amplification does not just change behaviour — it adds a large chunk of durability to the weapon. But there is a looting rule worth memorising, confirmed in the developer Q&A: when a raider carrying an Amplified weapon is killed, the weapon drops with its durability knocked down to 10%. You can loot it, but you inherit a near-spent gun that needs repairing before it's worth carrying — and repairs pull on the same Amplified economy you're farming for. That is why crafting your own from farmed modules beats scavenging a battered one off a corpse.
How do the mk1-mk5 tiers actually work?
This is the single most common point of confusion, so clear it first: the Mark number maps to the weapon's rarity, not to the module's drop difficulty. A mk1 module amplifies a Common weapon; a mk5 module matches a Legendary weapon. You are not grinding "up" from mk1 to mk5 the way you level a battle pass — you are farming the specific Mark that matches the rarity of the weapon you intend to amplify.
The practical consequence: all the Marks share the same farm. There is no separate, harder dungeon that only drops mk5. The Fallen Emperor and the Frigate are the pools for every Mark, which means a single efficient run can hand you a module for a Common or a Legendary weapon in the same loot cycle. Decide which weapon you are building first, confirm its rarity, and farm until that Mark appears — don't waste runs chasing a "mk5 route" that doesn't exist.
Two quick facts to anchor the chase:
- Amplification is live on 15 weapons at Frozen Trail launch, across ammo types and rarities.
- The modules are explicitly an end-game goal — they are not meant to drop in your first few casual raids, so budget multiple runs per module.
Amplification Module at a glance
Before you farm one, know what you're carrying out. Every Mark shares the same item profile:
- Weight: 0.5 — light enough that a module is never the reason you're over capacity.
- Sell value: 7,000 Coins, identical for every Mark (so a mk1 sells for the same as a mk5).
- Storage: fits the safe pocket, which means a module survives a knockout and leaves the raid even if your backpack doesn't — always slot it there the moment you grab one.
- Recycle: a spare module breaks down into 7 Amplified Fragments, the exact material that repairs Amplified weapons — so a module is never truly wasted even if you already have that Mark.
- Drop rate: the developers have said all five Marks share the same drop rate, which is the whole reason you farm volume instead of hunting a specific Mark.
Option 1 — Farming the Fallen Emperor (the less-contested route)

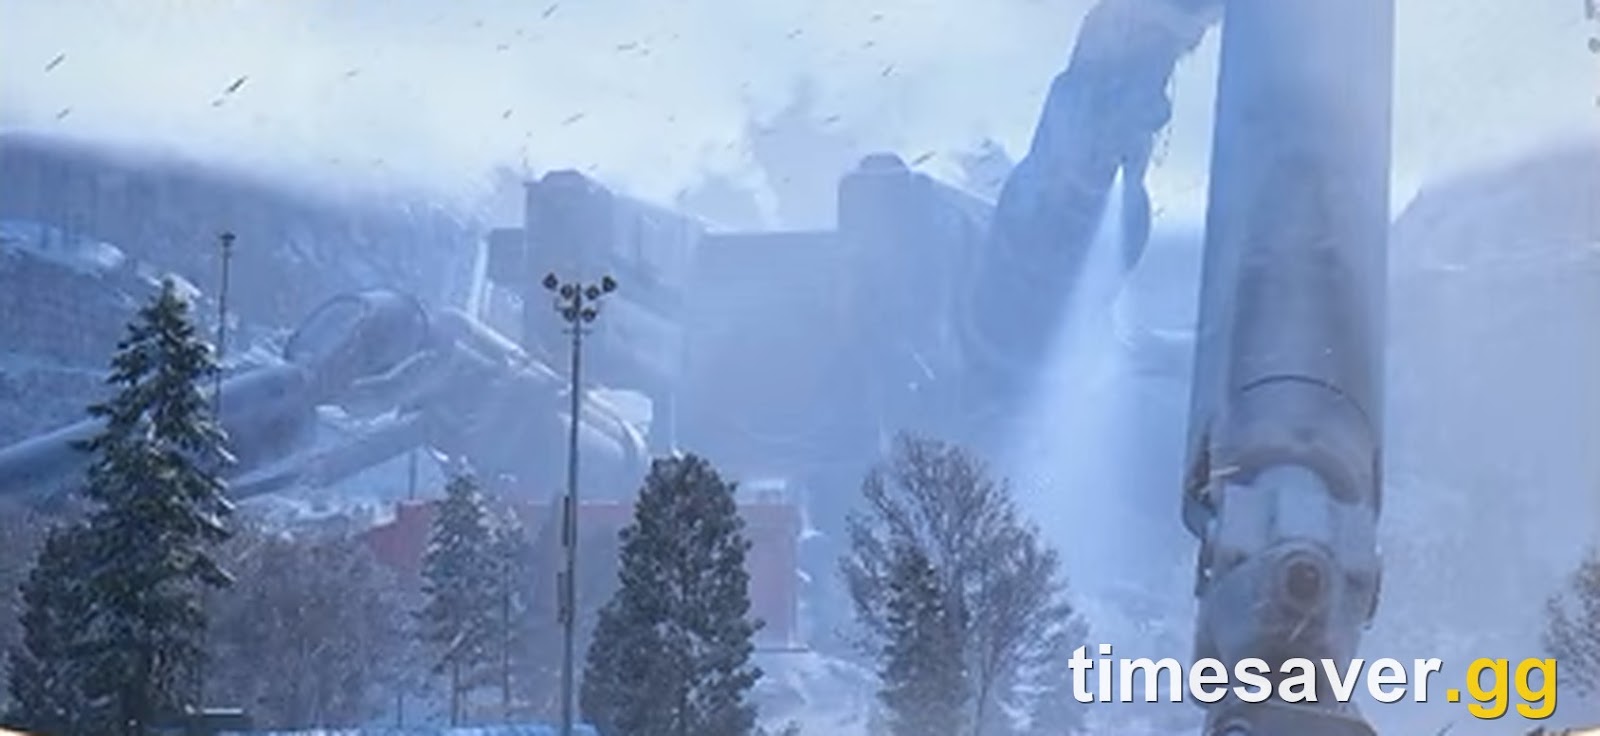
The Fallen Emperor is the downed, enterable ARC Emperor that anchors the new Pendola Pass map — the frozen northern summit added in Frozen Trail 2.0. It is also ARC Raiders' first proper dungeon, and that is the thing to understand before you commit: this is the higher-skill route, not the casual one. The trade-off is that very few players can open it yet, so the panels inside stay fuller than the Frigate's picked-clean ports.
What you're signing up for:
- You need a crafted key first. The hatch at the Emperor's base only opens with an Emperor Gateway Conduit, built at Workbench I from a rare blueprint plus three distinct couplers (Conductive, Insulated, Plated). Those drop from Emperor Payloads during the Redirection map condition — so your first few "runs" are really key-farming runs, and you can't pool couplers with squadmates.
- The interior is a trial gauntlet, and it's timed. Inside is roughly a dozen trials — a gas room whose walls close in, a rotating-laser room, a maze, chasm drops and platform climbs, with Hydras guarding many rooms and a Vaporizer in the final hangar. A broadcast warns that "the safe window is closing" with 10 minutes left, and if you go down with no teammate to revive you, the run is over. The layout reshuffles each session, so you learn the building, not one scripted path.
- The payoff is quieter loot. Because the key-gate thins the crowd, the breachable wall panels (around 30 of them) and carrier hatches (around 16) are far less contested than Frigate ports — they hold modules of every Mark plus the amplification materials you'll need to finish a build.
The run that works: treat it as two phases. First grind the Conduit during Redirection and bank it. Then load in with a cold-ready, mid-range ARC loadout, open the hatch, and work up through the trials breaching every round panel on the way — the loot hangar is always last and holds the densest module drops. Watch the 10-minute broadcast and leave yourself time to loot the hangar and reach an extract; the frozen environment and the closing window both punish overstaying.
Option 2 — Farming the Frigate (the high-ceiling route)
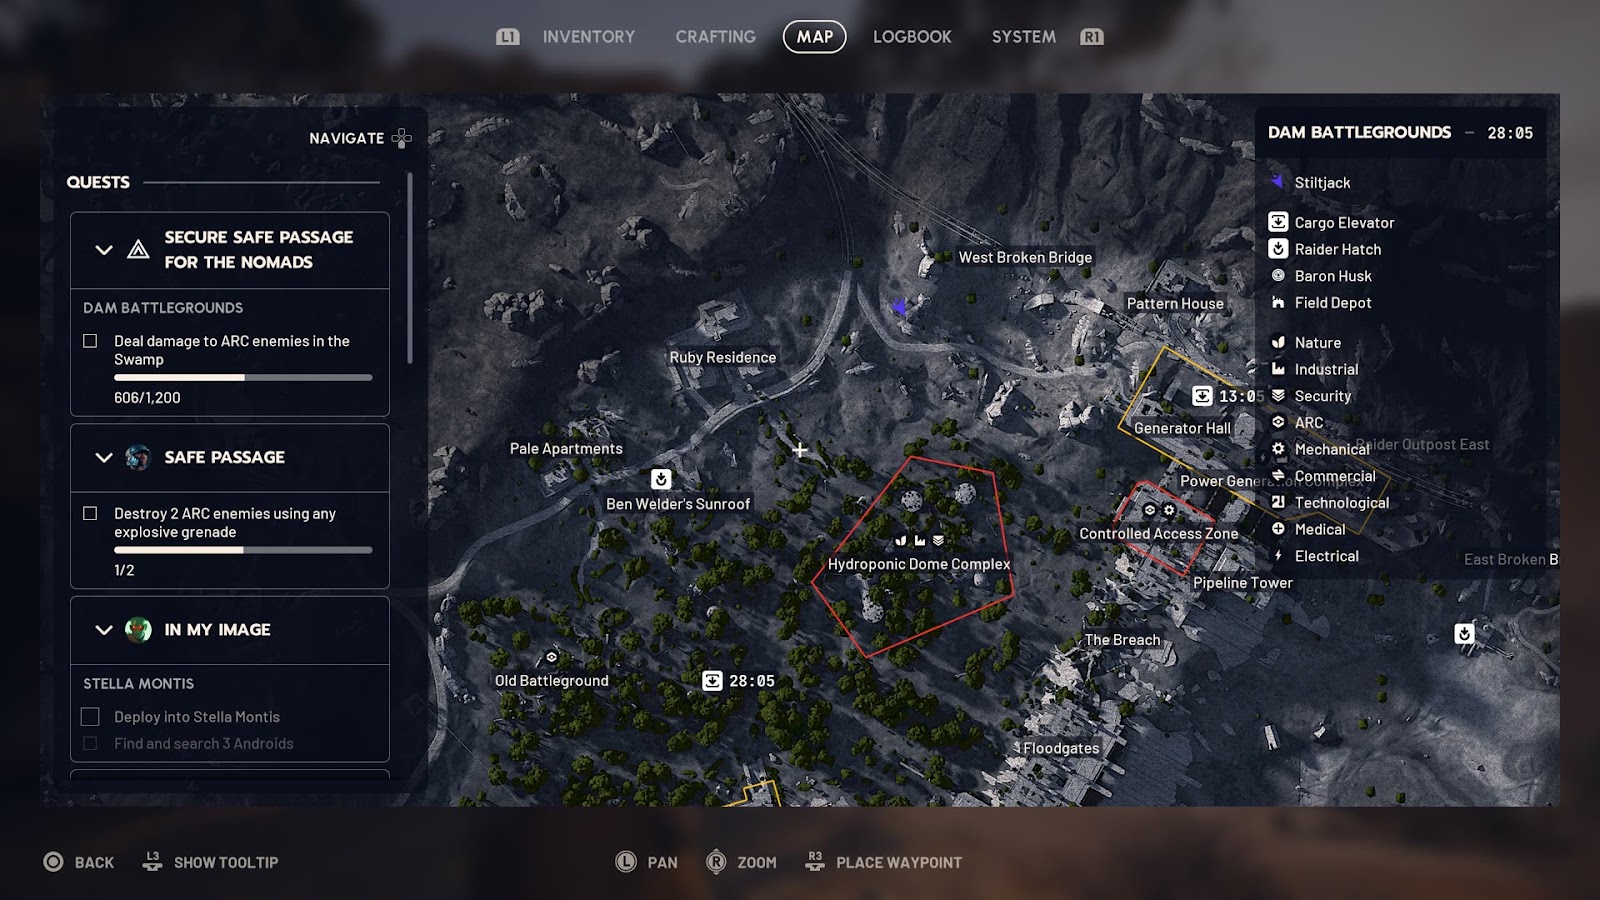
The ARC Frigate is Frozen Trail's major endgame ARC Operation — a massive airborne vessel that, in the words of its condition card, "hovers over the area, obliterating any perceived resistance with reckless abandon." Critically, it is not Pendola-exclusive: per the game files the Frigate runs as a rotating condition across several maps — Dam Battlegrounds, Buried City, Spaceport, The Blue Gate, Riven Tides and Pendola Pass — so you can hunt it on whichever map you know best.
What makes it different from the Emperor:
- You cannot just destroy it. You get on board, navigate the internal passageways, unlock paths and fight through hazards to reach the loot — this is a boarding operation, not a target you blow up from the ground.
- It hosts the Hydra. The Hydra is a tall turret ARC that Embark says "protects the Emperor and Frigate with a vengeance" — three stacked, independently-targeting sections that can engage multiple raiders at once, the signature threat of a Frigate run.
- The condition changes the whole map. When the Frigate is active there are no active locked doors, no active Raider Hatches, and overall loot value is decreased on the ground — the game is funnelling you onto the ship. There is also no free loadout on a Frigate condition, so you bring your own kit and risk it.
Where the modules actually sit: on board, they come from round Breach & Search ports built into the hull and interior — community datamining counts roughly 56 large and 8 small hatches, plus a dropped cargo canister holding a dozen containers. That is a lot of ports, but with no locked doors or hatches pulling players off the ship, every raider on the map is racing you to them, so they empty fast. A full ZLaner Frigate clear reportedly yielded a single Mk. V — proof the ceiling is high but the modules are still scarce per run.
Why you run it anyway: the Frigate is a concentrated, high-ceiling payout. A clean board-and-clear can hand you the rare modules and endgame loot the ground map no longer offers while the condition is up. But the risk profile is the opposite of the Emperor's — a boarding puzzle gone wrong, a Hydra you can't break, or a rival squad on the same ship can wipe the whole run with nothing to extract. This is the route for a coordinated team chasing a big single haul, not for grinding modules one calm lap at a time.
ARC Raiders - Materials
Get materials in 10 minutes
Fallen Emperor vs Frigate — which should you farm?
Here is the decision in one place:
- Farm the Fallen Emperor if you're willing to craft the Conduit key up front, you can handle a timed trial dungeon, and you want to loot panels that aren't already stripped by a dozen other squads. It rewards execution with less competition.
- Run the Frigate if you want to skip the key-grind and get into loot faster, you have a team to cover the boarding puzzles and Hydras, and you can stomach racing other raiders to the ports. It is the faster-entry, higher-contention pull.
- Do both if you are serious about Amplified builds: build the Conduit once and bank quiet Emperor panels for the weapons you're amplifying now, and jump the Frigate whenever its condition is up on a map you know for a fast second source.
Neither route "drops Mk. V faster" — remember, the Mark is rarity, and both pools cover every Mark. Your choice is about key-grind + dungeon execution (Emperor) versus faster entry + boarding risk and competition (Frigate), not about which tier you're after.
Frequently asked questions
Where do Amplification Modules drop in ARC Raiders? They come mainly from the Fallen Emperor interior on Pendola Pass and from the ARC Frigate operation, both added in Frozen Trail 2.0. Map conditions can also factor in, but the Emperor and Frigate are the two reliable sources.
Do all the Marks (mk1-mk5) drop at the same place? Yes. The Mark number reflects the weapon's rarity, not a separate harder farm. Both the Emperor and the Frigate can roll any Mark, so there is no dedicated "mk5 route" to chase.
Is the Fallen Emperor or the Frigate faster for farming modules? The Frigate is faster to get into — no key required — but its loot ports are heavily contested. The Fallen Emperor takes an up-front key-grind (the Emperor Gateway Conduit) and a timed trial dungeon to clear, but far fewer players can open it, so its panels stay fuller. Fastest entry = Frigate; quieter, less-contested loot = Emperor.
Can I just loot an Amplified weapon off another raider instead? You can, but it's a poor substitute. When the owner dies, the Amplified weapon drops with its durability reduced to 10% — you pick up a near-spent gun that needs repairing before it's usable, and repairs draw on the same Amplified economy you're grinding. Farming modules and crafting your own is the dependable path.
How many weapons can be amplified? 15 weapons at Frozen Trail launch, with Embark saying more will follow. You amplify them at the Outpost Research Bench once you have the matching-Mark module.
Why are modules locked to only two sources? It's a deliberate endgame-scarcity choice, and it's the loudest complaint on r/ArcRaiders right now — players worry it turns the Emperor and Frigate into a "first there, first loot" scramble, the same friction Stella Montis has with wing-specific materials. For now there is no third source, so the practical move is to treat module runs as dedicated trips, not something you pick up incidentally on a normal raid.
Is the Anvil Splitter being replaced by a module? Effectively, yes. The old Anvil Splitter is being retired into the Amplified system, and it recycles into the same Amplified Fragments that spare modules do. If you're sitting on Anvil Splitters from before the patch, they feed the same economy — they're no longer a separate chase item.
Build your Amplified loadout faster
Module farming is a grind by design — if you want the Amplified tier without burning every evening in the cold, our carry team runs the hard part for you:
Skip the variance and get straight to the build.
- Frozen Trail runs — stacked Pendola Pass raids with the modules and loot banked for you.
- Frozen Trail boss kill — the heavy ARC fights cleared so you keep the rewards, not the risk.
- Outpost research boost — your Research Bench pushed so you can craft Amplified weapons the moment a module lands.
- Ascending the Mountain — the full Pendola Pass progression handled end to end.
Keep reading
Pair this with our deeper Frozen Trail guides to finish the build: