Stella Montis is the map every ARC Raiders veteran ends up living on. It's the smallest map in the game, it holds the highest-value loot, and it funnels every squad into the same handful of rooms — which is exactly why it's the most dangerous place you can drop. Players don't call it the "true endgame" because of the scenery; they call it that because Stella Montis is where the best kits, the best blueprints, and the worst beatdowns all happen at once. This guide gives you the real unlock requirement, the best loot route, the three extracts that actually keep you alive, and how to read the map so you stop feeding your gear to campers.
Quick answer (TLDR): Stella Montis unlocks after you've played 24 rounds, and it sits north of the Rust Belt as a research facility buried in snow-draped peaks. It's the smallest, highest-tier map in ARC Raiders — an underground bunker of tight corridors that favors close- and mid-range weapons over snipers. Best loot path: Medical Research → Assembly Workshops → Seed Vault, with Medical Research being the single richest room (Showstoppers, Vita Sprays, Voltage Converters). Safest extracts: Sandbox B Hatch (no ARC spawns), Assembly Workshops Hatch (close to top loot), and the Airshaft Extract if you control the tunnels first. Expect Shredders, Pops, Ticks, and the Matriarch boss. It's also the home of two endgame craft parts — the Magnetic Accelerator and the blueprints for the Aphelion and Dolabra. Full breakdown below.
ARC Raiders - Blueprints
Get blueprints in 10 minutes
What is Stella Montis in ARC Raiders?
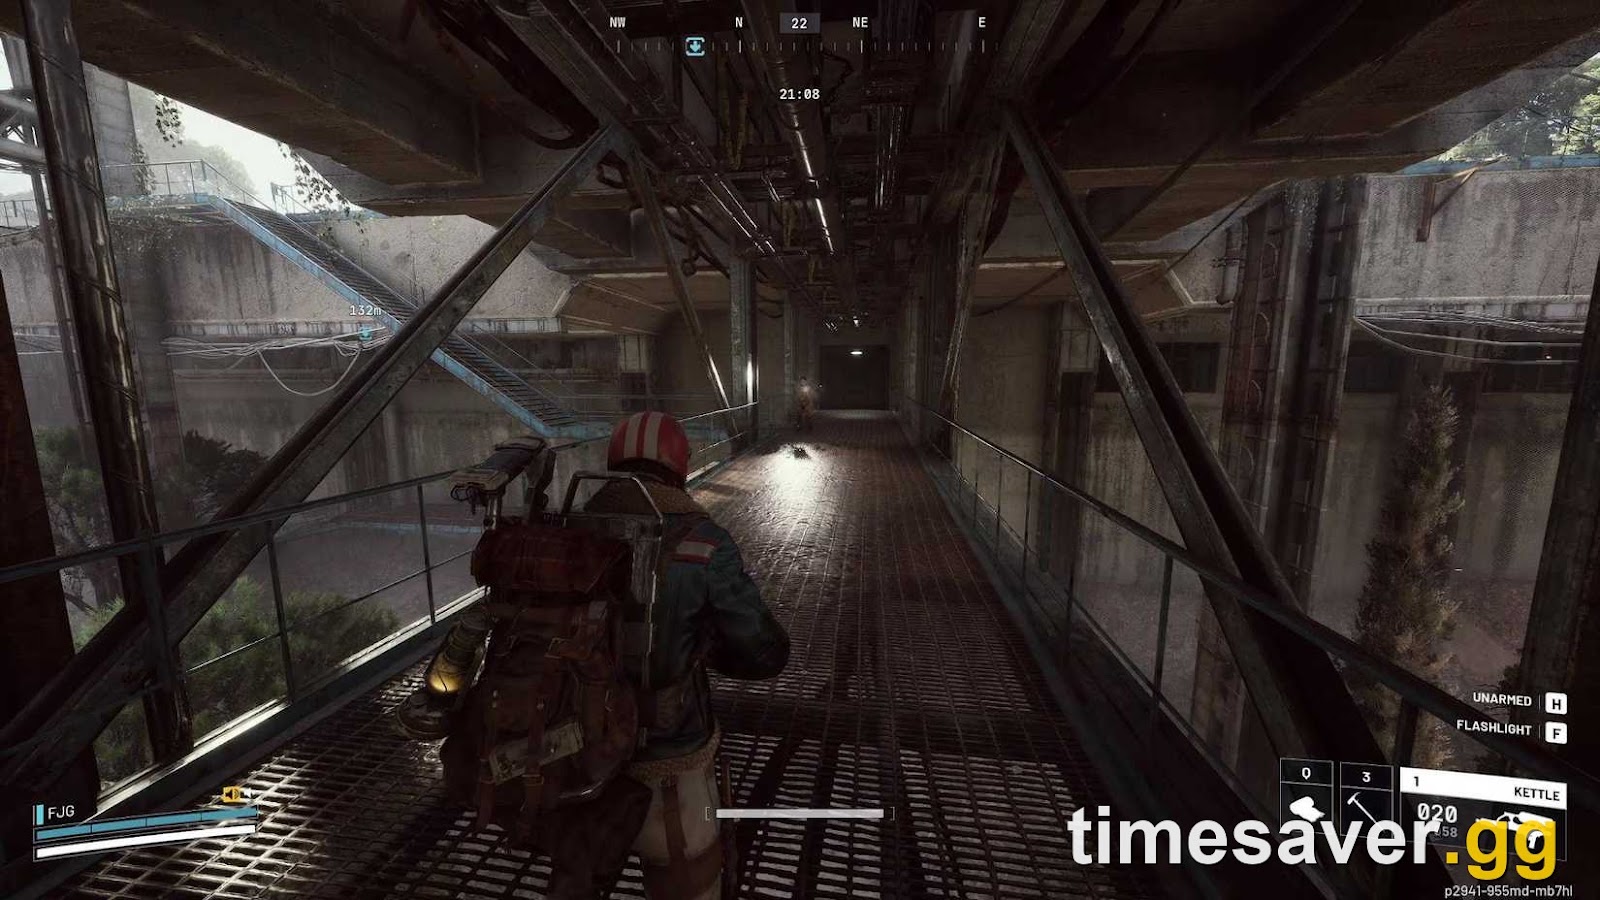
Stella Montis is ARC Raiders' endgame map — a sealed research complex carved deep into the mountains north of the Rust Belt. The in-game Codex frames it as "a secluded research facility amidst snow-draped peaks," a place of "vast scale" that hints at "grand intent" but sits largely abandoned (arcraiders.wiki — Stella Montis). What that translates to in a raid: a compact, two-level underground bunker stuffed with the richest loot in the game and almost nowhere to hide.
Three things make Stella Montis different from every other map:
- It's the smallest map in the game. Less ground means less time before you run into another squad. There's no "loot quietly in a corner for ten minutes" — everyone is on top of each other.
- It's a funnel. Because the high-value rooms are clustered, every team gravitates to the same POIs. As ARC players put it, Stella is "a funnel so everyone fights the same place every time" — predictable hot zones, constant contact.
- It rewards aggression, not patience. On most maps you can extract by avoiding people. On Stella, the loot density and tight layout mean fights find you whether you want them or not — which is the whole reason the community treats it as the skill-check map.
The trade-off is simple: the highest reward in ARC Raiders for the highest risk. Get a clean Stella run and you walk out with a kit most Raiders can't afford. Get caught in the open and you hand all of it to whoever was patient enough to wait.
How do you unlock Stella Montis?
You unlock Stella Montis after playing 24 rounds (arcraiders.wiki — Stella Montis). There's no quest chain or key to chase — it's a straight progression gate designed so you don't land on the hardest map with a starter kit.
That gate exists for a reason. By the time Stella opens up, you should already understand shield management, ARC weak points, and extraction timing, because Stella punishes all three harder than anywhere else. If you're hitting the unlock and still dying to your first Hornet, spend a few more runs on Dam Battlegrounds or Buried City before you commit real gear here.
Stella Montis also runs the Night Raid map condition (added in patch 1.4.0), which drops visibility and cranks the tension even higher. Night Raid runs are where the best blueprint drops concentrate — and where ambushes are nastiest, because nobody sees the third party coming.
What is the best loot route on Stella Montis?

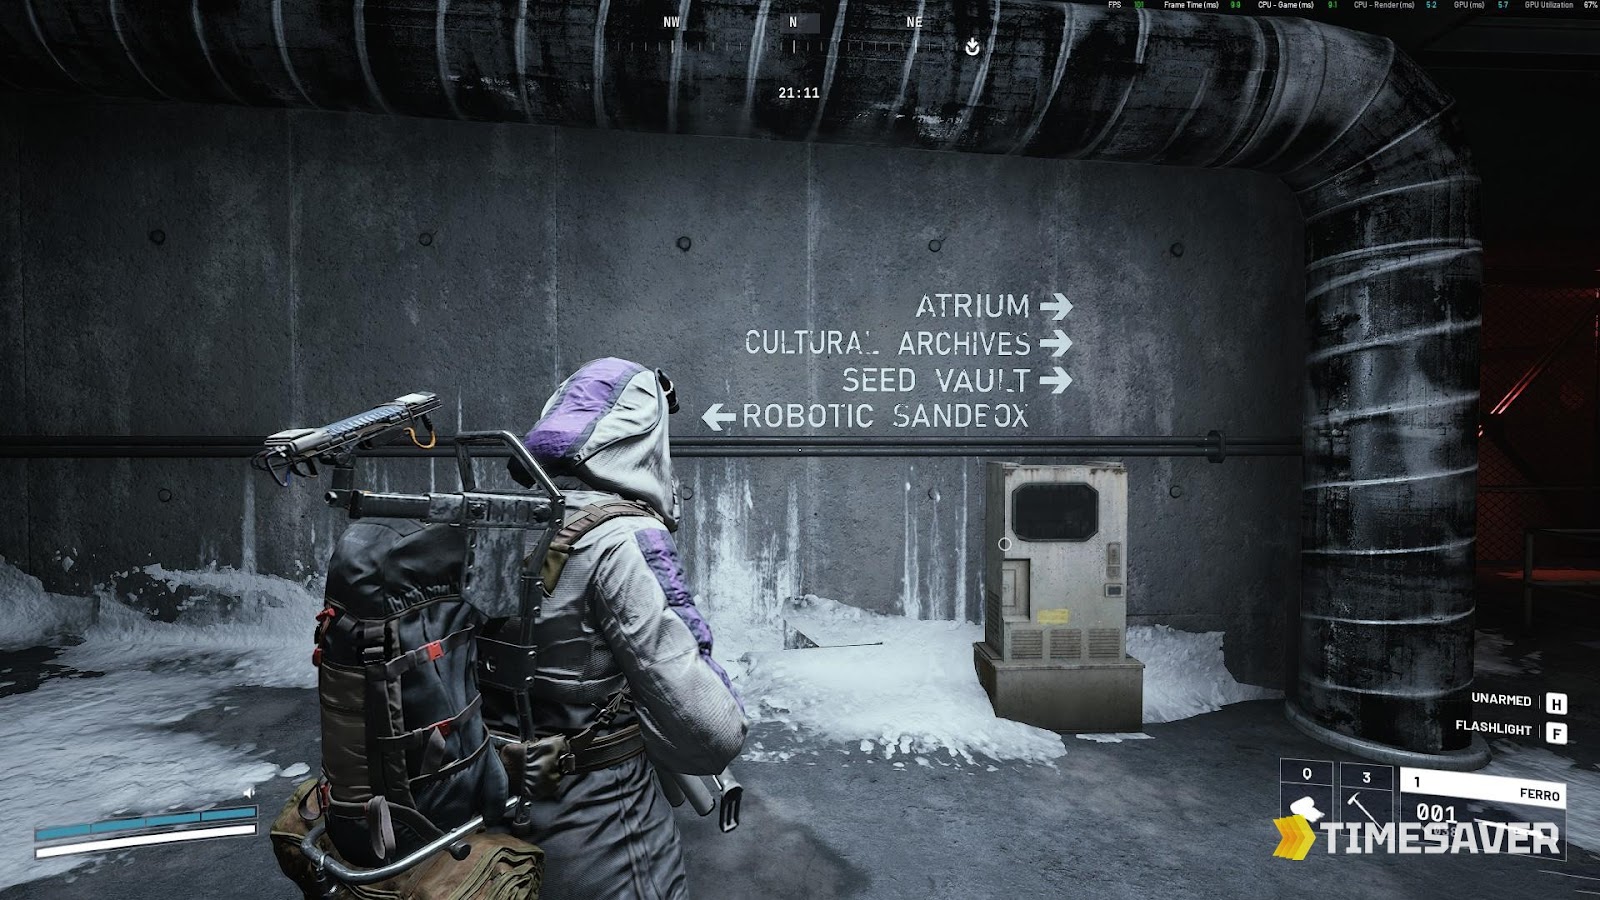
The best loot path on Stella Montis is Medical Research → Assembly Workshops (or Sandbox) → Seed Vault, then out the nearest hatch. Ranked best-to-worst, the POIs you actually want are:
| POI | Why you go there | Priority |
|---|---|---|
| Medical Research | The richest room on the map — a near-infinite Showstopper and Vita Spray farm plus Voltage Converters and high-tier medical loot | 🔴 Top |
| Assembly Workshops | Best spot for Magnetic Accelerators (endgame craft part) and weapon components | 🔴 High |
| Seed Vault | Dense high-value containers, good as a second stop before extract | 🟠 High |
| Cultural Archives | Strong loot, but largely key-gated — only worth it if you're carrying the key | 🟡 Situational |
| Sandbox A / Sandbox B | Solid mid-tier loot and, more importantly, the safest hatch in the game | 🟡 Mid |
The reason this route works: Medical Research is a red-value location that refills with consumables faster than you can carry them, so you start your run there with empty pockets and full intent. From there you swing through Assembly Workshops for craft parts, top off at Seed Vault, and leave — ideally before the lobby's survivors have funneled into the same rooms.
One hard rule on Stella: decide your extract before you decide your loot. The map is too small to improvise. If you can't picture which hatch you're leaving from before you open the first container, you're going to get caught crossing open ground with a full bag.
Which enemies spawn on Stella Montis?

Stella Montis is light on trash mobs compared to the open maps, but the units that do spawn are built to wreck you in tight spaces:
- Shredders — fast, multi-legged ARCs that close distance in corridors where you can't kite them. They were rolled out across maps in the Flashpoint update and they're a real threat in Stella's hallways.
- Pops — explode on trigger; deadly when you're cornered or pushing a doorway.
- Ticks — small, stealthy climbers that chip your shield while you're focused on bigger threats.
- The Matriarch — the colossal walker boss can hold court on Stella Montis. It dwarfs the Queen, fields energy shields and missile swarms, and summons a full support cast of Bastions, Bombardiers, Leapers, Rocketeers, Hornets, Wasps, and Ticks (arcraiders.wiki — Matriarch). Most squads don't farm it casually — they fight it when the reward (Matriarch Reactor) is worth the noise it makes, because a Matriarch fight is a giant flare telling every other team where you are.
Because the map is a bunker of small corners and tight hallways, close-to-mid-range weapons beat snipers here. The Aphelion is a Stella-flavored legendary, but at long range it underperforms — Stella fights are decided inside 30 meters, so an SMG, shotgun, or hard-hitting AR will serve you better than a marksman build.
Where are the best extracts on Stella Montis?
Three extracts matter on Stella, and picking the right one is the difference between keeping your haul and donating it:
- Sandbox B Hatch (southern edge) — the safest. ARCs don't spawn around it, and unless a team is actively camping, extraction here is clean. This is your default when you're carrying real loot.
- Assembly Workshops Hatch (bottom-right) — the convenient one. It sits right next to top-tier loot, so you can spawn western side, clear through, loot Assembly, and extract with minimal crossing. Fast in, fast out.
- Airshaft Extract (between Sandbox B and Seed Vault) — high-risk, high-control. It has minimal cover, so it's a trap if you call it cold. But clear the nearby tunnels first and drop mines, and it becomes one of the safest extracts on the map. Tunnel control is everything here.
The mistake that gets people killed: calling an extract from the open and then standing on it. On a funnel map, the extract timer is a dinner bell. Pre-clear the area, hold a sightline, and only commit when you've accounted for the third party — because on Stella, there's always a third party.
ARC Raiders - Materials
Get materials in 10 minutes
Stella Montis endgame loot: Magnetic Accelerator, Aphelion & Dolabra
Stella isn't just a loot piñata — it's the source of two endgame weapon crafts, which is why veterans grind it long after they're rich.
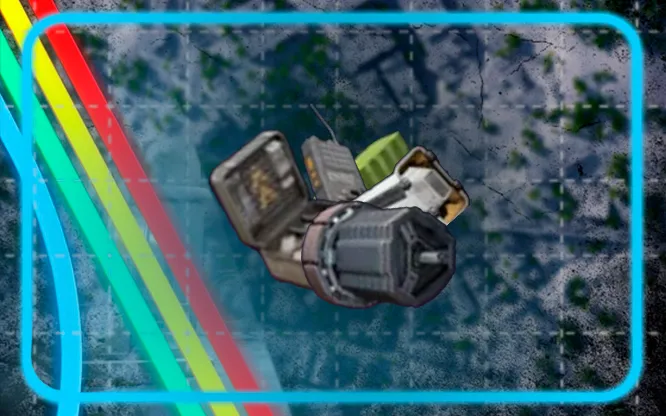
- Magnetic Accelerator — a key endgame craft material that shows up most reliably around the Assembly Workshops / Assembly Line. You need it for both legendary builds below.
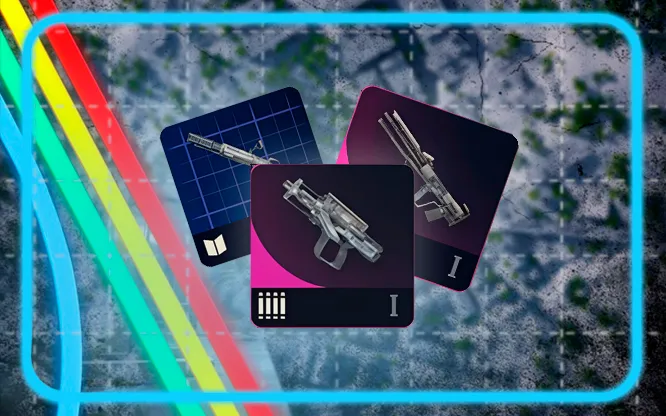
- Aphelion — Stella's signature legendary energy battle rifle. You loot its blueprint from the map itself, then craft it with 1× Matriarch Reactor + 3× Complex Gun Parts + 3× Magnetic Accelerators. Strong in PvP and close-mid fights; underwhelming at extreme range, so don't build around sniping with it.
- Dolabra — the legendary energy shotgun's craft also pulls 3× Magnetic Accelerators (alongside Shredder Gyros and Vaporizer Regulators). If you're farming Stella for Accelerators anyway, you're already halfway to the best CQC weapon in the game.
This is the real reason Stella Montis is the endgame: it's the only place that feeds the top of the crafting tree. Materials and blueprints are the bottleneck, and Stella is where both live.
Skip the grind — gear up the smart way:
- ARC Raiders Materials — from $0.02 — Magnetic Accelerators, Voltage Converters & every craft part, instant delivery
- ARC Raiders Blueprints — from $0.99 — unlock the Aphelion, Dolabra & 60+ blueprints without the RNG
- All ARC Raiders services — leveling, carries & loot runs from a trusted seller
Stella Montis tips: how to actually survive the funnel
- Plan the round backwards. Pick your extract first, then your loot loop, then your entry. The map is too small for a flexible plan.
- Go light, go fast. Overloading on Stella is a death sentence — you can't outrun a Shredder or a flanking squad with a heavy build. Grab the high-value stuff and leave.
- Treat every corner as held. The funnel means players cluster in the same rooms. Pre-aim doorways, use utilities, and never sprint blind into Medical Research.
- Don't wake the Matriarch unless you mean it. A boss fight pins you in place and broadcasts your position. Only commit if the Reactor is the reason you're here and you've cleared the human threats first.
- Respect the "free kit" economy. Stella is full of players running disposable starter kits specifically to throw bodies at you and whittle your shield. Don't burn your good gear chasing kills that give you nothing.
Get those five right and Stella stops being the map that eats your loadout and starts being the one that builds it.
FAQ
How do you unlock Stella Montis in ARC Raiders? You unlock it after playing 24 rounds. There's no key or quest — it's a straight progression gate so you don't land on the endgame map underprepared (arcraiders.wiki).
What is the best loot on Stella Montis? Medical Research is the richest room — a near-infinite source of Showstoppers, Vita Sprays, and Voltage Converters. For craft parts, Assembly Workshops is the best spot for Magnetic Accelerators. The strongest route is Medical Research → Assembly Workshops → Seed Vault.
What's the safest extract on Stella Montis? The Sandbox B Hatch on the southern edge — ARCs don't spawn there, so unless someone is camping it, you extract clean. The Airshaft Extract can be just as safe if you clear the surrounding tunnels and mine them first.
What enemies are on Stella Montis? Mainly Shredders, Pops, and Ticks, plus the Matriarch boss. There are fewer trash mobs than the open maps, but the tight layout makes each one more dangerous — and the real threat is usually other players.
Should you use a sniper on Stella Montis? No. Stella is a tight underground bunker that heavily favors close- and mid-range weapons. Fights happen inside 30 meters, so SMGs, shotguns, and hard-hitting ARs beat marksman builds.
Why do players call Stella Montis the endgame map? Because it has the highest-value loot, the steepest difficulty, and it's the only map that feeds the top of the crafting tree — Magnetic Accelerators plus the Aphelion and Dolabra blueprints. It's the smallest, deadliest, most rewarding map in ARC Raiders.
Related Guides
- More ARC Raiders
- ARC Raiders Best Weapons Tier List — Every Gun Ranked for PvP & PvE
- ARC Raiders How to Get Materials Fast — Best Farming Methods,
- ARC Raiders How to Get Blueprints Fast — Best Farming Methods,
- ARC Raiders Best Augments — Every Augment Ranked & the Best Loadout
- ARC Raiders How to Kill the Queen & Matriarch — Best Weapons, Weak
- ARC Raiders Trials Guide (Season 4) — Ranks, Rewards & How to Climb