Quick Answer: Murohn, the Malformed Monstrosity is an optional claw-fighting mini-boss in The Blood of Dawnwalker. The signature Murohn's Lair sits in a ruined hut northeast of the Briar Sloughs Crossing shrine in Vale Sangora, and it only appears at night — rest at a shrine and advance to Moonrise first. Fight defensively: parry its leaping and flurry swipes, dodge the unblockable overhead slam, and top up on Blood before you go in, because at night Blood is your only healing. Killing it rewards XP, a Skill Point, and the Epic consumable Murohn's Blood.
- What it is: a "malformed monstrosity" — a failed vampire transformation, not a named story villain. Several carry the Murohn's Lair name across the map.
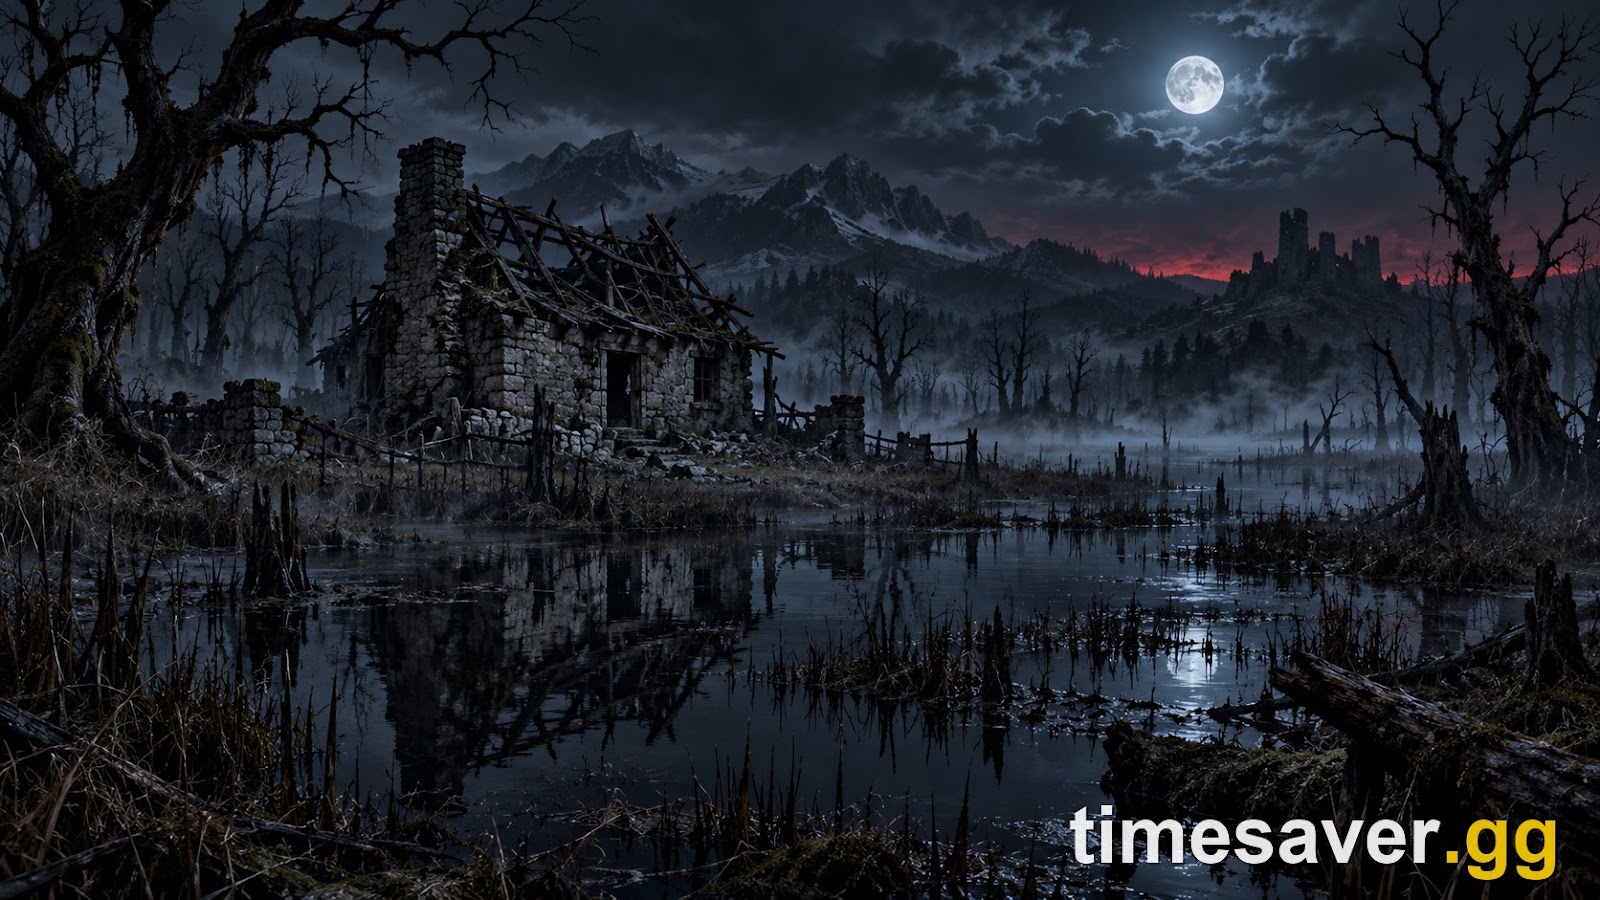
- Where: the best-known lair is a ruined hut northeast of the Briar Sloughs Crossing shrine in the swamps of Vale Sangora. The map marks it with a moon icon, so it only exists after dark.
- How to win: parry the shield-marked swipes, dodge the red-skull overhead slam (it is unblockable), punish one hit at a time, and retreat.
- The payoff: XP, one Skill Point, and Murohn's Blood, an Epic consumable that restores a full Vampiric Health Segment.
Most of the bosses players look up in The Blood of Dawnwalker are the court boyars — Ambrus, Bakir and Xanthe — but the Carpathian wilds of Vale Sangora are full of smaller, nastier things. Murohn, the Malformed Monstrosity, is one of them. It is an optional fight, it has no cutscene and no dialogue, and it can gut an underprepared Coen in seconds with a single unblockable swing.
This guide covers what Murohn actually is, exactly where to find the signature Murohn's Lair, why it only shows up at night, every attack in the fight with the counter for it, and what you get for the kill. If you want the wider roster first, our full boss guide maps every mandatory and optional fight in Vale Sangora.
What is Murohn in The Blood of Dawnwalker?
Murohn is not a single named villain. It is a creature type — a "malformed monstrosity." In the game's own fiction, a Murohn is a failed vampire transformation: the result when a Vrakhir's fang misses the heart and the victim is left something between human and vampire, driven feral. That is why you meet more than one across the map, and why several locations share the exact name "Murohn's Lair."

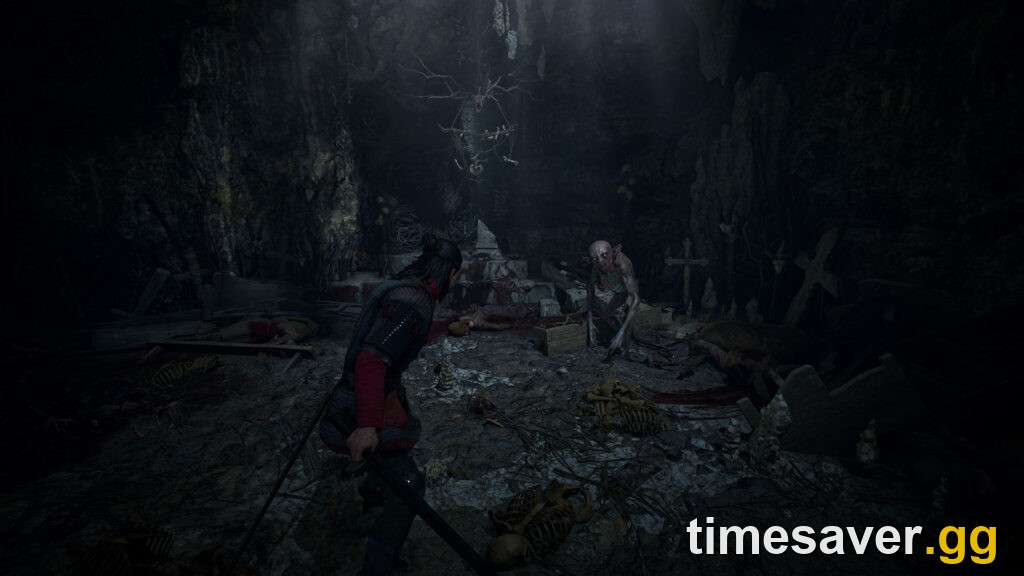
Mechanically it fights like a cornered animal: almost everything it does is a claw attack. There are no magic phases, no summoned adds, and — unusually for this game — no shift in behaviour when its health gets low. The same block-punish-retreat loop that opens the fight is the loop that finishes it. That makes Murohn one of the more honest tests of the game's directional combat system — a read-the-icon rhythm of shield prompts you parry and red-skull warnings you dodge.
Because it is optional, the sensible play is to skip it unless a quest sends you there or you want the loot — but the fight is a clean, repeatable way to practise parrying before you take on the court bosses.
Where is Murohn's Lair?
The best-known Murohn's Lair is inside a ruined hut northeast of the Briar Sloughs Crossing shrine, in the swampy woodland of Vale Sangora. On the world map it is one of the game's 32 Monster Lairs, shown with a white cave icon — but this one also carries a moon icon, and that detail matters more than anything else in this guide.
The moon icon means the lair only exists at night. Walk up to the hut during the day and you will find an empty, abandoned shack and no fight at all. Many players assume the encounter is bugged or already cleared. It is not — you are simply there at the wrong time.

To make the fight appear, remember how time works in The Blood of Dawnwalker: the clock does not tick in real time, and waiting does nothing. As the developers explained on the PlayStation Blog, "as long as you are wandering, watching, listening, never intervening, the sun will stay high in the sky" — "to move time forward, you will have to choose." Time only advances when you take a significant action. The clean way to force nightfall is to rest at the nearest shrine and advance to Moonrise, then walk to the hut. If you have progressed the trees, Shapeshifting (Vampirism) or Mercurial Fervor (Witchcraft) shortens the trip. For the full picture of how the day/night budget works, see our time system explainer.
One more reason the night requirement is a trap: at night, Coen cannot use ordinary food or medicine. Blood is his only source of healing after dark. So before you trigger Murohn, make sure your Blood reserves are topped up — if you run dry mid-fight, there is no bandage to fall back on.
How do you beat Murohn? Full moveset and counters
Murohn telegraphs with the same icon language as every other fight in the game: a shield icon means the attack can be perfect-blocked or parried, and a red skull means it is unblockable and must be avoided with movement (a dodge or a Shadowstep). Murohn only has a handful of attacks, so once you read them the fight is pure pattern recognition.
| Attack | What it looks like | Counter |
|---|---|---|
| Leaping Slash | Lunges forward and finishes with a left-claw swipe | Dodge back, or parry for a counter window |
| Overhead Claw Slash | Raises both claws and brings them straight down | Unblockable (red skull) — strafe sideways or step out of range |
| Upward Claw Slash | A fast rising left-claw swipe | Dodge away; the timing is too tight to parry reliably |
| Claw flurry | Several rapid swipes in a string | Hold block through the string, then counter once it ends |
The winning rhythm is simple and defensive: bait a swing, block or dodge it by matching the attack's angle, land exactly one counter-hit, then back off. Do not get greedy. Standing on top of Murohn and mashing is how the overhead slam catches you, and that one attack hits hard enough to delete a big chunk of a shallow health bar.
Two practical notes. First, if the directional parry feels fiddly, a non-directional block always holds — it is guaranteed to stop the hit, it just drains more stamina, so use it as a safety net rather than your main tool. Second, the game's accessibility options can soften this fight: you can keep the directional icons on, add a stamina penalty for wrong inputs, or open your full consumable inventory mid-fight. On the hardest difficulty the icons are turned off entirely, which is exactly when a feral all-claws enemy like Murohn becomes genuinely dangerous. Our difficulty settings guide breaks down every preset.
What do you get for killing Murohn?
Clearing the lair rewards XP and one Skill Point, both of which feed your overall Level — a real incentive even though the fight is optional. The headline drop is Murohn's Blood, an Epic consumable that restores 100% of a Vampiric Health Segment. Because night fights lock you out of normal healing, a full-segment Blood restore is worth saving for a tough encounter later rather than burning the moment you get it.
The hut's containers and the body also hold general loot — accessories such as the Human Slayer's Pendant, crafting materials like Rags, some Denarius, and a story document, the Second Letter from Rozalia. Exact drops vary between the different Murohn lairs, so treat that list as representative rather than guaranteed for every instance. Loot the containers after the kill before you leave. If you are hunting down every one-off pickup, our missable items guide tracks the ones that are easy to lose.
Are there other Murohn fights?
Yes — and this is where the "creature type, not a boss" distinction pays off. Because Murohn are a species of failed transformation rather than one individual, the game reuses them:
- Monster Lairs across Vale Sangora. Several of the 32 Monster Lairs are Murohn's Lairs, all following the same night-only, claw-heavy pattern described above.
- The "Come Hither" side quest. A Murohn is a required kill inside the sanzhani burrow during this quest, so even players who skip the optional lairs will fight one eventually.
- The "Lost Blood" side quest. A separate Murohn encounter is tied to a quest that starts at a wrecked cart north of the Pilgrim's Trail shrine and ends in a cave at the end of a blood trail.
The counters never change — parry the shield swipes, dodge the red-skull overhead, punish one hit at a time — so once you have beaten one Murohn, you have beaten all of them. For where these and every other fight sit in the wider world, our regions and map guide lays out Vale Sangora region by region.
FAQ
Where is Murohn's Lair in The Blood of Dawnwalker? The best-known Murohn's Lair is a ruined hut northeast of the Briar Sloughs Crossing shrine, in the swamps of Vale Sangora. It is one of the game's 32 Monster Lairs and is marked on the map with a white cave icon plus a moon icon. Several other lairs across the map also use the Murohn's Lair name.
Why is Murohn's Lair empty when I get there? The lair only exists at night — that is what the moon icon on the map means. Arriving in daylight finds an abandoned hut with no fight. Rest at the nearest shrine and advance to Moonrise, then return, and the encounter will be active.
How do I beat Murohn? Fight defensively. Parry or dodge its leaping and upward claw swipes, block through its flurry, and dodge the unblockable overhead slam (the red-skull attack). Land one counter-hit at a time and back off. Top up your Blood beforehand, because at night Blood is your only way to heal.
What is Murohn's Blood and what does it do? Murohn's Blood is an Epic consumable dropped when you clear the lair. It restores 100% of a Vampiric Health Segment. Since you can only heal with Blood at night, it is worth saving for a difficult fight rather than using immediately.
Is Murohn a boss or a regular enemy? Murohn is an optional mini-boss and a creature type rather than a single named villain — it is a "malformed monstrosity," a failed vampire transformation. Because of that, you encounter multiple Murohn across Vale Sangora, including required kills in the "Come Hither" and "Lost Blood" side quests.
Do I have to fight Murohn? Not at the signature lair — that one is optional, and you can skip it. However, a Murohn is a required kill during the "Come Hither" side quest, so most players fight at least one before the end of the game.