Quick answer. Arlecchino is a 5-star Pyro polearm user who deals almost all of her damage with Normal Attacks powered by a Bond of Life. Build her with an ATK% Sands (or Elemental Mastery in Vaporize and Melt teams), a Pyro DMG Goblet and a CRIT Circlet, and use 4-piece Fragment of Harmonic Whimsy, or 4-piece Gladiator's Finale as the easy-to-farm backup. Her signature is Crimson Moon's Semblance, and the free White Tassel is her best no-cost polearm. Don't build HP or Energy Recharge, and level her Normal Attack far above everything else. Her strongest teams pair her with Bennett plus a Hydro or Cryo enabler, such as Arlecchino, Yelan, Bennett and Xilonen. Treat her Burst as an emergency heal, not a damage button.
This guide is current for Version 7.1, "A Rekviem for the Underworld", live since 23 September 2026. Talent numbers come from the in-game talent tables as transcribed by the Genshin Impact Wiki, and team and weapon rankings come from KeqingMains' Arlecchino quick guide, both checked on 15 October 2026.
Can you get Arlecchino right now?
No. She is not on any Event Wish in Version 7.1, and she is not in the free selector either. HoYoverse's in-game announcement 21924 lists the six event-exclusive 5-stars you can pick before 3 November 2026: "Tartaglia, Nilou, Baizhu, Chiori, Clorinde, and Varesa." The live Version 7.1 Event Wishes (announcements 21888 and 21889) feature Skirk and Escoffier.
Her most recent banner was the Version 7.0 Phase I rerun of "The Hearth's Ashen Shadow", which ran from 12 August to 1 September 2026 alongside Odette's banner. That was her fourth Character Event Wish. The first three ran in April 2024, January 2025 and November 2025, and she has never been in a Chronicled Wish.
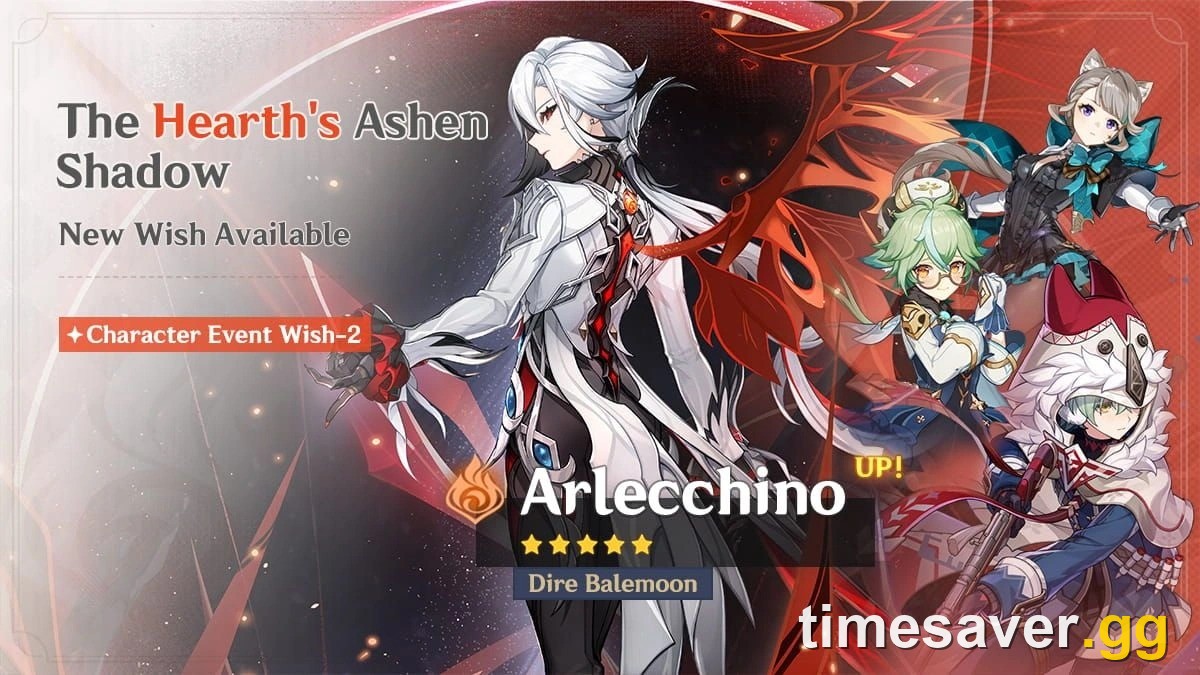
HoYoverse has not announced Version 7.2's banners, so any Arlecchino rerun date you see right now comes from leaks. If you pulled her in August, this guide is how to get the most out of her. If you are saving for her, our pity system guide explains how many wishes a guaranteed 5-star takes.
How does Arlecchino's kit actually work?
Her whole kit is built around one resource: a Bond of Life (BoL), which works like negative HP. Healing fills it before it can restore your actual HP. Here is the loop in four steps.
- Elemental Skill, All Is Ash. She dashes through enemies, deals Pyro damage and marks them with a Blood-Debt Directive. Each Directive ticks twice for Pyro damage over 10 seconds. The Skill also generates 5 Energy particles and has a 30-second cooldown.
- Wait 5 seconds. Her first Ascension Passive upgrades each Directive into a Blood-Debt Due after 5 seconds. Absorbing a Directive grants a Bond worth 65% of her Max HP, while absorbing a Due grants 130%. Gaining Bond from one Skill cast is capped at 145% of her Max HP.
- Charged Attack to absorb. Any Charged Attack pulls in nearby Directives. It doesn't even have to hit: the wiki notes you can cancel it with a dash and still absorb.
- Normal Attacks to spend. With a Bond of at least 30% of her Max HP she enters Masque of the Red Death. Her attacks turn into Pyro damage that can't be overridden, and every Normal Attack hit adds bonus damage based on her current Bond, then consumes 7.5% of it.
Two numbers explain why she plays the way she does.
One Due gives about 19 empowered hits. Each hit takes 7.5% of the current Bond, so it shrinks multiplicatively. Starting from 130%, the Bond is still 32% after 18 hits and drops below the 30% threshold on the 19th. KQM's guide gives the same practical figure: "around 18 buffed Normal Attacks with the BoL granted by a single Blood-Debt Due."
Her 30-second Skill cooldown is really about 15 seconds. Every Bond-consuming hit cuts All Is Ash's cooldown by 0.8 seconds. Nineteen empowered hits remove about 15 seconds, which is why a full Arlecchino rotation sits close to 15 to 20 seconds instead of 30.
The bonus damage is the real engine. At Normal Attack level 10, the Masque ratio is 238%, so with a 130% Bond her first hit deals 93.9% + 238% × 1.30 = about 403% ATK. More than three-quarters of that comes from the Bond, not the attack's own multiplier. That is why her guides say she "isn't very picky about her specific Normal Attack string": the bonus is the same on every hit, so players dash-cancel short strings instead of finishing her slow sixth hit.
Her utility passive, The Balemoon Alone May Know, sets the rules for her teams. In combat she gains 40% Pyro DMG Bonus and "can only be healed through Balemoon Rising", her own Burst. Bennett, Kokomi and every other healer simply do not heal her in combat. KQM sums it up: "it is the epitome of high risk, high reward."
Her fourth Ascension Passive adds 1% All Elemental and Physical RES for every 100 ATK above 1,000, up to 20%. You hit that cap at 3,000 ATK.
Should you use Arlecchino's Burst?
Mostly no, or only as an emergency heal at the start of a rotation. Balemoon Rising costs 60 Energy, deals one hit of AoE Pyro damage, resets her Skill cooldown and heals her. But healing fills Bond of Life first, so the Burst effectively wipes the Bond you have banked. KQM's guide says it "will immediately consume the entire BoL" and heals her for about 50% of that Bond plus 150% of her ATK.
That costs you damage two ways. You lose any surplus Bond carried over from earlier rotations, and her Masque state switches off until you cast the Skill again. If you Burst in the middle of her Normal Attack combo, you also desync her Skill timing from your teammates.
So the practical rule is:
- Burst at the start of a rotation, when she needs HP. Cast the Skill first so the Burst absorbs a Directive and heals more.
- Otherwise hold it. If you only Burst once every two or more rotations, KQM says she "will not need to build any ER%".
- If you insist on a Burst every rotation, KQM's Energy Recharge targets are 150% or more with no other Pyro unit, 140 to 150% with two Pyro units, and 120% with three.
Constellation 6 is the exception: it turns the Burst into a real damage skill (see below).
What are Arlecchino's best artifacts and main stats?
Main stats:
- Sands: ATK%. Elemental Mastery is equally viable in Vaporize and Melt teams, but use ATK% in any team without those reactions.
- Goblet: Pyro DMG Bonus. An ATK% Goblet with better substats can beat a weak Pyro Goblet.
- Circlet: CRIT Rate or CRIT DMG.
- Substats: CRIT first, then ATK%, then Elemental Mastery for Vaporize.
Don't build HP. KQM is direct about it: "Arlecchino should not build HP." Her Bond values are percentages of her Max HP, so more HP doesn't increase her damage, and her damage scales only with ATK.
Best artifact sets:
| Set | 4-piece effect | When to use it |
|---|---|---|
| Fragment of Harmonic Whimsy | 18% DMG for 6s whenever her Bond of Life rises or falls, up to 3 stacks (54%) | Best in slot for nearly every team |
| Night of the Sky's Unveiling | Lunar reaction set | Just behind Whimsy in Ascendant Gleam teams, and worth using over it when Ineffa and Columbina are both in the team |
| Gladiator's Finale | Normal Attack DMG +35% for sword, claymore or polearm users | Best backup, farmed passively from bosses |
| Unfinished Reverie | Burning-team set | Only in Burning teams |
Both Whimsy and Gladiator's give ATK +18% at 2 pieces. Whimsy fits her perfectly because every empowered Normal Attack changes her Bond, so she keeps all three stacks almost permanently. You farm it in the Faded Theater domain in Fontaine. While you farm, 2-piece ATK% and 2-piece Pyro DMG combinations are fine.
KQM also notes that 4-piece Marechaussee Hunter, the usual pick for HP-draining characters, "does not outperform 4pc Fragment even in Furina teams."
What is Arlecchino's best weapon?
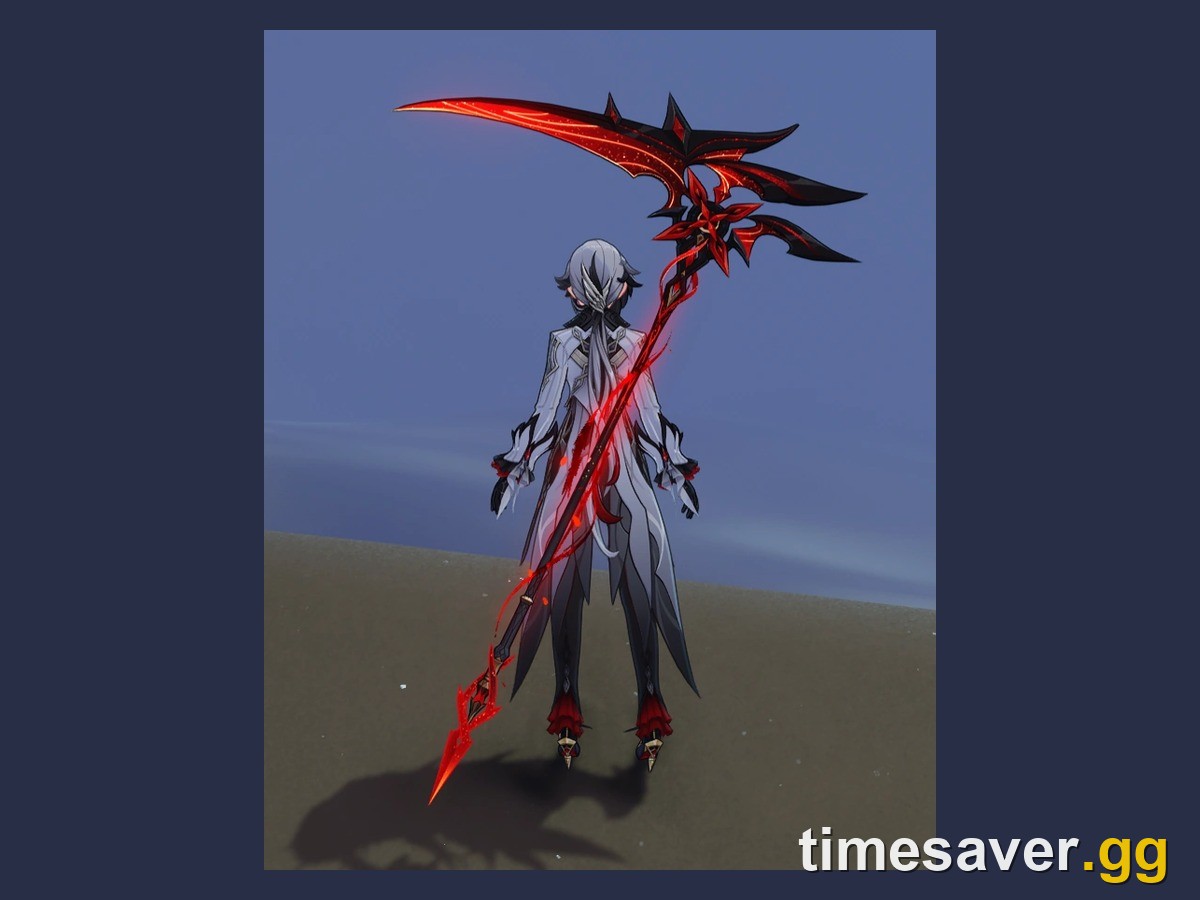
Crimson Moon's Semblance is her signature and her clear best weapon. It has 674 base ATK and a 22.1% CRIT Rate substat. At refinement 1, a Charged Attack hit grants a Bond worth 25% of Max HP once every 14 seconds. She gets 12% DMG while she has any Bond and a further 24% at 30% or more, so it is effectively 36% DMG while her Masque is up. On Arlecchino it also turns into a full scythe.
KQM's other main picks, in order:
- Primordial Jade Winged-Spear (5-star). Her general second-best. It stacks 3.2% ATK per hit up to 7 times (22.4%) and adds 12% DMG at max stacks, and her fast hits keep it stacked.
- Staff of the Scarlet Sands (5-star). A close rival to Jade Spear in Vaporize teams where she runs an Elemental Mastery Sands.
- Fractured Halo and Staff of Homa (5-star). Her best CRIT stat sticks.
- Deathmatch (4-star, Battle Pass). Up to 48% ATK at refinement 5 against a single enemy, so it is best in single-target fights.
- Ballad of the Fjords (4-star). Beats Deathmatch in Vaporize teams that include a third element.
- White Tassel (3-star). Her best free option. It adds up to 48% Normal Attack DMG at refinement 5. Use it with Bennett to make up for its low base ATK.
KQM skips Blackcliff Pole even though it looks like her signature: it "isn't much better than R5 White Tassel while also costing Starglitter."
One useful benchmark from the same guide: C1 Arlecchino with R5 White Tassel performs about the same as C0 with R1 Crimson Moon's Semblance. If you have to choose between your next Arlecchino copy and her weapon, that's the comparison to make.
Which talents should you level first?
Normal Attack first, by a long way, then character level, then Burst, then Skill. KQM's order is "Normal Attack ≫ Character Level > Burst > Skill." The Masque ratio sits in the Normal Attack table, rising from 120.4% at level 1 to 238% at level 10, so this one talent scales both her normal hits and her Bond bonus. Her Burst's healing doesn't depend on its talent level.

Talent materials, one talent from level 1 to 10:
- Books: 3 Teachings, 21 Guide and 38 Philosophies of Order, from the Pale Forgotten Glory domain on Wednesday, Saturday and Sunday.
- Weekly boss: 6 Fading Candle, from The Knave at level 70 or higher.
- Common: 6 Recruit's, 22 Sergeant's and 31 Lieutenant's Insignia, dropped by Fatui enemies.
- Also: 1 Crown of Insight and 1,652,500 Mora.
Our Crown of Insight guide covers where to get the Crown.
Ascension from level 1 to 90 costs 46 Fragment of a Golden Melody (from the Statue of Marble and Brass boss), 168 Rainbow Rose (a Fontaine local specialty), Agnidus Agate (1 Sliver, 9 Fragments, 9 Chunks and 6 Gemstones), 18, 30 and 36 of the three Insignia tiers, and 420,000 Mora.
What are the best Arlecchino teams?
Every strong Arlecchino team follows two rules. Stack ATK buffers, because Bennett can't heal her but still gives her a huge flat ATK buff. And bring a shield or play around dodging, because nobody else can heal her. These are the teams KQM lists, grouped by archetype:
| Archetype | Team | Notes |
|---|---|---|
| Reverse Vaporize | Arlecchino, Yelan, Bennett, Xilonen / Kazuha / Sucrose | Her default high-damage team, with no shield |
| Reverse Vaporize (shield) | Arlecchino, Yelan, Bennett, Lan Yan | Lan Yan holds 4-piece Viridescent and shields |
| Forward Melt | Arlecchino, Citlali, Bennett, Xilonen / Sucrose / Kazuha | Citlali is "Arlecchino's best Melt enabler" |
| Overloaded | Arlecchino, Chevreuse, Fischl, Nicole or Bennett | Chevreuse requires a Pyro and Electro-only team |
| Mono Pyro | Arlecchino, Bennett, Xilonen, Kazuha | No reactions, just buffs and shred |
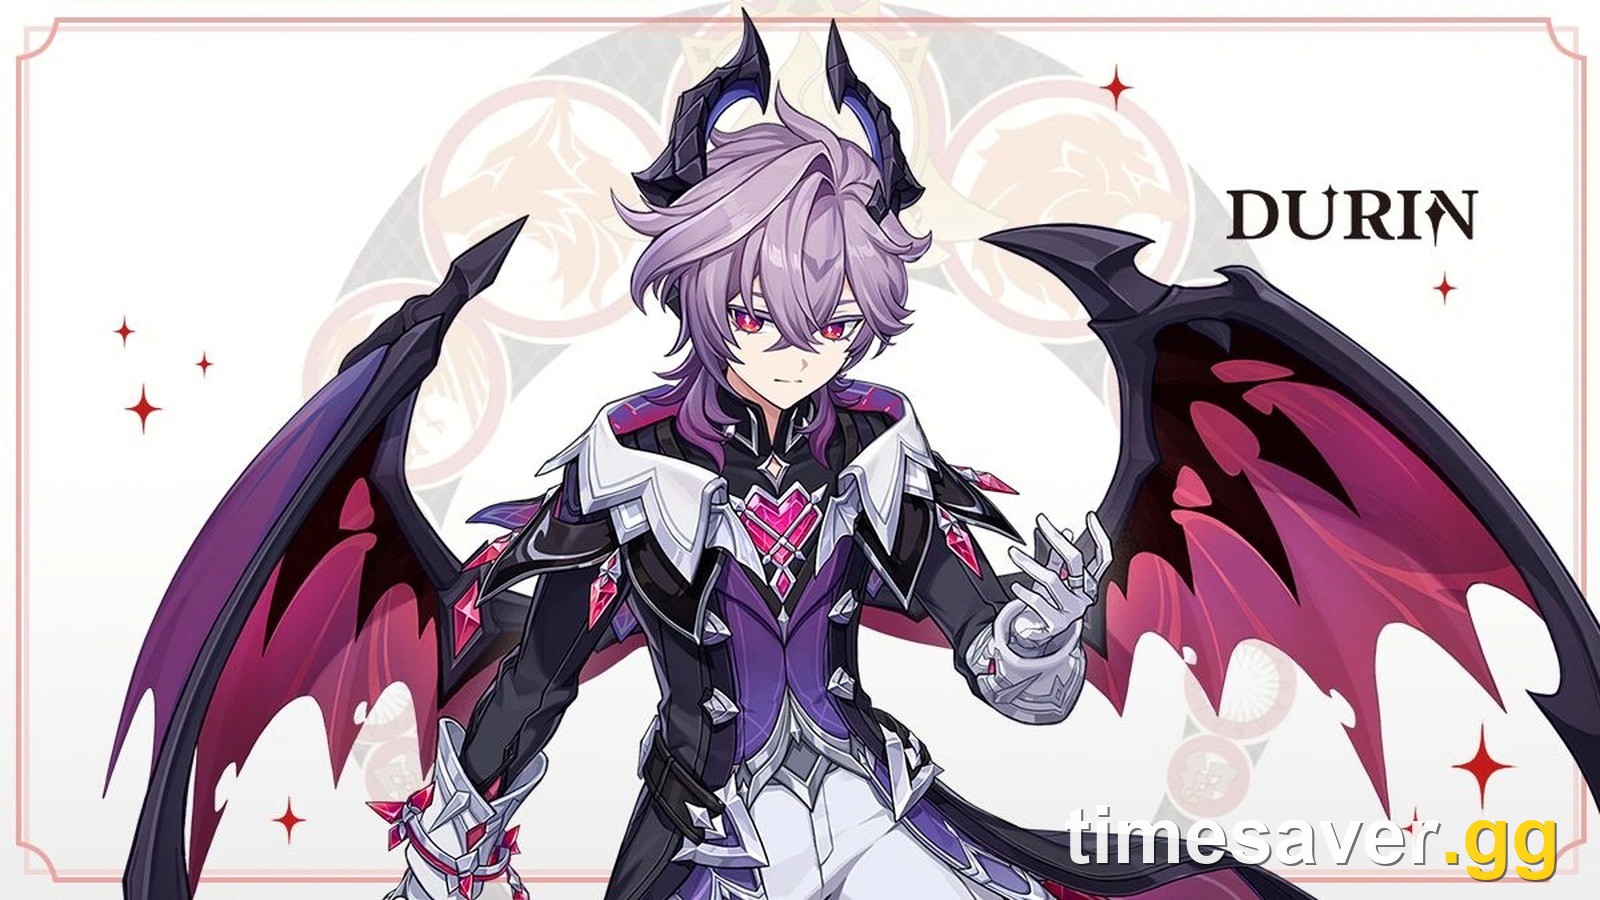
| Bennett-free | Arlecchino, Durin, Nicole, Prune | Built around the Hexerei buffs |
| Budget | Arlecchino, Bennett, Lan Yan, Kachina | All 4-stars, still comfortable |
Picking within those teams:
- Hydro: Yelan is the top pick. Xingqiu is the defensive alternative, and Mona works well with Sucrose or Nicole. Avoid Furina. Arlecchino can't receive healing, so Furina's Fanfare builds slowly, and Furina's HP drain is dangerous without a shield. KQM calls her "not generally recommended."
- Cryo for Melt: Citlali first. Only Citlali, Kaeya and Rosaria apply Cryo fast enough on their own, so a second Cryo like Escoffier makes Melt more reliable. Our Escoffier build covers how to gear her for that slot.
- Durin is a strong off-field Pyro unit in Overloaded and Mono Pyro teams. KQM notes he "shreds 20% Pyro RES when Pyro reactions are triggered (excluding Vape and Melt)." That exclusion is why he belongs in her Overloaded and Mono Pyro teams, not the Vaporize ones. Our Durin build breaks down which of his forms to use.
- Shields: Nicole, Zhongli, Lan Yan, Thoma and Ineffa all keep her alive without needing to heal her.
A simple Vaporize rotation (Kazuha version): Arlecchino Skill, Bennett Skill, Yelan Skill and Burst, Bennett Burst, Kazuha hold Skill and plunge, then back to Arlecchino for a three-hit string into a Charged Attack, five more three-hit strings with a dash cancel after each, and one final Normal Attack. Casting her Skill first gives the Directives time to become Dues before you come back to absorb them.
What do Arlecchino's constellations change?
- C1, "All Reprisals and Arrears, Mine to Bear...": The Masque bonus "is further enhanced, the value of the increase is 100%", which takes the level 10 ratio from 238% to 338%. She also becomes much harder to interrupt during her attacks. KQM calls it "a very useful early Constellation."
- C2: Directives start as Dues, so you no longer have to wait 5 seconds. Absorbing one also unleashes a 900% ATK AoE Pyro hit and raises her All Elemental and Physical RES by 20% for 15 seconds.
- C3: +3 Normal Attack levels, a direct increase to her main damage.
- C4: Absorbing a Directive restores 15 Energy and cuts 2 seconds off her Burst cooldown, once every 10 seconds.
- C5: +3 Burst levels. It matters little before C6.
- C6: Adds 700% of her ATK multiplied by her Bond percentage to the Burst, and gives her Normal Attacks and Burst +10% CRIT Rate and +70% CRIT DMG for 20 seconds after her Skill. This is the only point where using her Burst for damage makes sense.

For what comes after this patch, our Version 7.2 characters guide separates what HoYoverse has confirmed from what it hasn't.
FAQ
What is the best build for Arlecchino in Genshin Impact? An ATK% or Elemental Mastery Sands, a Pyro DMG Goblet and a CRIT Circlet, with 4-piece Fragment of Harmonic Whimsy and Crimson Moon's Semblance. Prioritise CRIT substats, then ATK%. Don't build HP, and skip Energy Recharge unless you Burst every rotation.
Can Bennett heal Arlecchino? No. Her passive says she "can only be healed through Balemoon Rising" while in combat, so Bennett's healing does nothing for her. His Burst's ATK buff still works, which is why he is still her best support.
Why does my Arlecchino lose her Pyro attacks? Her Bond of Life has dropped below 30% of her Max HP. Each empowered hit consumes 7.5% of the current Bond, so one Blood-Debt Due lasts about 18 to 19 hits. Recast her Skill, wait for the Directives to become Dues, then Charged Attack to absorb them again.
Is Arlecchino in the free 5-star selector in Version 7.1? No. The event-exclusive selector (announcement 21924) offers Tartaglia, Nilou, Baizhu, Chiori, Clorinde and Varesa. Her last banner ran from 12 August to 1 September 2026, and HoYoverse has not announced her next one. Our free 5-star selector guide compares the six picks.
Is Arlecchino good without her signature weapon? Yes. C0 Arlecchino with R1 Crimson Moon's Semblance does about the same damage as C1 Arlecchino with the free R5 White Tassel. Primordial Jade Winged-Spear and Staff of the Scarlet Sands are the next-best 5-stars, and Deathmatch is the best 4-star in single-target fights.
Building a Pyro carry this patch? These Genshin Impact guides cover her teammates and the systems around her.
- Durin build guide
- Escoffier build guide
- Banner schedule for October 2026
- Pity system explained
- Crown of Insight guide
Sources: HoYoverse in-game announcement API (announcements 21888, 21889 and 21924, Version 7.1, checked 15 October 2026), the Genshin Impact Wiki's Arlecchino talent, constellation, ascension and wish-history tables and its Crimson Moon's Semblance, White Tassel, Primordial Jade Winged-Spear, Deathmatch, Fragment of Harmonic Whimsy, Gladiator's Finale and material pages, and KeqingMains' Arlecchino quick guide (updated for Luna VIII). Verified 15 October 2026.