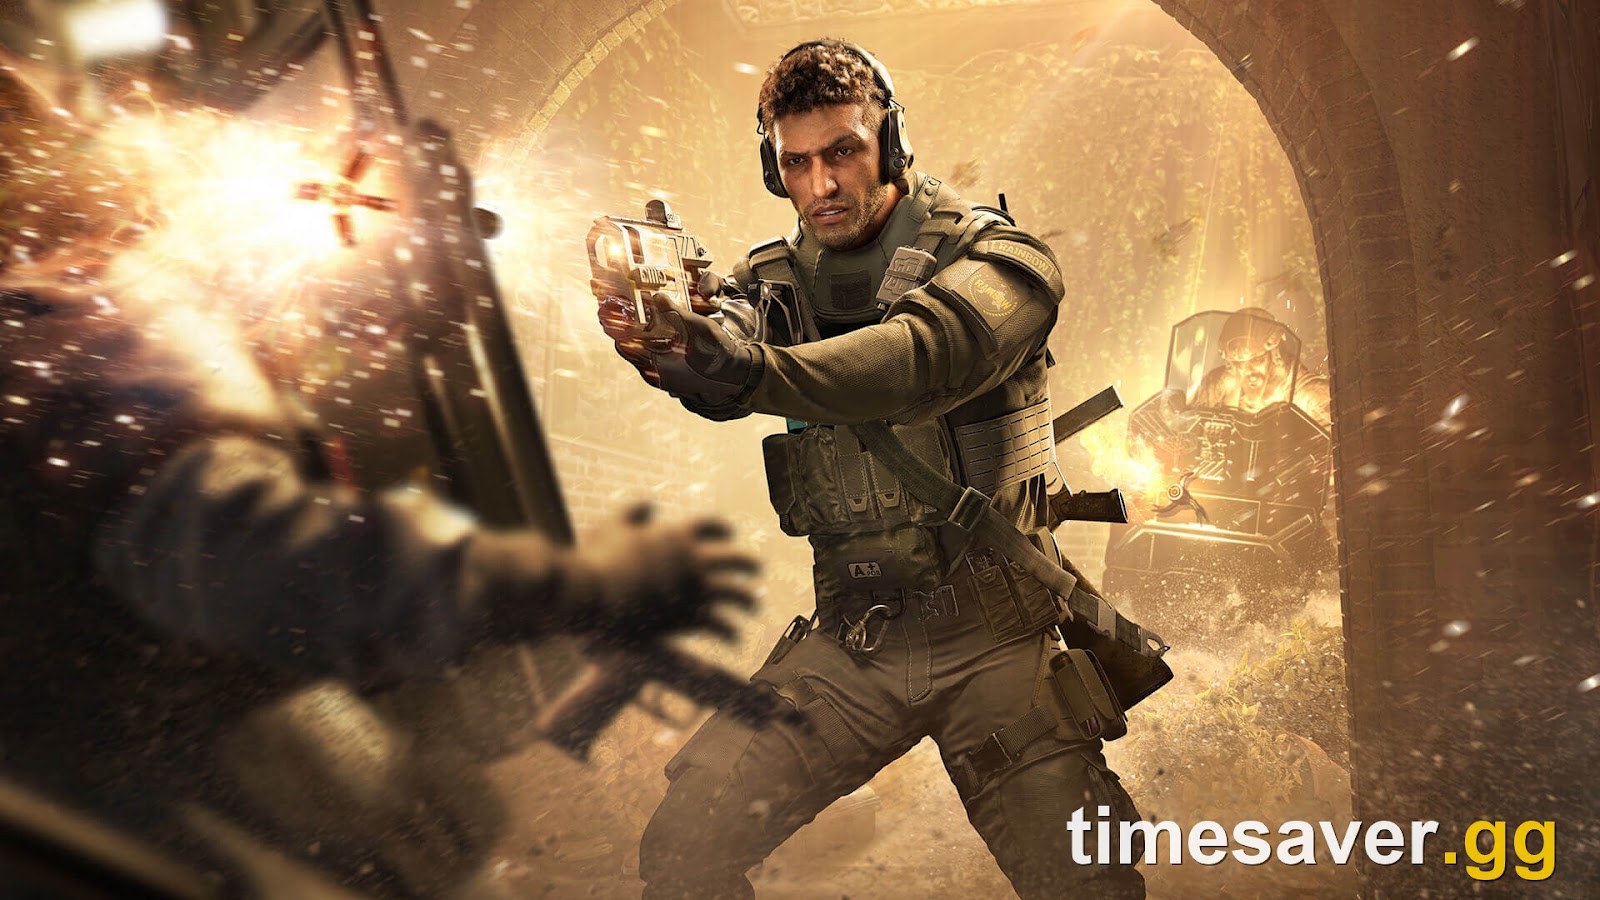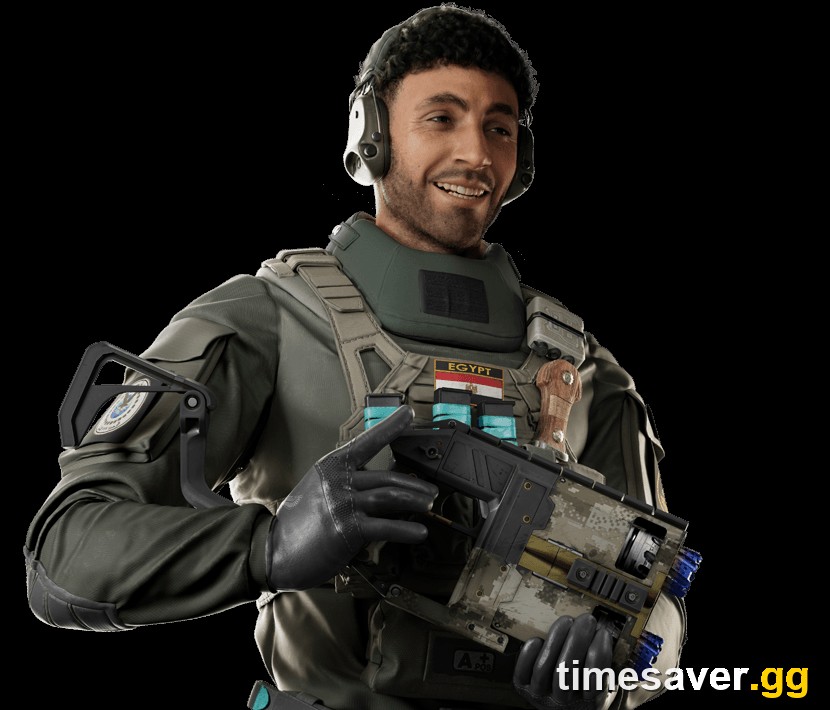
This guide covers Noor's full kit as of Year 11 Season 3, Operation Split Fire, which launched September 1, 2026. All loadouts, gadget mechanics, and meta placements reflect the current Y11S3 patch.
Quick answer: Noor (Ahmed Murad) is a 2-speed / 2-armor Egyptian defender who joined Rainbow Six Siege in Y11S3 with the Horus Lance Launcher. He fires 5 projectiles that burrow into shields, walls, hatches, and attacker gadgets — then vent flames in two directions. Against Blitz, Montagne, or Blackbeard, a single lance forces the attacker to lower their shield to remove it, creating a kill window. He also denies hard-breach gadgets and controls choke points with fire hazards. His current tier is A. To counter him: remove shield operators from your draft, rush hard-breach placement before Noor can react, and destroy the Azami barriers or Castle panels he uses as lance platforms.
Who Is Noor?
Ahmed "Noor" Murad is Rainbow Six Siege's newest defender, introduced in Year 11 Season 3 (Operation Split Fire) on September 1, 2026. He is Egyptian — a Unit 777 graduate who later proved himself in the Delta Force admission exam. His father, Gamal Murad, was a previous Rainbow operator. In Ubisoft's words: "Noor is designed to counter Shield Operators by disrupting Attacker momentum and forcing players to rethink shield-led pushes."
As Noor himself puts it: "Basha! I've gotten out of more tight spots with a smile than a gun, but that doesn't mean I don't still carry one." — Ahmed "Noor" Murad (source: ubisoft.com/en-us/game/rainbow-six/siege/game-info/operators/noor)
Noor at a glance (Y11S3):
| Stat | Value |
|---|---|
| Side | Defender |
| Speed | 2 |
| Armor | 2 |
| Season added | Y11S3 — Operation Split Fire |
| Gadget | Horus Lance Launcher (5 projectiles) |
| Meta tier | A-Tier |
The 2-speed / 2-armor balance is the most adaptable in Siege — Noor can anchor on site or roam freely, which means he works on any bomb site regardless of how your team wants to play the round.
For a full look at where Noor and every other defender place in the current meta, see our Y11S3 Operator Tier List.
How Does the Horus Lance Launcher Work?
Noor carries 5 Horus Lance projectiles per round. Each lance flies in a straight line and embeds itself on contact with a surface. What happens next depends on where it lands.
Against shields (Blitz, Montagne, Blackbeard): When a lance hits a ballistic shield, it burrows in and ignites — spraying flames directly at the operator behind it. The flames are lethal within seconds. The only survival move is to lower the shield to the side and manually remove the lance, which leaves the attacker completely exposed. That moment of vulnerability is what Noor and his defenders use to win the fight. (Source: news.ubisoft.com — Operation Split Fire season overview)
Against walls, floors, and hatches: Lances embed into soft and reinforced walls, soft floors, hatches, deployable shields, Osa shields, Castle Armor Panels, and Azami Kiba Barriers. On any penetrable surface, lances vent flames from BOTH sides simultaneously — blocking the approach on one side and the anchor on the other. On non-penetrable surfaces like door frames and window frames, flames jet from only one side.
Against hard-breach gadgets: A Thermite Exothermic Charge, Ace S.E.L.M.A. device, or Hibana X-KAIROS charge placed on a reinforced wall can be destroyed by a Horus Lance fired at the device. The timing window is tight — Noor must be pre-positioned and fire after the gadget is placed but before it detonates. Used correctly, this denies the breach entirely with no counter from the attacker side. (Source: news.ubisoft.com — Operation Split Fire season overview)

Where Should You Place Noor's Lances?
Noor has 5 lances per round and no resupply. Every shot counts. These placements consistently pay off across map types:
Hard breach wall (from the defender side): Pre-position behind a reinforced wall you expect attackers to target. Fire a lance at the wall from close range once you hear Thermite or Ace place a gadget. The lance destroys the breach device before it fires. This forces attackers to either send a second breacher or find a different entry — costing both time and predictability.
Default plant spot (through a floor or ceiling): Fire a lance through the soft floor directly above or below the most common defuser plant location. The two-direction flames create a fire curtain over the plant area. Attackers must destroy the surface or accept taking damage while planting, which buys defenders critical extra seconds in the final push.
High-traffic doorways with a deployable shield: Drop a deployable shield in a doorway and immediately fire a lance into it. Two-direction flames seal the doorway without committing to a gunfight. Attackers must shoot the shield to clear the hazard, which gives away their position.
Azami and Castle surfaces: When playing alongside Azami or Castle, request barriers and panels at choke points before the round starts. Azami's Kiba Barriers and Castle's Armor Panels become permanent lance platforms that cover both sides of a wall with fire.
What Is Noor's Best Loadout in Y11S3?
For a full operator-by-operator loadout breakdown, see our Best Loadout for Every Operator guide. Here is Noor's specific recommendation:
Primary weapon — Commando-9 vs ALDA 5.56:
| Weapon | Type | Verdict |
|---|---|---|
| Commando-9 | Assault Rifle | Recommended for most players — manageable recoil, strong in close-mid engagements |
| ALDA 5.56 | LMG | Specialist pick — high ammo pool for wall denial and sustained fire, but slower handling punishes fast peeks |
The Commando-9 is the more consistent choice for ranked. It handles cleanly in the hallway fights and room clears where Noor spends most of his time.
One note on the Y11S3 weapon meta: the SMG-12 machine pistol took a heavy nerf this season — its damage dropped from 28 to 16 and its magazine shrunk from 32 to 22 rounds. Noor doesn't use the SMG-12, but this shift means several defenders are now using primaries more aggressively, which affects how contested gunfights play out on site.
Secondary weapon:
| Weapon | Why |
|---|---|
| 1911 TACOPS | Reliable backup sidearm for close quarters |
| Bailiff 410 | Shotgun-style damage and can destroy soft floors to open new lance angles |
Gadget choice:
| Gadget | Best use |
|---|---|
| Deployable Shield | Creates an instant lance platform anywhere on the map |
| Barbed Wire | Slows attackers walking through lance fire zones, maximizing burn time |
The Deployable Shield has a direct gadget combo: place the shield, fire a lance into it, and you have a two-direction flame barrier with no reliance on teammates. Barbed Wire pairs well with pre-placed lances when you are anchoring a specific corridor.
Who Synergizes Best with Noor?
Noor's gadget multiplies in value with the right teammate picks. These four operators directly amplify the Horus Lance Launcher:
Azami — Her Kiba Barriers can be placed anywhere and serve as instant lance platforms. Every barrier Azami places is a surface Noor can embed a lance into, creating two-direction fire in locations attackers don't expect. This is the highest-value Noor synergy in the game.
Castle — Armor Panels serve the same function as Kiba Barriers and also slow entry to the site. Castle and Noor together can convert doorways and windows into fire traps that cost attackers either time or health.
Pulse — His Cardiac Sensor detects heartbeats through walls, giving Noor exact position tracking on where a shield operator is before committing a lance. With Pulse's information, Noor can fire around a corner at a pre-marked shield rather than guessing the push timing.
Tubarão and Melusi — Ubisoft confirmed that Tubarão's Zoto Canister and Melusi's Banshee Sonic Defense both slow attackers caught in Horus Lance flames, maximizing total burn damage. Either is worth considering when running Noor. (Source: news.ubisoft.com — Operation Split Fire season overview)
How Do You Counter Noor as an Attacker?
Noor is A-Tier specifically because his counters require deliberate draft and coordination rather than reactive in-round play. Here is what actually works:
1. Drop shield operators when Noor is in the enemy ban pool. Noor's gadget is purpose-built to punish Blitz, Montagne, and Blackbeard. If the opposing team picks or bans in a way that leaves Noor available, it is worth avoiding shields on that round entirely. A shieldless lineup still wins rounds — a shield push into Noor's pre-prepared lances usually does not.
2. Rush your hard-breach gadget placement. Thermite, Ace, and Hibana have a narrow window to place their breach devices before Noor gets into position to react. Fast Thermite placement and an immediate detonate — without pausing to peek or push — shrinks Noor's lance reaction window from several seconds to under two. Speed is the counter.
3. Destroy the surfaces Noor uses as lance platforms. Ash's Breaching Round, Flores's RCE-Ratero Charge, and Maverick's Torch can all destroy Azami barriers and Castle panels from a safe angle, removing embedded lances along with the surface. Prioritize destroying Kiba Barriers and Armor Panels in lance-likely spots before pushing the area.
4. Listen for the launcher. The Horus Lance Launcher has a distinct audio cue when fired. If you hear it during the round, call out your position to teammates and hold your angle — Noor has just tracked your push timing and is likely placing a lance on your approach path.
5. If a lance hits your shield — lower it immediately and move. For Montagne and Blitz players who stay in the draft despite Noor: if a lance embeds in your shield, lower the shield to the side and back up as fast as possible. Removing the lance quickly limits total burn damage. The goal is to survive the exposure window, not to fight through it.
Ready to climb in Siege or curious what other services timesaver.gg offers?
Is Noor Good? His Meta Position in Y11S3
As of Operation Split Fire (September 2026), Noor sits at A-Tier in the defender pool. He is not at the S-Tier level of Azami, Mira, Smoke, Mute, or Jäger, but he is a strong and flexible pick on any bomb site.
His value is clearest in matches where the opposing team has drafted Blitz or Montagne — in those rounds, Noor is arguably the highest-priority defender pick. Against a no-shield attacker comp, he still contributes as an area-denial and breach-denial tool, but those roles are contested by Kaid, Bandit, and Jäger at higher meta priority.
Rainbow Six Siege now has 78 operators total — 39 attackers and 39 defenders as of Y11S3. In a defender pool that size, a 2-speed flexible operator who hard-counters an entire class of attacker gadget earns his roster slot. The most common scenario where Noor is the correct pick: ranked bans resolve and both Blitz and Montagne survived the round's ban phase.
For a deeper look at every defender's ranked viability and the Ranked 3.0 matchmaking system, see our Y11S3 Ranked System Guide.
FAQ
Is Noor a good operator for beginners? He has a moderate skill floor. Placing lances effectively requires map knowledge — knowing where hard-breach gadgets typically land, where shields will push, and which surfaces produce two-direction flame corridors. If you are new to Noor, start by using lances purely to deny Thermite's breach placement and only branch into advanced area-denial setups once you have that core interaction down.
How many Horus Lance projectiles does Noor have? Noor carries 5 Horus Lance projectiles per round. There is no resupply mid-round, so economy matters — use lances where the payoff is confirmed, not as probing shots.
Can Thatcher's EMP Grenades destroy Noor's embedded lances? Thatcher's EMP Grenades are confirmed to destroy electronic defender gadgets. Whether placed Horus Lances are treated as electronic gadgets by the game engine has not been officially confirmed by Ubisoft as of the Y11S3 launch. Verify this interaction in customs before relying on it in ranked.
Which primary is better for Noor — Commando-9 or ALDA 5.56? For most ranked play, the Commando-9 is the better pick. Its recoil is manageable and it wins the close-range gunfights Noor takes most frequently. Run the ALDA 5.56 only if you specifically want to spray through soft walls or hold longer corridors where its high ammo capacity pays off.
Does Noor counter all shield operators equally? Blitz and Montagne are his most impacted targets because they push with the shield forward in close-range situations where lances are easy to land. Blackbeard's shield is smaller (attached to his rifle) and used differently — Blackbeard is still disadvantaged but less immediately threatened than full-body shield operators.