Five defenders define the Y11S3 ranked meta — and if you do not have a specific answer for each of them, you will lose matches to setups rather than to skill. Azami, Mira, Fenrir, Kaid, and Smoke are all S-Tier in Operation Split Fire and appear in coordinated stacks at every rank above Gold. This guide gives you a counter for each one: the right attacker picks, the specific order of plays, and the Y11S3-specific changes that shift how the matchup works. If you need a full meta overview first, check our Rainbow Six Siege Y11S3 Operator Tier List and then come back here for the counter-play details.
Quick Answer — Azami: run Kali to shoot through the wall, or Ash + Thermite to breach past the barriers. Mira: Kali is the biggest Y11S3 upgrade; never stand in front of the Black Mirror. Fenrir: drone his mines in prep phase, bring Twitch Shock Drone to destroy them. Kaid: always Thatcher EMP before Thermite; Kali is the hard-bypass fallback. Smoke: Twitch destroys his canisters remotely; time your plant for after he wastes them.
How Do You Counter Azami in Y11S3?
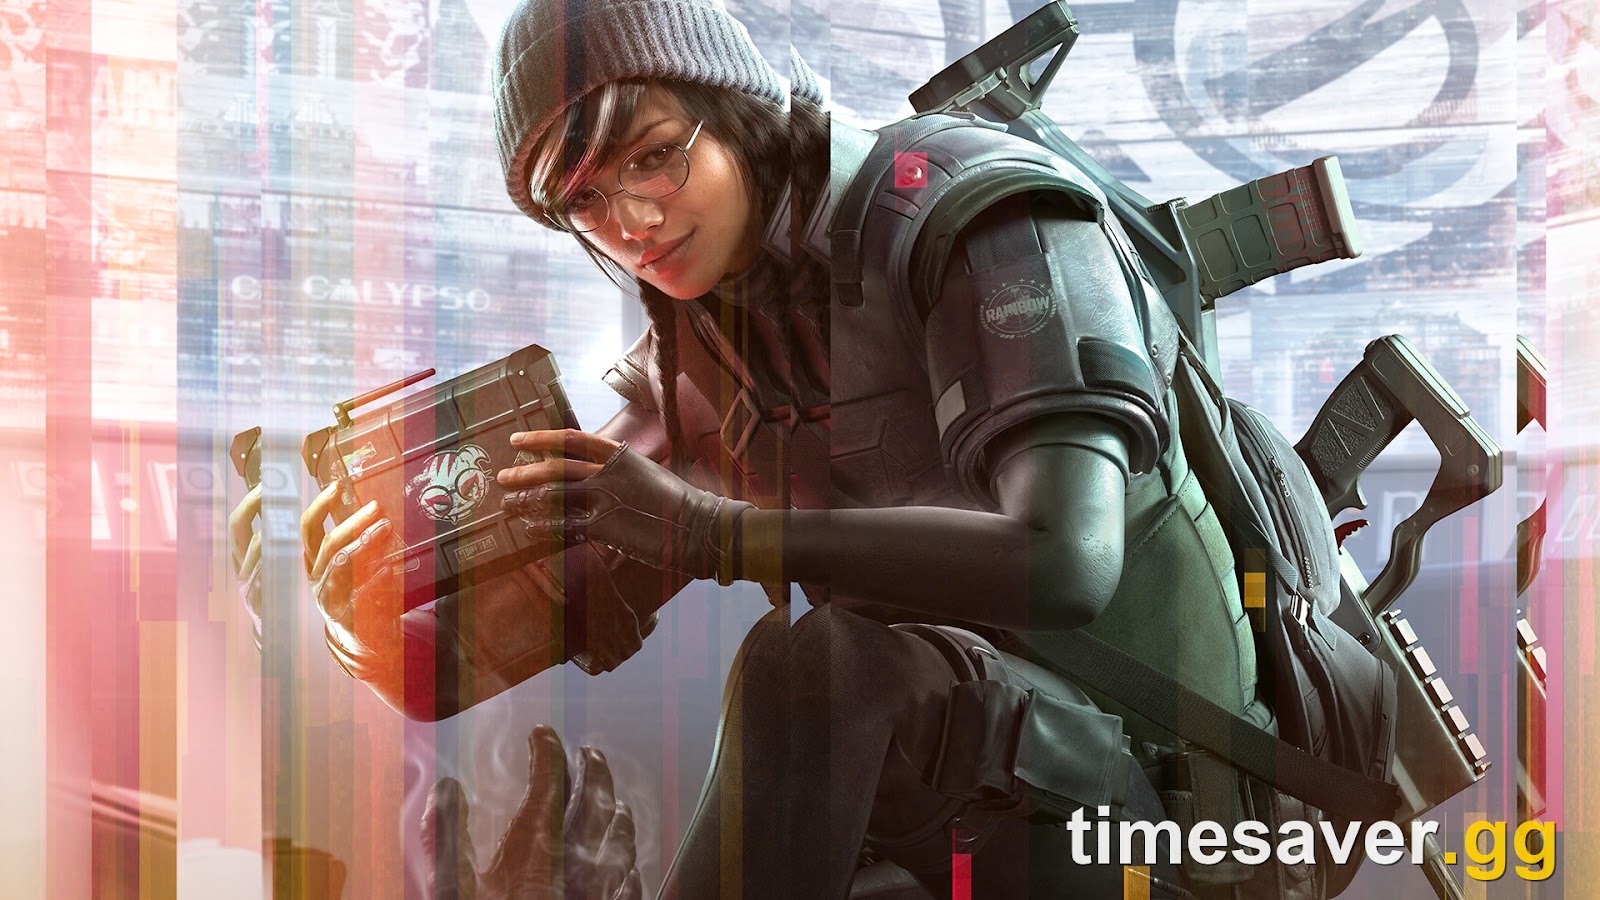
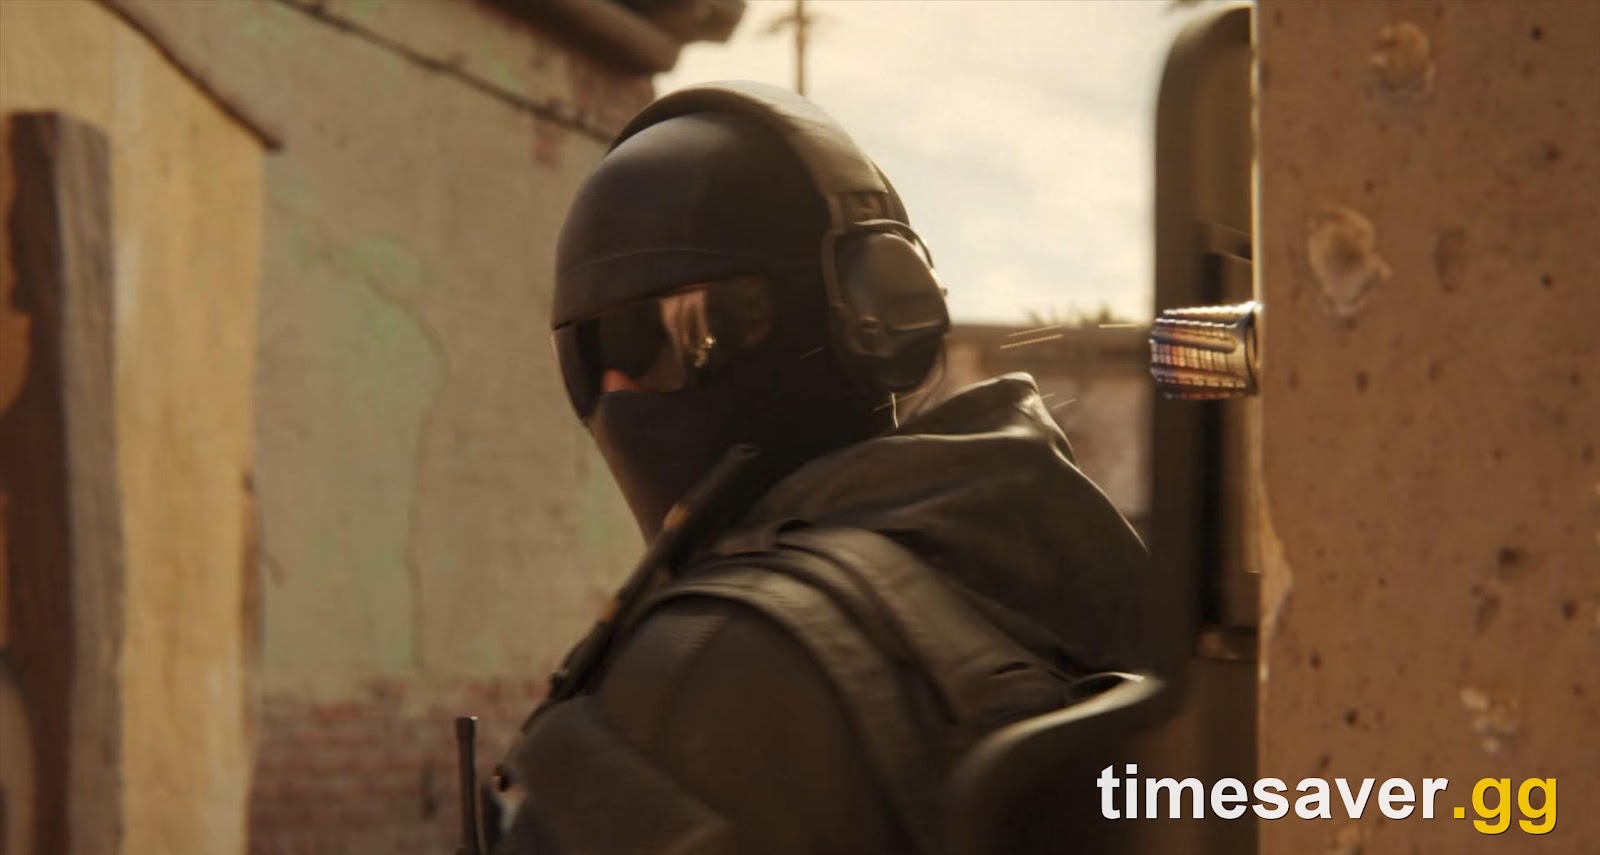
Kana "Azami" Fujiwara places up to five Kiba Barriers per round — deployable panels that create bulletproof one-way angles on walls, floors, ceilings, hatches, and Castle barricades. Attackers approaching a barriered wall cannot see through or shoot through the panel from the entry side, but defenders can hold angles through the glass freely.
The gap in Azami's design: Kiba Barriers only cover a fixed area. They do not make the entire wall impenetrable. Your job is to deny her the angle, not to fight her on it.
Best attackers against Azami
- Kali is the cleanest counter. Her LV Lance fires through reinforced walls without requiring a breach at all — the barriers are irrelevant because you never open the wall that hosts them. In Y11S3, Kali's bolt cycle dropped from 1.0 to 0.8 seconds and her ammo increased from 36 to 51, making her faster to operate in tight time windows (Source: Y11S3 Operation Split Fire patch notes, Ubisoft).
- Ash can remove individual Kiba Barriers with her Breaching Round, firing from the attacker side at the barrier panel directly. Use her to clear a specific angle before your team pushes.
- Thermite and Ace hard-breach the walls adjacent to where Azami is holding. Breaching the wall next to her barrier forces her to abandon the position or get caught in a cross.
Counter tactics vs Azami
During the drone phase, note every barrier placement. Barriers adjacent to the plant zone are the dangerous ones — call them out for your team. On entry, push through angles that are not covered by barriers. If you are forced to contest a barriered position, throw a stun or concussion toward the defender holding the angle first. Azami is not a breach-denial operator — she has five barriers, and once they are used or destroyed, her gadget is spent for the round.
How Do You Counter Mira in Y11S3?
Elena "Mira" Álvaro's Black Mirror is a one-way window deployed onto reinforced walls. She sees attackers clearly through the mirror; attackers cannot see through it from their side. Defenders stack on the window and punish any entry push that steps in front of it.
The main mistakes teams make against Mira: sending one attacker alone into a corridor with her window, or breaching directly into the barrel of the mirror instead of around it.
Best attackers against Mira
- Kali — the Y11S3 buff is most impactful here. With a faster bolt (0.8s) and 51 rounds of LV Lance ammunition, she can shoot through the reinforced wall hosting the Black Mirror without needing to breach it first. The defenders on the other side have no warning except the lance hitting the wall. She bypasses the one-way vision problem entirely.
- Hibana — Hibana's X-KAIROS pellets can breach reinforced walls from a floor above or from an unusual angle, letting your team open the wall without being visible to the mirror. Coordinate with a Thermite or Ace if Hibana is out of range.
- Ace and Thermite — hard-breaching the wall that hosts the Black Mirror removes the gadget entirely. You lose a wall, but Mira loses her position.
Counter tactics vs Mira
Never walk in front of a known Mira window. The order of plays is: drone → locate the mirror → breach the hosting wall from a safe angle → push. If breaching is contested, have Ash apply pressure from another angle to split the defenders holding the window.
Flashbangs thrown to the side of the mirror (where defenders are watching) stun everyone behind it while you breach — the Black Mirror does not protect against concussion effects. Coordinate your push with a simultaneous entry from a second angle so the defenders watching the mirror cannot hold both.
One consistent mistake: attackers breach directly into the front face of the mirror, stepping right into the barrel. The correct sequence is to breach a wall section to the side or above the Mira position, creating an angle that forces the anchoring defenders to choose between the mirror and the new entry. Without Kali, this two-wall approach (one for Mira's wall, one for a flanking breach) is the standard play. Do not rush the breach if Mira still has her kit — if she detects the approach early she can position her mirror to watch both angles.
Countering Fenrir in Y11S3: F-NATT Mine Strategy
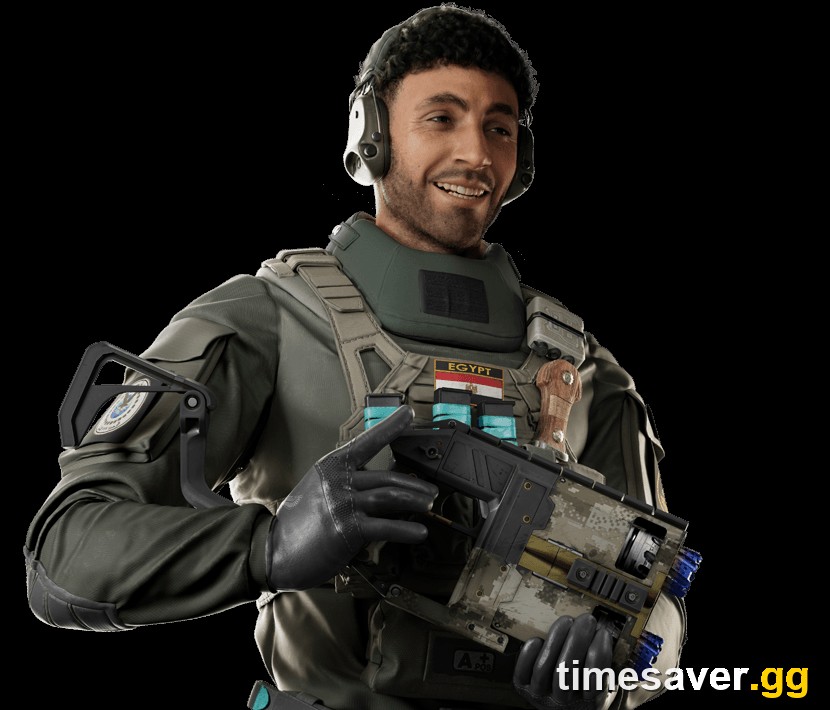
Emil "Fenrir" Svensson places three F-NATT Dread Mines on walls and surfaces around the objective. When an attacker enters the radius, the mine releases a Fear Effect — a burst of gas that temporarily impairs the attacker's vision. Fenrir can activate and deactivate the mines remotely from anywhere on the map, using intel from teammates to trigger them at the worst possible moment for attackers.
His mines became semi-bulletproof after the Operation New Blood balance update (Source: siege.gg, Y9S2 patch notes). Semi-bulletproof means sustained fire at close range can destroy the mine, but it takes significantly more shots than a regular gadget.
Best attackers against Fenrir
- Twitch — the Shock Drone is the cleanest counter. Drive it into the room before your team enters, locate each mine, and zap it from range. This requires no attacker to enter the vision radius.
- Flores — the RCE-Ratero drone detonates near the mines during the prep phase or early in the round, destroying them before the entry push.
- Ash — if a mine is placed on a soft surface or you have a clear line of sight, the Breaching Round removes it at range.
Counter tactics vs Fenrir
The single most important play against Fenrir is the drone phase. Mark every mine on the map before your team enters. A mine you cannot see is a mine that will fire at the worst time. Communicate mine positions over voice — "mine on the east wall of the kitchen" is more useful than "drone the room first."
If you enter a room with a live mine, check the corners before stepping to the centre. When the Fear Effect triggers, back out of the mine's radius immediately and move back in once the effect fades — do not try to fight through it. Coordinate with your Twitch player so that she clears mines in the plant zone before the round's last 90 seconds.
How Do You Counter Kaid in Y11S3?
Jalal "Kaid" Zellou places Rtila Coils — electrified devices that attach to reinforced walls and barbed wire and prevent Thermite, Ace, or Hibana from opening them. A single coil electrifies a reinforced wall section and causes any breach charge placed on that section to fail. Kaid can place up to two coils and has been a fixture in S-Tier since Year 9.
If your breach-denial answer is not ready at the right time, your team cannot enter through the walls you need.
Best attackers against Kaid
- Thatcher is the answer to Kaid. His EMP grenades destroy Rtila Coils through the wall — one EMP per coil. With three grenades and typically one or two coils per wall section, Thatcher clears the electrification before your breacher approaches. The EMP also destroys Bandit Shock Wire on the same section, critical when Kaid and Bandit stack simultaneously. Kaid can place up to two Rtila Coils per round (Source: Ubisoft operator profile, Rainbow Six Siege). Three EMP grenades is exactly the right count for a fully stacked wall.
- Twitch — the backup option. Her Shock Drone can zap Rtila Coils on low walls or near windows when Thatcher dies before throwing. Slower than an EMP but reliable at close range.
- Kali — use her when the wall is electrified and Thatcher is gone. Her LV Lance shoots through the reinforced wall entirely, bypassing the electrification. No breach opened, but your team gets entry angles they could not get through the wall.
Counter tactics vs Kaid
EMP first, then the breacher places the charge. Do not attempt a breach before Thatcher clears the wall — the charge will fail and your breacher will be exposed. In ranked, call out "wall clear" after each EMP lands so your Thermite or Ace immediately follows up. Check your breach plans before the round: if Kaid is in the enemy draft, assume the target wall is electrified.
The Kaid-Bandit double-shock is the most common ranked setup — both operators electrify the same wall section simultaneously. Thatcher's three EMP grenades handle this: one EMP destroys the Rtila Coil, a second destroys the Bandit Shock Wire on the same section, and the third is held as insurance if one grenade misses. If you are running a Ranked 3.0 stack at Diamond or Champion, assume every target wall has both. For the full ranked progression context, see our Rainbow Six Siege Ranked System Guide.
How Do You Counter Smoke in Y11S3?
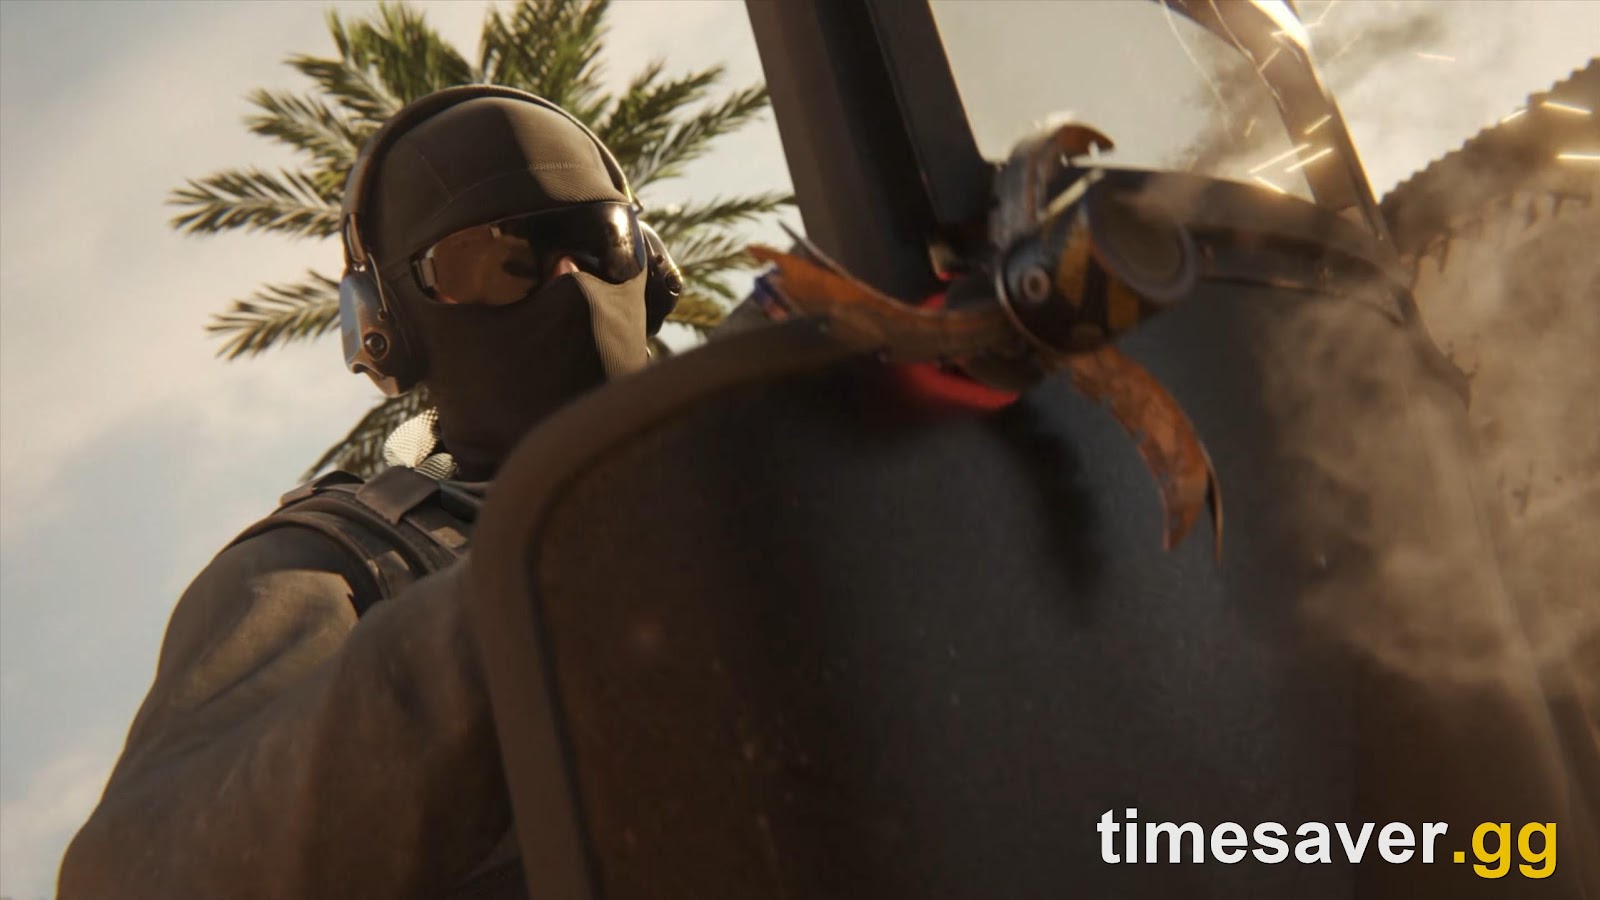
James "Smoke" Porter places three Remote Canisters near the objective. He can trigger each canister remotely at any time, releasing a toxic cloud that deals area-of-effect damage. The standard Smoke play is to wait until attackers attempt to plant the defuser, then detonate a canister directly on the planter, forcing a stop or a kill. Three canisters, used correctly, can deny an entire plant phase even after the wall is open and the site is accessible.
The specific counter to Smoke is not a single operator — it is a plant window strategy. You need to either destroy the canisters before planting, or force Smoke to waste them early.
Best attackers against Smoke
- Twitch — the Shock Drone is the only tool that destroys Remote Canisters remotely before Smoke triggers them. Get the drone into the plant zone during the final 90 seconds and zap every canister you can reach.
- Ash — the Breaching Round can destroy canisters if you have a sightline to them. Use her to clear any canister placed in a visible position.
- Zero — Zero's Argus Cameras embed in surfaces and discharge on contact with gadgets on the far side, destroying Remote Canisters placed near walls or ceilings without the attacker needing to enter the room.
Counter tactics vs Smoke
The first priority is locating all three canisters during the drone phase. Write down or call out their positions. In the plant phase, send Twitch in first to destroy as many canisters as you can before your planter commits. If you cannot destroy them, force Smoke to use them early: send one attacker to soft-plant (begin the animation), watch a canister detonate, and have your real planter wait until the gas clears before stepping in.
The other option is a fast plant under pressure. When Smoke has one canister left and multiple defenders are dead, a coordinated fast push with a flashbang into the site followed by an immediate plant can beat his reaction time. Smoke's window to trigger the last canister closes if you keep him occupied with multiple simultaneous threats.
The trap most teams fall into: focusing purely on eliminating Smoke before planting. Smoke anchors near site and is often the last defender alive by design — hunting him costs you time and exposes your planter to his remaining canisters. The smarter play is to force the plant before Smoke can react, not to find him first. Two attackers entering from opposite site angles while a third plants splits his canister timing and creates the window. Ranked players above Gold consistently win the Smoke matchup by coordination, not by individual frags.
Y11S3 Changes That Affect These Counters
Operation Split Fire did not significantly rework any of the five defenders covered here, but two changes shift the matchups:
- Kali's buff is the most impactful. Bolt cycle: 1.0s → 0.8s. Ammo: 36 → 51. Scope-to-gadget transition is faster. Kali is now a more reliable choice against both Mira and Kaid setups than she was in Y11S2 — bring her when you anticipate both defenders in the enemy draft.
- Dokkaebi's nerf — her Jegeo Payload upload can now be interrupted by Mute Signal Jammers, meaning Dokkaebi loses her Jegeo Payload value on any site where Mute is anchoring (Source: Y11S3 Operation Split Fire balance notes, verified in the Rainbow Six Siege Guru KB, September 2026). If your team used Dokkaebi to deny Mute-adjacent observation tools while Twitch destroys Smoke's canisters, that synergy is weaker this season. Plan for Mute being alive when you enter.
No mid-season balance patch has been released as of September 24, 2026. The Y11S3 patch notes addendum was bug fixes only (Source: Ubisoft Y11S3 Patch Notes Addendum, September 2026). The meta described here reflects the launch-day state of Operation Split Fire.
Putting It Together: Attacker Draft vs a Full S-Tier Stack
When the enemy runs Azami, Mira, Kaid, Smoke, and a fifth defender (often Mute or Fenrir), you need to address breach denial, one-way vision, and object denial simultaneously. A draft built around this:
| Role | Operator | Addresses |
|---|---|---|
| Hard Breacher | Thermite or Ace | Opens walls after Thatcher clears |
| Breach Support | Thatcher | Removes Kaid Rtila + Bandit Shock Wire |
| Wall Bypass | Kali | Hard-bypass Kaid/Mira if Thatcher dies early |
| Object Denial Counter | Twitch | Destroys Smoke canisters + Fenrir mines |
| Flex Pick | Ash or Hibana | Removes Kiba Barriers, additional breach angles |
This draft answers every S-Tier defender individually and does not depend on a single operator surviving. See our Rainbow Six Siege Operator Tier List Y11S3 for the full defender and attacker rankings this season.
Looking for R6S carry services and game boosts? Browse everything available on timesaver.gg:
FAQ
Who is the best attacker to counter Azami in Y11S3? Kali is the most consistent pick — her LV Lance shoots through reinforced walls without requiring a breach, which means Azami's Kiba Barriers on that wall do nothing to stop her. Ash is the second option for directly removing individual barriers at range.
Can Thatcher destroy Azami's Kiba Barriers? No. Thatcher's EMP grenades only destroy electronic gadgets. Kiba Barriers are not electronic and are unaffected by EMPs. Thatcher is the answer to Kaid, not Azami.
How many EMP grenades does Thatcher need to clear Kaid? Typically two. One EMP grenade destroys one Rtila Coil. Kaid can place up to two coils on a single wall section, but most setups use one coil per wall. Thatcher starts with three grenades, so he has a buffer if one grenade misses or a Bandit Shock Wire is also present.
How do you counter Smoke if you do not have Twitch? Use Ash's Breaching Round on visible canisters. Without a direct gadget-destroy tool, your best counter is strategy: force Smoke to detonate canisters on fake plants, track the canister positions from the drone phase, and time your real plant for after he has spent two of the three canisters.
What is the hardest S-Tier defender to counter in Y11S3? Mira and Smoke are consistently rated the most difficult for teams without the right operator picks. Mira punishes disorganised pushes hard, and Smoke can deny plants indefinitely if his canisters survive to the plant phase. Kali (Y11S3 buff) addresses Mira; Twitch addresses Smoke. If your team lacks one, focus your draft on eliminating the other threat first.