TL;DR: What is Diablo 4 Pandemonium’s Dual Threat in Season 16?
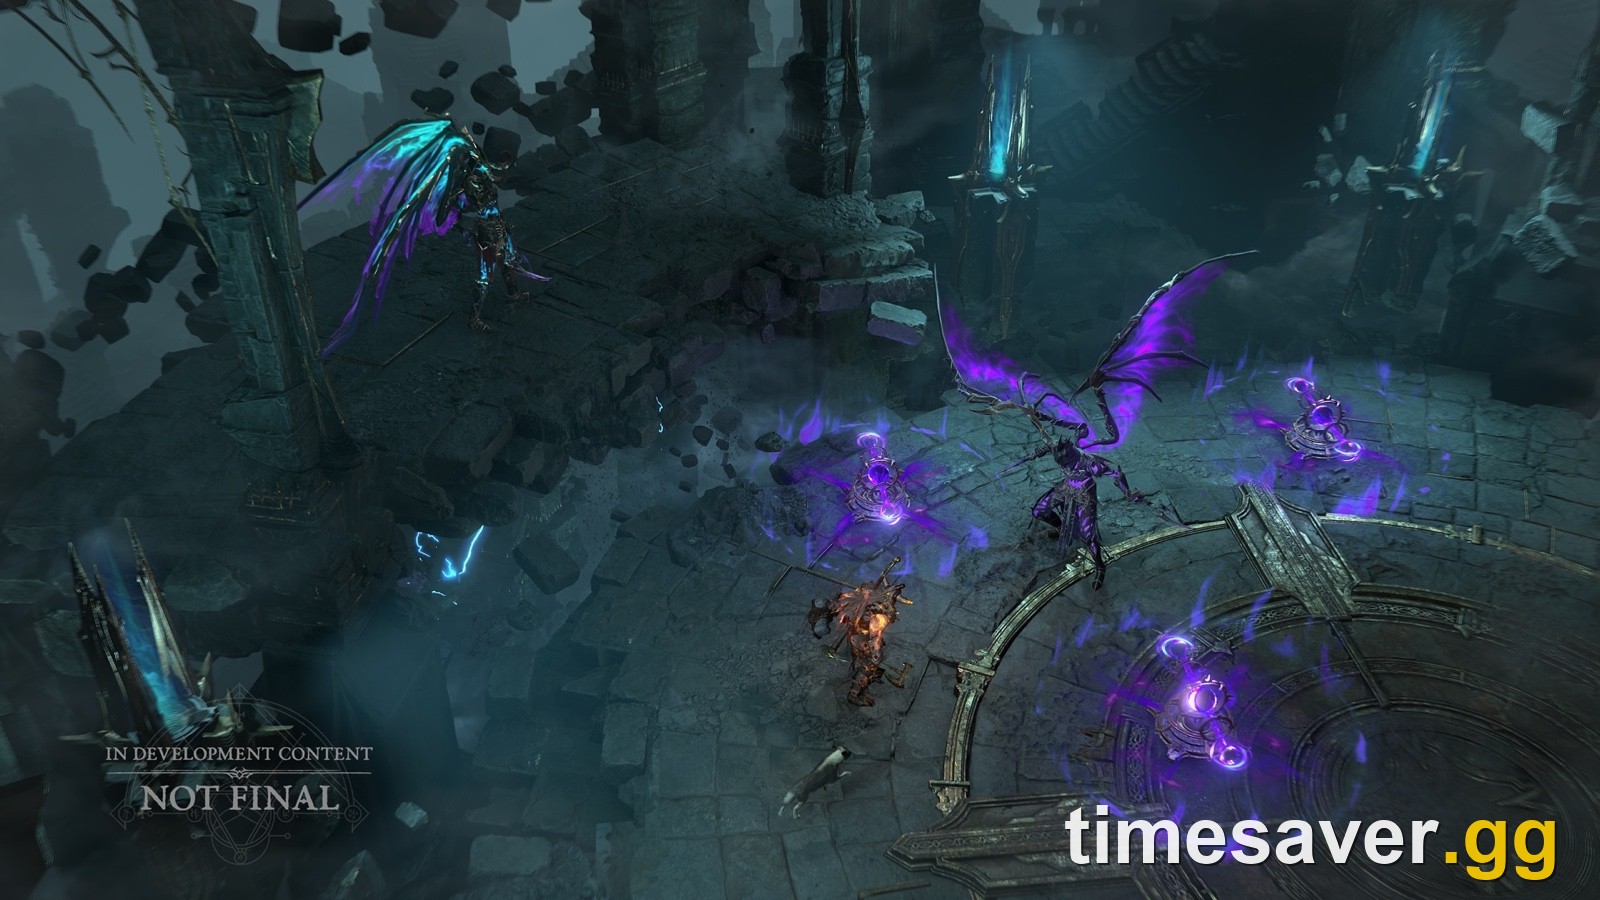
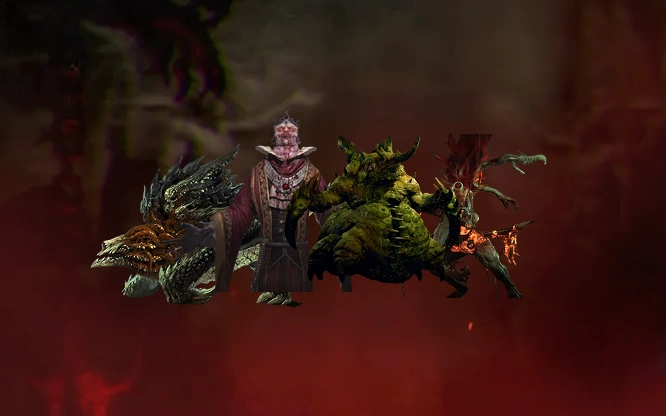
Pandemonium’s Dual Threat pairs the Fractured Reaper and Corrupted Reaper in a coordinated boss encounter. The 3.3.0 PTR runs October 27, 2026, at 10 a.m. PDT through November 3 at 10 a.m. PST; it has not opened as of October 24. This is a PTR preparation guide, with historical attack references clearly separated from the upcoming fight. Blizzard’s Season 16 preview.
The interesting part of this encounter is what happens while you’re watching the other Reaper. A familiar windup could become much harder to handle when another boss demands your attention. That makes positioning and readable damage windows sensible priorities for your first attempts.
Below, you’ll find the confirmed setup, the original Corrupted Reaper’s attack tells, a practical testing plan, and the access and loot details worth checking before committing resources. For the wider update, see our Diablo 4 Season 16 PTR guide.

Diablo IV - Gold
Get up to 90B Gold in 10 minutes
What has Blizzard confirmed about the two Reapers?
Blizzard describes the pair as “two eldritch powerhouses working together synergistically” in its Pandemonium’s Dual Threat announcement.
That supports planning around interaction between enemies. It does not establish a shared health bar, a mandatory kill order, or an enrage after one dies. Those would each change the strategy substantially.
For example, separate health bars would make focused damage worth testing. A shared bar would change that calculation. An invulnerable partner would demand a different target choice altogether. Treat these as things to observe when testing opens, rather than assumptions to build an entire character around.
The useful starting question is simple: what does each Reaper let the other one do? Watch for an attack that changes your available escape route, then check what the second enemy does during that opening. That observation will tell you more than a damage number floating above the boss.
How should you prepare a character for PTR testing?
Select Diablo IV in Battle.net, then choose Public Test Realm in the version menu. Mrak’s boosts include level 70, Paragon 200, and Lair Keys. Official PTR setup and boosts.
Use those tools to assemble a character whose buttons you already understand. Learning an unfamiliar build and an unfamiliar encounter simultaneously makes every death harder to diagnose.
Keep a dependable baseline
Save your starting skill setup and equipment before experimenting. Choose a configuration you can operate while moving, with a defensive response you can identify immediately under pressure. Check your equipped items and skill descriptions instead of assuming last season’s interactions still work.
Avoid changing several pieces after every failed pull. If you replace your defensive skill, damage setup, and movement option together, a better result won’t tell you which change helped.
Keep a short record of your difficulty, build, and failure point. “Died while chasing the distant target” is actionable. “Boss hits too hard” usually isn’t.
Separate learning from damage testing
For learning attempts, prioritize seeing enough of the encounter to recognize its sequence. Once you can explain why a pull failed, test damage changes against the same situation.
A burst setup can look excellent during an uninterrupted opening and feel miserable once you have to reposition. Judge whether you can actually use its damage window without spending the defensive tool you need immediately afterward.
Leave inventory space before entering, too. You want to inspect any rewards and costs while the details are fresh, rather than reconstructing the run after a hurried salvage trip.
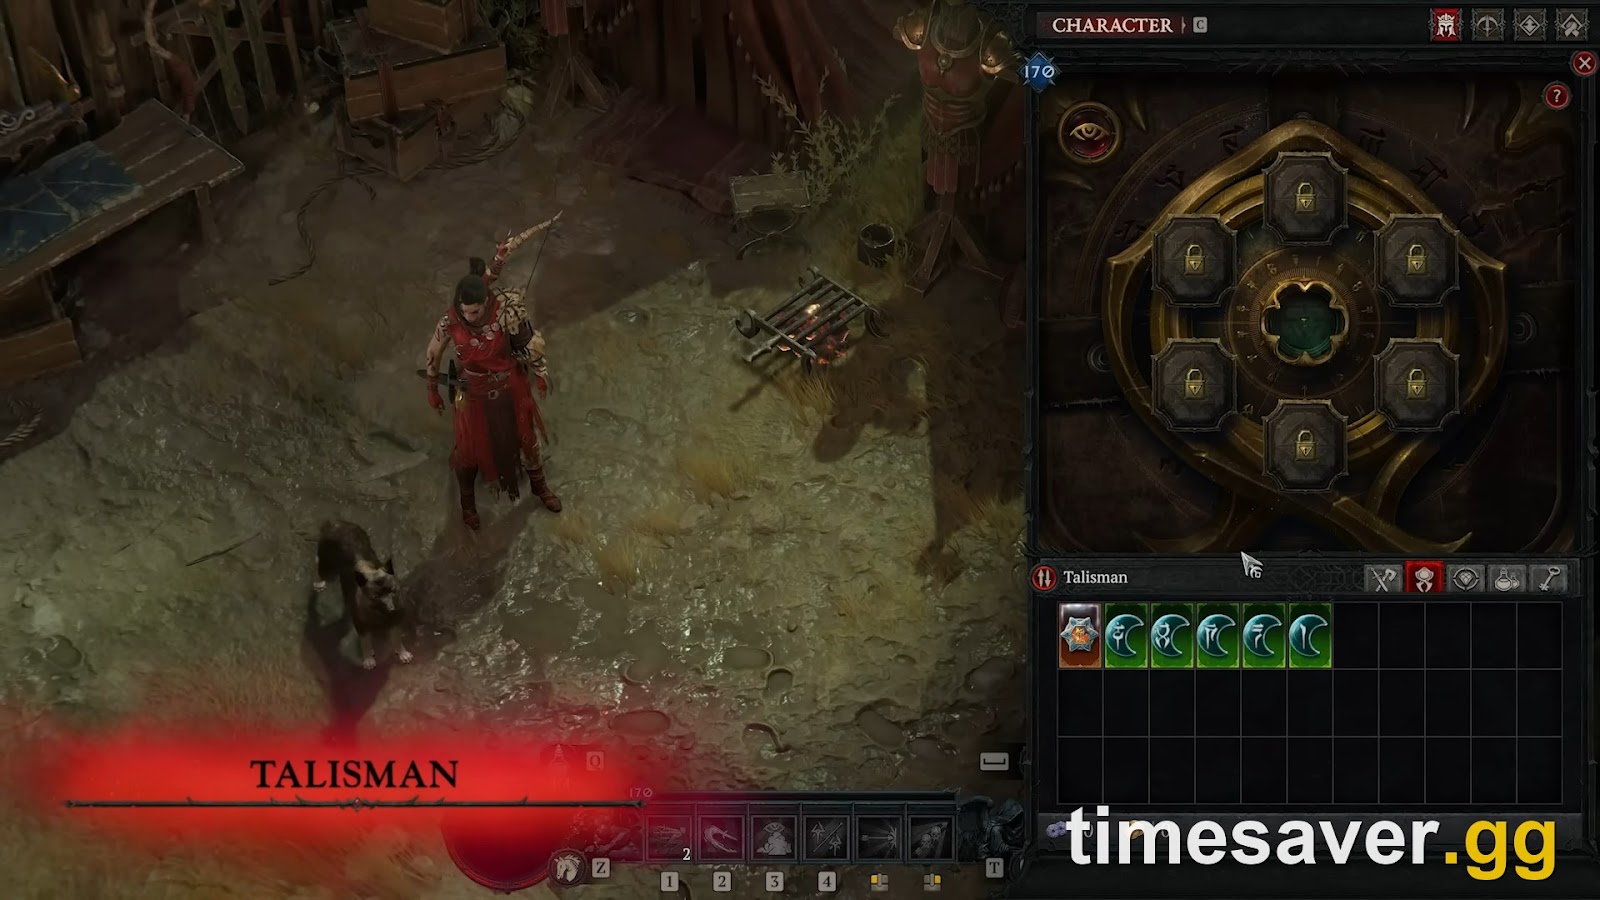
Check your Talisman combination
In the announced PTR system, matching Horadric jewelry adds 1 to its Talisman set count: 1 charm can activate a 2-piece bonus. Blizzard’s Horadric item rules.
If you test that combination, compare the complete equipment setup. Look at what you gain from the activated bonus and what you surrender in the jewelry slot. For a learning build, a useful defensive combination may deserve a trial even if another option promises more damage.
Which original Corrupted Reaper attacks are worth recognizing?
The figures below describe the archived Season 14 encounter, documented by Avarilyn. They are reference material, not confirmed Season 16 thresholds or timings. Maxroll’s original Corrupted Reaper guide.
| Original mechanic | Documented number or trigger | Historical response |
|---|---|---|
| Opening Soul Projectiles | 4 projectiles | Read their straight paths |
| Soul Projectiles below 66% health | 6 projectiles, spreading outward | Watch the wider pattern |
| Soul Projectiles below 33% health | Stops using this attack | Expect other abilities |
| Soul Trap placement | 3 traps | Track occupied ground |
| Soul Trap activation | About 3 seconds standing inside, or a charge crossing it | Leave before detonation |
| Faster Soul Rush | Below 66% health; travels between 2 positions | Clear the return path too |
The old encounter also used a crouch before teleporting into the room’s center, plus a dangerous sequence that laid traps in a line and charged through them. Its stagger could clear traps. Recheck those interactions in the new version before relying on them. Archived mechanics.
How should you approach your first Dual Threat attempts?
The following is a recommended learning plan, not a tested walkthrough of the unreleased encounter. Its purpose is to help you identify the actual rules quickly once you can enter.
Keep both enemies in view
Start by choosing a position that lets you see both Reapers and a usable retreat route. If chasing one target puts the other behind your interface or outside your view, reconsider that chase.
Don’t lock yourself to the arena’s edge simply because it feels safer. Judge the space you have left after an attack begins. A position with room to change direction is more useful than one that leaves you hoping your movement skill is ready.
For melee, approach with an exit in mind. For ranged builds, check whether your preferred distance still leaves the second boss visible. Neither range category gets a free pass on awareness.
Identify the cause of each forced movement
When you have to move, note which enemy forced it and where you ended up. Then look at the other Reaper. Did your escape put you somewhere worse? Did you run across an attack you had stopped watching?
After a failure, change the movement decision before rebuilding your character. You may need to move earlier, take a shorter route, or stop following the boss through an area you haven’t checked.
If a familiar trap pattern appears, identify its actual trigger in this version. Don’t deliberately step into it just because an older guide describes a way to clear it.
Hold damage until you understand the opening
On an observation pull, resist the urge to spend every cooldown immediately. Watch what happens after the first recognizable attack, then try placing your damage window there on the next attempt.
You’re looking for repeatable opportunities. A lucky opening that works only when neither boss pressures you won’t make a dependable farming rotation.
If you can comfortably survive but struggle to finish, shift attention toward damage uptime. If you die with your defensive skill unused, solve that response first. These are different problems and deserve different changes.
Make group communication specific
Agree on short calls for target changes and dangerous ground. Describe a location or action your teammates can use immediately. “Move away from me” is clearer than a running commentary on everything happening onscreen.
Keep the group’s experiment consistent. If you’re testing focused damage, have everyone follow that plan long enough to observe the result. If someone sees a new mechanic, pause the damage discussion and establish what happened.
For your current live-realm character, explore the available Diablo IV options at timesaver.gg. These links do not establish availability of a Season 16 PTR carry.
Want to skip the grind?
- Diablo 4 Gold — instant delivery — safe · best rate · fast
- Diablo 4 Power Leveling & Boss Carries — skip the grind · pro players
- All Diablo 4 services —
Diablo IV - Boss Kills
Get boss kills in 10 minutes
Should you kill the Fractured Reaper or Corrupted Reaper first?
A fixed kill order is not established yet. Test target priority according to what the encounter actually allows.
If both enemies can take damage independently, try focusing the one that most restricts your movement. On another attempt, reverse the priority while keeping your build and difficulty unchanged. Compare how often you lose damage time or have to abandon your position.
If one enemy becomes unavailable, use the reachable target without chasing blindly. If the remaining Reaper changes behavior after its partner falls, record that transition before deciding that an early kill is always beneficial.
Cleaving both targets may be convenient, but convenience alone doesn’t prove it’s the fastest approach. Likewise, spreading damage evenly should have a reason. Look for an observed mechanic that rewards it.
For solo attempts, prioritize decisions you can repeat without another player covering a mistake. For group attempts, make sure everyone knows which target you’re testing. A mixed plan produces messy evidence.
Where is the encounter, and which keys should you save?
The original Corrupted Reaper lived at Pandemonium Threshold in Zarbinzet. Blizzard’s Season of Death Awakening overview tied repeat access to defeating her during the seasonal questline, and specified Superior Lair Keys for the reward cache. Deathtoll Chambers were the stated key source. That is historical access information. Blizzard’s original boss introduction.
The new announcement does not specify the duo’s entrance or key charge. Season 16 preview.
Check the encounter label before spending
Once testing is available, read the map marker, quest objective, entrance prompt, and reward interaction carefully. Confirm that you’ve reached the new encounter before using its results to answer Season 16 questions.
Separate access from payment. A resource requested by a reward container should be recorded as a reward cost; a resource requested at an entrance should be recorded as an entry cost. Don’t combine them into a vague “summoning requirement.”
If you play with friends, check the prompt on your own character. Establish who pays and what that payment unlocks before organizing repeated runs around an assumed group-sharing rule.
There’s no sound reason to buy a stockpile specifically for this duo until its actual resource requirements are confirmed. Keep that decision separate from materials you already use for current activities.
What loot should you expect, and is farming worthwhile?
There is no verified Dual Threat drop-rate table to publish yet. The old boss’s reputation as a loot target doesn’t supply one.
For historical context, Blizzard’s 3.1.1 notes changed the Corrupted Reaper to drop up to 2 Pandemonium Fragments, scaling with Torment. That was a documented change to the previous encounter, not a guaranteed payout for the upcoming pair. Blizzard’s 3.1 patch archive.
Measure the reward you actually want
Before judging a farming route, decide whether you’re chasing a particular item, crafting material, or general upgrades. A pile of loot can still be a poor result for your specific goal.
Record boss kills separately from reward-container openings. Include failed attempts, travel, preparation, and any resource farming when comparing routes. Timing only the successful fight makes an awkward encounter look deceptively efficient.
Raise difficulty when your results justify it. If a harder setting adds repeated failures, you need evidence that its reward improvement compensates for the lost time. Don’t assume the highest available setting automatically wins.
Finally, keep PTR observations labeled with the test build. They can help you choose what to investigate next; they cannot promise the same results after launch balance changes.
FAQ
Can I play the Season 16 PTR on PS5 or Xbox? The announced 3.3.0 PTR is PC-only. Console players should distinguish PTR access from the eventual live update. Official PTR platform listing.
Why can’t I find the Corrupted Reaper portal in Zarbinzet? In the original seasonal version, repeat access followed the questline encounter. Check which season and version your instructions describe before following that route. Original unlock explanation.
How many Superior Lair Keys does Pandemonium’s Dual Threat cost? The Season 16 cost is unconfirmed. Read the actual interaction prompt before committing resources or arranging a rotation. PTR announcement.
Does killing both Reapers guarantee a Mythic Unique? No such guarantee has been announced. Treat guaranteed-drop claims as unverified until Blizzard or repeatable encounter evidence establishes the reward rule. Official encounter preview.
Will the Reapers be better than Belial for farming? That comparison needs confirmed rewards, costs, and complete run times. Choose the route that produces your desired reward efficiently once those details are available; an impressive kill clip alone cannot settle it.
For help with your current character while you wait for the test, check the available services and supported realm before ordering.
Want to skip the grind?
- Diablo 4 Gold — instant delivery — safe · best rate · fast
- Diablo 4 Power Leveling & Boss Carries — skip the grind · pro players
- All Diablo 4 services —