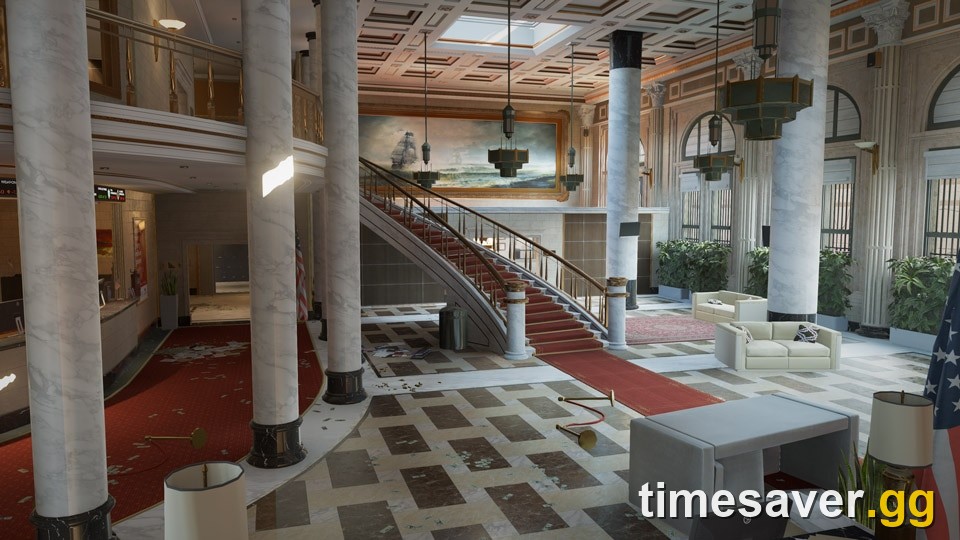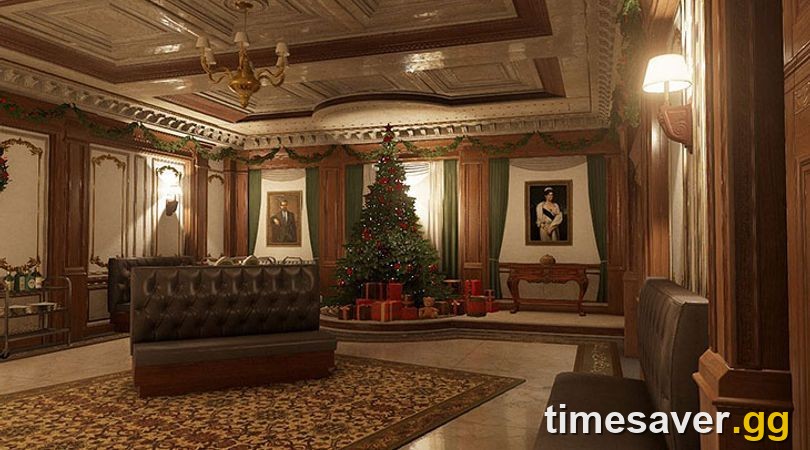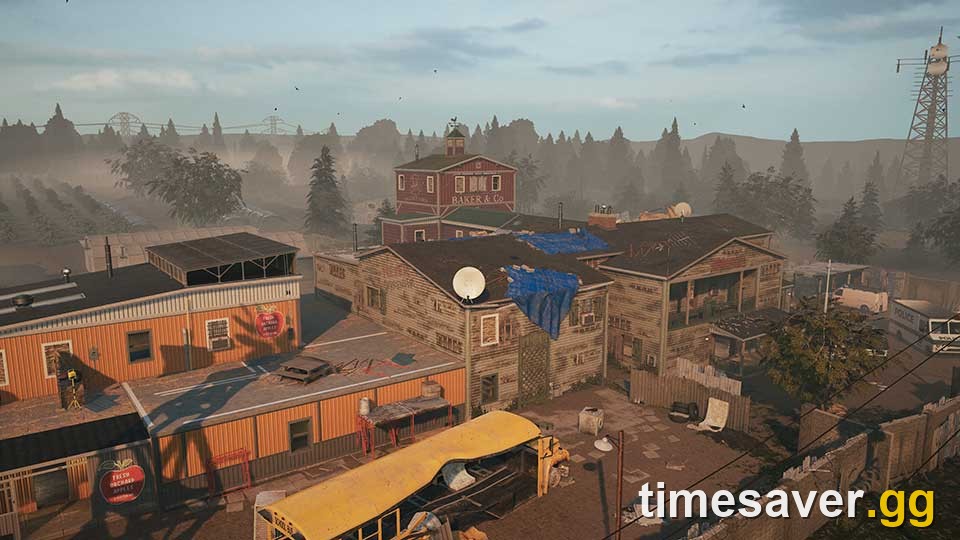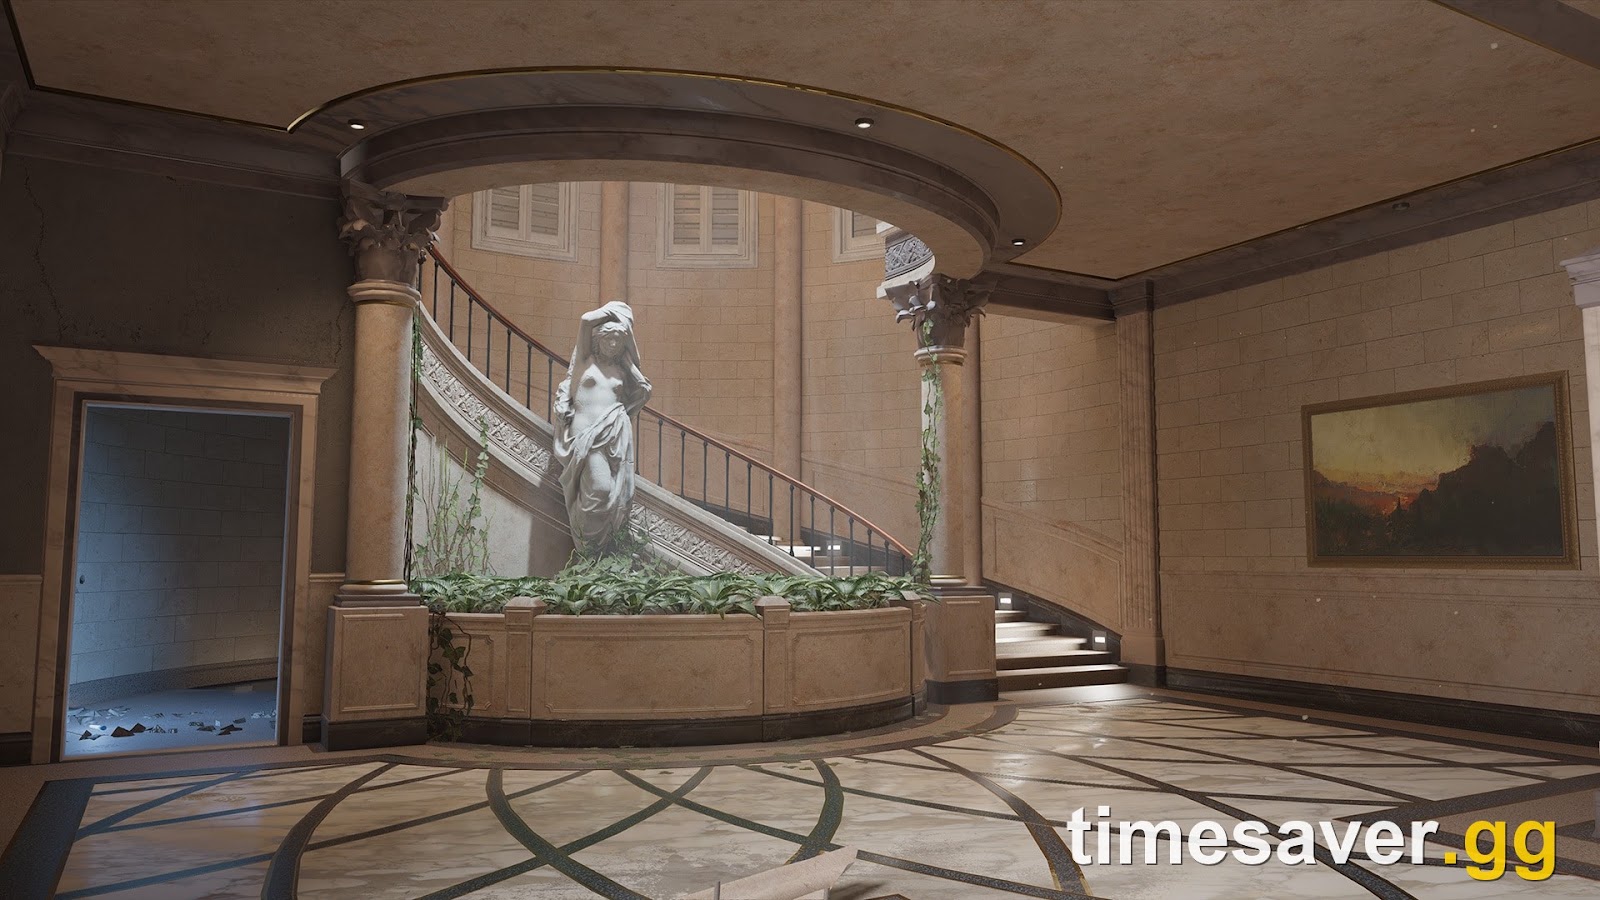
Consulate has 4 bomb sites across 3 floors: Cafeteria & Garage in the Basement, Tellers & Servers on the split Basement/1F level, Piano & Exposition on the First Floor, and Meeting Room & Consulate Office on the Second Floor. Yellow Stairs is the central vertical route connecting all three levels — whoever controls it in the mid-round holds the rotation advantage for every site. This guide covers every callout floor by floor, an attack plan for each site, and the best operator picks updated for Y11S3 — Operation Split Fire (September 1, 2026).
Map Overview
"A high-risk, highly secured fortified location, this map depicts an assault on a French consulate in Ivory Coast." — Ubisoft official Consulate map page
| Field | Detail |
|---|---|
| Location | Abidjan, Ivory Coast |
| Release | Base game (December 2015) |
| Structural rework | Operation Dread Factor (Y8S2) |
| Visual modernization | September 2025 (cosmetic only — callouts unchanged) |
| Playlists | Ranked, Quick Match, Unranked, Team Deathmatch |
| Bomb sites | 4 across 3 floors |
| Attacker spawns | 3 exterior positions |
The September 2025 visual modernization updated lighting, textures, and exterior aesthetics — the same type of cosmetic refresh Oregon received in March 2026 (Y11S1). Bomb site positions, wall compositions, and community callout names are identical to the Dread Factor layout.
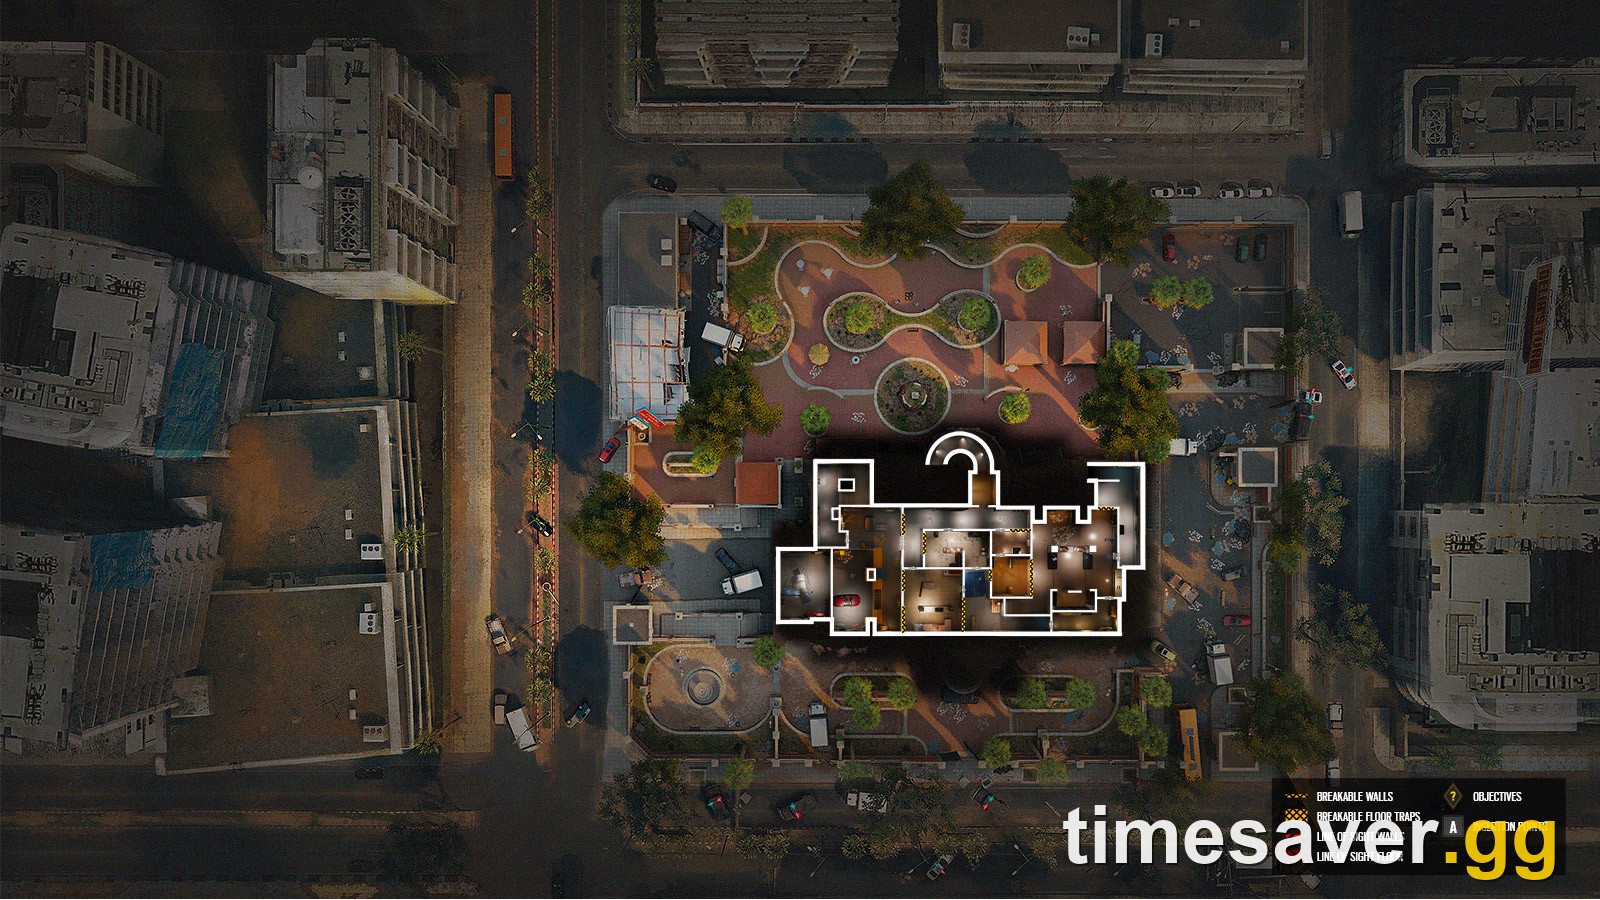
Basement Callouts
| Callout | Location | Why It Matters |
|---|---|---|
| Cafeteria | Bomb site — east Basement | Holds the east execute for Cafeteria/Garage site |
| Garage | Bomb site — west Basement | Vehicle bay; primary entry from Garage Window |
| Tellers | Bomb site — Basement/1F floor split | Glass wall angle; hard breach target from Lobby |
| Servers | Bomb site — lower room of Tellers/Servers | Reinforced wall entry from Basement Hall |
| Basement Hall | Central corridor between B sites | Rotation and execute path between all B areas |
| Yellow Stairs | Basement to 1F to 2F | The map's central vertical chokepoint |
| Spiral Stairs | Corner staircase, Basement exit | Secondary attacker entry; flanks Cafeteria and Tellers |
| Garage Window | Exterior breach point, west Basement | Fastest B-site entry; Kapkan EDD prime placement |
| Pillar | Open area near Cafeteria | Cover anchor for executing or rotating through Cafeteria |
First Floor Callouts
| Callout | Location | Why It Matters |
|---|---|---|
| Piano | Bomb site — 1F central | Named for the grand piano prop; smaller of the two 1F objectives |
| Exposition | Bomb site — 1F east hall | Large open room; requires soft-wall destruction to hold |
| Lobby | 1F main entrance south | Primary attacker entry; two angles toward Piano and Tellers |
| Press | 1F north side room | Flank route to Piano and Exposition from the north |
| Visa Office | 1F east corridor | Secondary rotate from Exposition toward Yellow Stairs |
| Main Door | 1F exterior south entry | Primary south-side attacker approach |
| Side Door | 1F exterior north entry | Commits north angle; sets up Press flank |
| Yellow Stairs (1F) | 1F stairhead | Bottleneck for all rotations between Basement and 2F |
| Garage Stairs | Garage to 1F internal stairs | Alternative vertical — bypasses Yellow Stairs on execute |
Second Floor Callouts
| Callout | Location | Why It Matters |
|---|---|---|
| Meeting Room | Bomb site — 2F north | Wooden floors; vertical play from Projector Room below |
| Consulate Office | Bomb site — 2F south | Main office with Balcony window — critical exterior angle |
| Admin | 2F central connector hall | Route between both 2F objectives; key anchor position |
| Projector Room | 2F east, above Lobby | Vertical pressure into Piano; sightline toward Admin |
| Balcony | 2F exterior south ledge | Exterior attacker pressure into Consulate Office window |
| Yellow Stairs (Top) | 2F stairhead | Controls all upward movement from 1F; default first reinforce |
| Dispatch | 2F west corridor | Defender retake path from Yellow Stairs to Meeting Room |
Bomb Site: Cafeteria & Garage — Basement
Both objectives sit in the west and east Basement. Garage is accessed through Garage Window (exterior breach) and Garage Stairs (internal from 1F). Cafeteria entry runs through Basement Hall from Yellow Stairs or Spiral Stairs.
Attack plan: Send one group through Garage Window to pressure the Garage side while a second group pushes through Yellow Stairs or Spiral Stairs to lock Basement Hall. Thermite or Ace opens the reinforced wall between Basement Hall and Cafeteria — Thatcher EMPs must clear any Kaid or Bandit denial first. Once both entry walls are open, a coordinated two-angle push plants in Garage, which offers more natural cover than the open Cafeteria floor.
Defender setup: One anchor per objective with a roamer on 1F to delay the Yellow Stairs push. Kapkan EDDs on the Garage Window drop zone are strong post-buff: with EDD damage raised to 62 HP in Y11S3, a single triggered EDD leaves any 2-armor operator (125 HP) at 63 HP — forcing an immediate heal or setting up an easy elimination. Mira's Black Mirror on the Basement Hall wall reads the entire Cafeteria execute without exposing the defender.
Y11S3 operator picks:
| Role | Operator | Reason |
|---|---|---|
| Hard breach | Thermite | Opens Cafeteria reinforced wall; pair with Thatcher EMP |
| Anti-denial | Thatcher | Clears Kaid and Bandit before Thermite fires |
| Entry frag | Ash | Breaching Round opens soft walls on the Basement Hall approach |
| EDD anchor | Kapkan | 62 HP EDD on Garage Window; place on the drop zone, not the door |
| Intel anchor | Mira | Black Mirror in Basement Hall reads both B objectives simultaneously |
| Drone block | Mute | Signal Jammer delays Garage Window drone phase from outside |
Bomb Site: Tellers & Servers — Basement/1F
This site splits across two levels: Tellers on the 1F bank-floor side and Servers accessible from Basement Hall below. The vertical gap between objectives creates a constant two-floor fight during the execute.
Attack plan: Sledge or Ash open a soft floor section above Tellers from Lobby level to create a downward sightline into Servers. Hard breach the Tellers reinforced wall from Lobby — Thermite and Thatcher is the standard pair. Once the wall is down, split the push: one attacker plants in Servers from Basement Hall while a second holds the Tellers-side opening to prevent the defuser being moved by a rotating defender.
Defender setup: Reinforce the Tellers wall facing Lobby and install Bandit or Kaid denial immediately. Echo Yokai placed on the Tellers ceiling provides persistent interruption during the execute — with Yokai recharge reduced to 15 s in Y11S3, it gets one additional interrupt cycle in a standard 25-second push, forcing attackers to advance at a disorganized pace. One defender anchors Servers; a second holds Yellow Stairs to deny rotates from 2F.
Y11S3 operator picks:
| Role | Operator | Reason |
|---|---|---|
| Hard breach | Thermite | Tellers wall is the execute anchor — must open |
| Anti-denial | Thatcher | EMPs Kaid Rtila and Bandit Shock Wire on Tellers wall |
| Vertical | Sledge | Opens Tellers floor from Lobby; high ammo, no noise alert |
| Breach deny | Bandit | Shock Wire on Tellers wall; battery-and-run when Thatcher arrives |
| Interrupt | Echo | Yokai 15 s recharge disrupts the Tellers execute timing |
| Backup denial | Kaid | Rtila on Servers reinforced wall as secondary layer |
Bomb Site: Piano & Exposition — 1F
The most open site on the map. Exposition is a wide hall with minimal natural cover; Piano is smaller and more defensible. Attackers entering from Lobby reach Piano in seconds while Exposition access requires opening the soft wall from Press or breaching through Visa Office.
Attack plan: Drone Lobby in prep phase to clear Piano-side gadgets. A Sledge or Hibana opens the soft walls between Press and Exposition. The plant almost always goes in Piano — smaller footprint, harder to retake from Projector Room above. Nomad Airjab mines on Yellow Stairs block the last-second rotate from the 2F anchor trying to take the defuser. For the Y11S3 meta breakdown on operators recommended for this site, see the Rainbow Six Siege operator tier list for Y11S3.
Defender setup: One defender on Piano, one in Exposition. A roamer in Projector Room creates vertical threat — a hatch drop onto attackers mid-plant in Piano stalls or resets the execute. Azami Kiba Barriers close the Piano doorframe angle from Exposition; Fenrir F-NATT Dread Mines in Visa Office and the north Press corridor catch late flankers. Avoid reinforcing the Exposition north wall — it blocks the fastest rotate from Press if attacked from two angles.
Y11S3 operator picks:
| Role | Operator | Reason |
|---|---|---|
| Wall open | Sledge | Opens Press-to-Exposition soft wall; quiet and high-ammo |
| Roam scan | Lion | EE-ONE-D 1.4 s scan window catches Piano anchors during execute |
| Flank block | Nomad | Airjab mines on Yellow Stairs deny 2F-to-1F flanks |
| Site control | Azami | Kiba Barriers close Piano door and limit retake sightlines from Admin |
| Gadget denial | Fenrir | F-NATT Dread Mines in Visa Office and Press for flank detection |
| Aggression | Jäger | ADS absorbs opening grenades; 3-speed pressure between Lobby and Press |
Bomb Site: Meeting Room & Consulate Office — 2F
The top-floor site is the most fortified defensive position on Consulate. Meeting Room runs along the 2F north wall; Consulate Office sits south with its signature Balcony window angle. Attackers must control Balcony from the exterior or push up Yellow Stairs without a full-floor read — both require coordination.
Attack plan: Pressure Balcony from the south exterior spawn to draw a Consulate Office defender and open the window angle. Hard breach the Admin wall into Meeting Room as the primary execute entry — standard Thatcher-then-Thermite sequence. Kali is highly effective on this site in Y11S3: positioned at Balcony, her CSRX 300 bolt shoots through the Consulate Office exterior wall to deny anchors inside, and with the Y11S3 bolt cycle reduced to 0.8 s (from 1.0 s) and ammo raised to 51 rounds (from 36), she maintains exterior pressure for the full round without running dry. For weapon loadout details on Kali and Thermite, see the full Y11S3 weapon tier list.
Defender setup: Reinforce the Admin-to-Meeting wall and Yellow Stairs Top wall first — these are the two forced breach points. Mira Black Mirror on the Consulate Office interior wall reads the Balcony entry without exposing the defender. Smoke canister timing on Yellow Stairs Top stops a defuser plant in Meeting when attackers reach the 10-second window. Leave Dispatch corridor soft — it is the fastest retake route from Yellow Stairs when a site defender goes down. For a deeper guide on running Smoke, Mira, and Kaid in ranked, see how to counter S-tier defenders in Y11S3.
Y11S3 operator picks:
| Role | Operator | Reason |
|---|---|---|
| Hard breach | Thermite | Admin wall opens the Meeting Room execute |
| Anti-denial | Thatcher | Clears Mira Mirror and Kaid charge on Admin wall |
| Exterior control | Kali | Bolt 0.8 s + 51 ammo; LV Lance through Consul Office exterior wall from Balcony |
| Intel anchor | Mira | Black Mirror in Consulate Office wall reads Balcony without exposure |
| Countdown | Smoke | RC canisters timed on Yellow Stairs Top during defuser window |
| Retake | Mute | Holds Dispatch; Jammer slows Meeting drone intel during execute |
Y11S3 Balance Changes That Affect Consulate
Three Y11S3 changes have a direct effect on Consulate strategy (source: Y11S3 patch notes, Ubisoft, September 2026):
Kapkan buff (EDD 60→62 HP). Garage Window and Spiral Stairs are two of the best Kapkan placements in the game. The 62 HP threshold means a triggered EDD forces every attacker to heal before pushing — there is no safe speed to contest without a cleared drone phase. Pair with Mute Jammer coverage outside the window to deny the pre-entry drone.
Kali buff (bolt cycle 1.0 s→0.8 s, ammo 36→51). Consulate's Balcony is one of the few exterior angles in Siege that directly overlooks a 2F bomb site. Pre-buff, Kali would frequently exhaust her CSRX 300 ammo before the execute fully developed. With 51 rounds and faster bolt handling she is now a full-round exterior threat on the Meeting/Consulate Office site rather than a setup-and-fall-back pick.
Echo buff (Yokai recharge 16 s→15 s). A one-second change matters in a compact 25–30 second execute. Echo's Yokai drone placed on the Tellers ceiling now interrupts the Tellers/Servers push one additional time per round. On a site where the execute window is tight, that extra interrupt forces a reset or a reckless push. For a ranked breakdown of how these balance changes affect competitive play, see the Rainbow Six Siege ranked guide for Y11S3 and how to rank up fast in Y11S3.
Summary: Best Operators per Site
| Site | Top Attackers | Top Defenders |
|---|---|---|
| Cafeteria & Garage (B) | Thermite, Thatcher, Ash | Kapkan, Mira, Mute |
| Tellers & Servers (B/1F) | Thermite, Thatcher, Sledge | Bandit, Echo, Kaid |
| Piano & Exposition (1F) | Sledge, Lion, Nomad | Azami, Fenrir, Jäger |
| Meeting & Consul Office (2F) | Thermite, Thatcher, Kali | Mira, Smoke, Mute |
For a full solo-queue rundown of which picks perform on Consulate and other maps in ranked, see best solo queue operators for Y11S3 and the Oregon callouts guide for the same floor-by-floor breakdown on another classic map.
FAQ
What are the 4 bomb sites on Consulate? Consulate has 4 bomb sites: Cafeteria & Garage in the Basement, Tellers & Servers spanning the Basement/1F split, Piano & Exposition on the First Floor, and Meeting Room & Consulate Office on the Second Floor.
Was Consulate changed in Y11S3 or recently? The last structural change to Consulate was during Operation Dread Factor (Y8S2), which overhauled site positions and map flow. The September 2025 update was a visual-only modernization — new lighting, updated textures, refreshed exterior — with no changes to bomb sites, wall compositions, or callout positions. Consulate is in the Y11S3 Ranked playlist.
What is Yellow Stairs on Consulate? Yellow Stairs is the main central staircase connecting all three floors of Consulate — Basement, First Floor, and Second Floor. It is the single most contested callout on the map. Controlling Yellow Stairs in the mid-round controls rotation access for every site, making it the top priority to drone during prep phase.
Is Kali good on Consulate in Y11S3? Yes, specifically for the Meeting Room & Consulate Office site. With the Y11S3 buff cutting her bolt cycle to 0.8 s and raising CSRX 300 ammo from 36 to 51 rounds, she can hold the Balcony angle against multiple defenders attempting to close the window — a sustained exterior presence that previously ran out of ammunition too quickly to be consistent.
What is the best Kapkan placement on Consulate? Garage Window is the highest-value Kapkan EDD location on the map. Attackers breaching Cafeteria & Garage almost always pass through it. With EDD damage at 62 HP in Y11S3, a triggered mine leaves every 2-speed or 3-speed attacker at or below 63 HP — one clip from any defender eliminates them. The second best placement is Spiral Stairs, which covers the secondary B-site entry from the corner staircase.
How do you play Consulate in ranked in Y11S3? Drone Yellow Stairs in prep phase every round regardless of site — it reveals roamer positions before the clock starts and lets you plan the execute path without guessing. Hard banning Smoke or Mira on 2F sites, and banning Kapkan or Bandit for B-site rounds, removes the highest-impact defensive layers. For full operator selection guidance, see the best loadouts for every R6S operator in Y11S3.
Looking for help climbing ranked on Consulate or any other map in Tom Clancy's Rainbow Six Siege?