Solo queueing in Rainbow Six Siege is a completely different game from a coordinated five-stack. Without reliable voice communication, you cannot guarantee that your Thermite teammate knows when to charge the wall, or that your roamer will call out a defender's flank position. The operators who thrive in solo queue share one key trait: they generate consistent value without depending on teammate timing or callouts.
This guide covers the top 10 operators for solo queue in Y11S3 (Operation Split Fire, live September 1, 2026) — five on attack and five on defense — selected specifically for their ability to create independent impact.
Quick Answer — Best Solo Queue Operators Y11S3:
Attack: Solid Snake, Ace, Nomad, Thatcher, Lion. Defense: Mute, Jäger, Fenrir, Kaid, Azami. All five on each side are S-tier meta picks with gadgets that work passively or at your own timing. Avoid Montagne on attack and avoid Maestro on defense if you cannot coordinate plays — both require teammate timing to reach their ceiling.
What Makes an Operator Good for Solo Queue in Rainbow Six Siege?
Not every S-tier operator is a great solo queue pick. Some high-value gadgets only reach their full ceiling when coordinated with teammates. The four qualities that define a strong solo queue operator are:
Self-sufficient gadgets. The gadget provides value through your own actions alone — no teammate needs to be in a specific position, use their gadget first, or communicate information back to you.
Passive or reactive utility. Set-and-forget gadgets (automatic triggers, proximity mines) benefit your team without requiring you to call out "now" at exactly the right moment.
Strong primary weapons. In solo play you will win and lose more individual gunfights. An operator with a weak primary loses duels that a better-armed operator would win.
Low coordination cost. The operator's kit does not actively hurt the team if no one communicates around it. Perfectly timed utilities (Smoke canisters, timed hard breach) need communication to work; resilient utilities (jammer placement, EMP grenades) work regardless.
As one SiegeAcademy player put it: "Realistically the best solo q op is the one you are the most comfortable with. But for attacking I would say Zero, Ace... Finka — free heals to the whole team."
The distinction matters most across Rainbow Six Siege's 78 operators (39 attackers, 39 defenders as of Y11S3). Among them, fewer than 15 consistently generate value without any coordination requirement.
Best Solo Queue Attackers — Y11S3
Solid Snake (S-Tier)
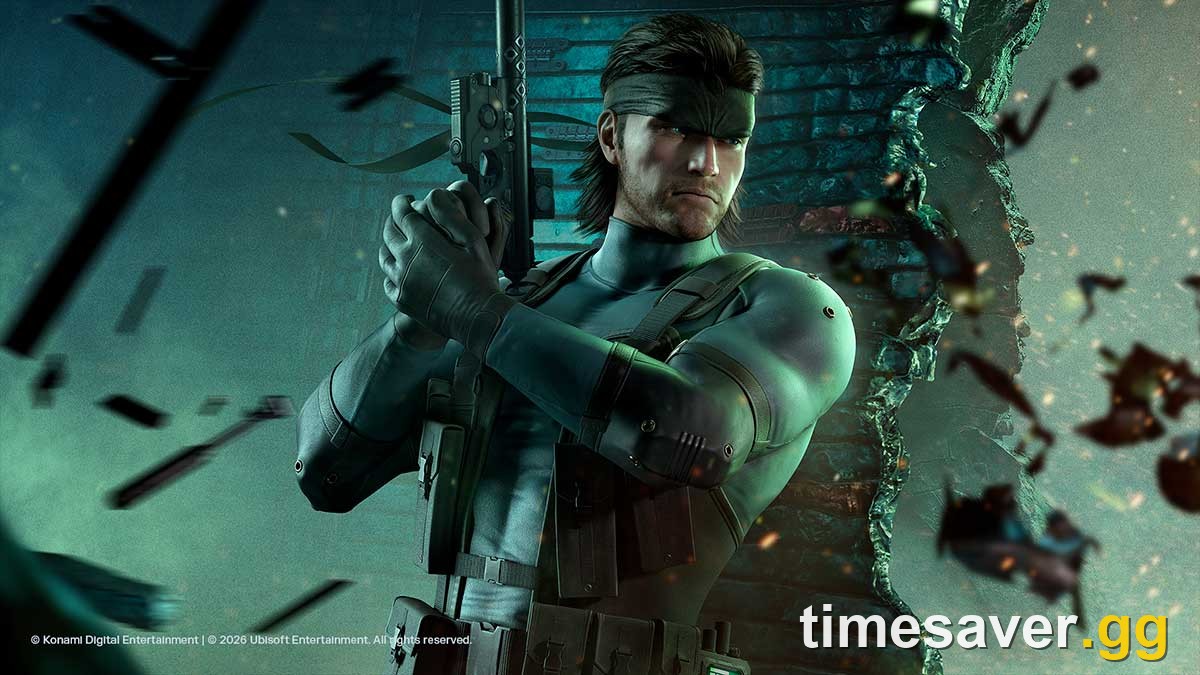
Solid Snake is the premiere solo queue intel operator in Y11S3. His Soliton Radar Mk. III, described by Ubisoft as a gadget that "displays a map of the area and any hostiles present" (source: ubisoft.com/en-us/game/rainbow-six/siege/game-info/operators/solid-snake), replaces the coordinated drone phase that solo queuers typically cannot rely on.
In a standard ranked round, gathering full site intel requires two or three players working synchronized drones through multiple rooms at once. Solid Snake's radar removes that dependency entirely. You learn where defenders are before pushing — without any teammate cooperation.
His secondary OSP Pouch, which allows him to gather usable gadgets from eliminated operators, further extends his utility without communication. Added in Y11S1 (Operation Silent Hunt, March 2026), he has settled at S-tier by Y11S3. Primary options: F2 assault rifle or PMR90A2 marksman rifle.
Ace (S-Tier)
Ace is the single most reliable solo queue hard breacher. His S.E.L.M.A Aqua Breacher opens reinforced walls autonomously — you do not need a Thatcher EMP grenade to clear electronics first, and you do not need to call out timing for a teammate to breach. Deploy the S.E.L.M.A, hold the breach line, and the wall opens on its own cadence.
This matters in solo queue because the standard Thermite + Thatcher combo requires two specific players to coordinate: one EMPs first, the other charges second. Ace handles his side alone. His secondary Claymore mines also punish roaming defenders who flank the team — placed without communication, they operate reactively.
Ace is a consistent S-tier attacker in Y11S3. He pairs naturally with Thatcher when you do have a coordinated teammate, but functions as a complete hard breach solution entirely solo.
Nomad (S-Tier)
Nomad solves the single most common death for solo queue attackers: getting flanked by a roaming defender that no one called out.
Her Airjab repulsion grenades — 3 per round, sticking to surfaces and detonating when an enemy enters range (confirmed via ubisoft.com/en-us/game/rainbow-six/siege/game-info/operators/nomad) — can be placed at every major entry and corridor before the main push. They trigger automatically. When a defender roams through a covered entry, the mine knocks them back and alerts the team to their position.
In a coordinated team, roamers get hunted by voice callouts. In solo queue, you rely on Nomad's Airjabs to play that role. Plant them at entry points before the round starts and they work for you the entire round without any further action.
She is S-tier in Y11S3 and one of the cleanest fits for the solo queue playstyle.
Thatcher (S-Tier)
Thatcher's EMP Grenades disable Kaid Rtila devices, Bandit Shock Wires, and Mute Signal Jammers — the three gadgets that prevent hard breach. In practice, this means he can enable any hard breach that Ace, Thermite, or Hibana needs to execute, even if no one communicated the plan.
Solo queue attackers often find their hard breacher standing at a reinforced wall with a Kaid-tricked reinforcement. Thatcher's EMPs, thrown through soft walls or windows before the breach attempt, clear those electronics reactively and unilaterally. You do not need the hard breacher to call "EMP first, then breach" — you can EMP the wall on your own read of the situation and the breach will follow.
His primary weapons are S-tier in Y11S3 as well: AR-33 or F2, both strong for ranked play. See our full Rainbow Six Siege weapon tier list for Y11S3 for detailed weapon rankings.
Lion (S-Tier, buffed Y11S3)
Lion's EE-ONE-D drone scan reveals every defender who moves during the alert window — and in Y11S3 the alert window was shortened from 1.5 seconds to 1.4 seconds, giving defenders slightly less time to freeze and avoid being marked.
The scan is a team-wide alert that you activate entirely on your own. In solo queue, this replaces the callout "I see a defender moving in Lobby." Activate the scan, watch where the blinking indicators appear, and you know where the roamers are — without a teammate needing to drone or call.
Lion works best during the push phase once the team is coordinated, but his scan provides usable intel for any teammate paying attention to their HUD. Strong primary (V308 or SG-CQB) and the Y11S3 buff solidifies him in the S-tier attacker list. For full rankings see our Rainbow Six Siege operator tier list for Y11S3.
Best Solo Queue Defenders — Y11S3
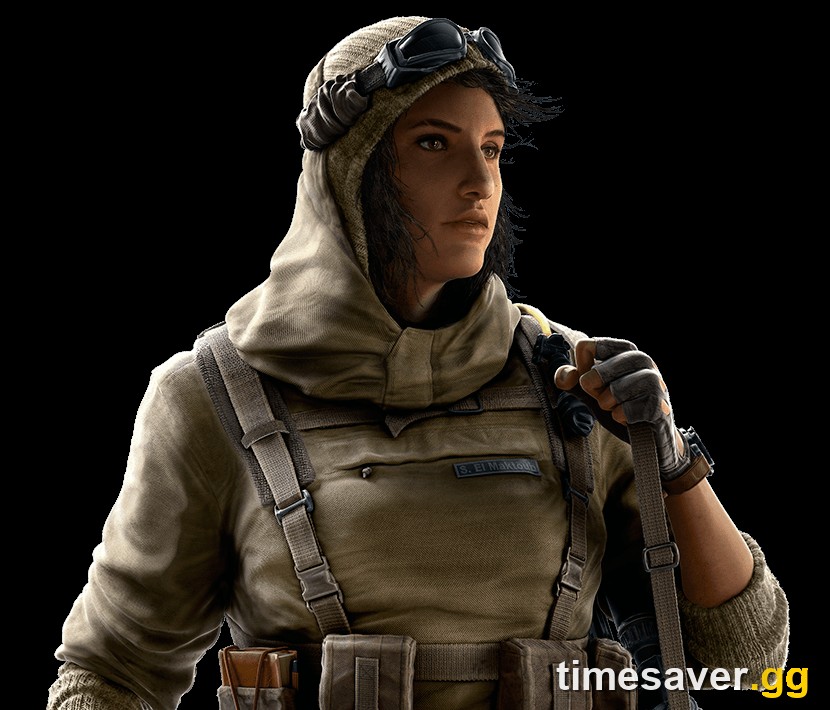
Mute (S-Tier)
Mute is the foundation of any self-sufficient defense. His Signal Jammers placed in doorways and windows deny drone intel (preventing attackers from scouting the site before the push), block remote gadget detonation, and — new in Y11S3 — interrupt Dokkaebi's Jegeo Payload upload if her tablet enters jammer range.
Three jammers, deployed in the first 45 seconds of the round, do all of this automatically for the entire defensive round. No activation. No teammate coordination. No timing call. The benefit flows to every defender on site: reduced drone intel means fewer pre-round callouts for the attacking team, which directly helps your anchors hold positions.
Mute's primary weapons (MP5K or M590A1 shotgun) are solid, and his gadget is arguably the lowest-complexity high-impact kit in the defender roster. For any solo queue defender who doesn't know what to run, Mute is the default answer. For load-out details, see the Rainbow Six Siege loadout guide for Y11S3.
Jäger (S-Tier)
Jäger's Active Defense System (ADS) auto-destroys thrown grenades with no reaction time required from the player. Place two ADS units inside or outside the site before the round, and the moment an attacker throws a grenade, it is intercepted.
This is the definition of a zero-coordination utility: set and forget. You spend the first phase placing ADS units, then play the rest of the round normally — your ADS is protecting you and your teammates without any further input.
His primary options (M870 or 416-C) are consistently strong in Y11S3. For a full ranked strategy that builds around these operator picks, see our Rainbow Six Siege ranked climbing guide.
Fenrir (S-Tier)
Fenrir's F-NATT Dread Mines are one of the most powerful area-denial tools available to a solo defender. He places 3 mines on walls and surfaces; when an attacker enters their radius, the mine releases a Fear Effect (a visual impairment gas). Crucially, Fenrir can activate and deactivate each mine remotely — from any location on the map.
This remote control is what makes him ideal for solo play. A traditional area-denial operator like Smoke requires a teammate to confirm defuser plant timing before detonating. Fenrir watches his mine feeds and activates Fear Effect when he sees the right moment — entirely on his own read. No callout needed.
After a Y9S2 balance update, Fenrir's mines are semi-bulletproof (they withstand brief fire but sustained close-range fire will destroy them). In Y11S3 he remains S-tier. The KB notes that Fenrir was first neutralized in drone phase by Twitch Shock Drones, Flores RCE-Ratero drones, and Ash Breaching Rounds — if you see those operators in the ban phase, adjust accordingly.
Kaid (S-Tier)
Kaid's Rtila electro-claws passively electrify reinforced walls, barbed wire, and deployable shields when attached to them. No activation key, no button press — once placed on a reinforcement, the Rtila charges the surface automatically.
This prevents Thermite and Ace from destroying your reinforcements without a Thatcher or Twitch clearing the electronics first. In solo queue, Kaid's placement alone protects your most important walls for the entire round. His gadget is entirely passive, the protection is team-wide, and the utility requires zero teammate communication to function.
His primary weapons (AUG A3 or TCSG12 marksman rifle) are top-tier in Y11S3. For the full context of Kaid's role in the site defense, see the counter guide for S-tier defenders in Y11S3.
Azami (S-Tier)
Azami's Kiba Barriers are throwable kunai that stick to surfaces and expand into bulletproof patch barriers — they close angles, seal bullet holes in walls, and create new covered positions. She can throw them onto walls, floors, ceilings, and other surfaces including Noor's Horus Lance impact points.
For solo queue, Azami's value comes from her ability to reshape the site geometry entirely on her own. She creates covered angles on site that benefit every anchor on the team, without any coordination needed about who will watch each angle. In Y11S3 she is S-tier and her Kiba Barriers interact with multiple operator gadgets in the meta — Noor's Horus Lance can stick to and ignite Kiba Barriers, which is relevant information for the defending team.
Which Operators Should You Avoid in Solo Queue?
Some operators genuinely need coordination to reach their ceiling. In solo queue, these become liabilities more than assets:
Montagne (Attacker): His extendable shield blocks almost all incoming fire, but without teammates shooting around him he cannot generate kills or progress. Solo queuing Montagne means one less offensive presence on your team without the payoff.
Maestro (Defender): His Evil Eye cameras are most valuable when Maestro is roaming and a teammate is holding a camera angle on site to gather intel. In solo queue, neither side of that equation works without callout coordination.
Caveira (Defender): Her Silent Step and Interrogation ability are powerful but heavily reliant on your own map awareness, callouts from teammates, and the ability to hunt isolated attackers. She requires more coordination context than most solo queuers can build without comms.
How Should You Approach Operator Bans in Solo Queue?
Operator bans in Y11S3 follow the standard 3+2 format (3 maps from the Pro Pool, 2 from the Seasonal Pool — Villa was reworked this season but is not a new map, so no Showcased Map slot applies). For bans, consider the following solo-queue-specific logic:
Attacking bans: Prioritize banning Mute first — his jammers are the single biggest obstacle to hard breach and drone intel, both of which matter more in solo play. Smoke is the second priority (Remote Canisters require coordination to beat without a plant-watcher callout).
Defending bans: Prioritize banning Thatcher, who clears the electronics protecting your reinforcements. The second priority is Solid Snake — his Soliton Radar eliminates the solo-queue attacker's biggest information disadvantage, making him more dangerous in a non-coordinated environment than in a five-stack.
For a deep dive into ranked placement mechanics and RP math, see our full Rainbow Six Siege ranked system guide for Y11S3.
FAQ
What is the best solo queue operator in Rainbow Six Siege Y11S3? Solid Snake is the strongest solo queue attacker in Y11S3 because his Soliton Radar Mk. III provides map-wide intel independently, replacing the coordinated drone phase. On defense, Mute is the strongest solo queue pick — his Signal Jammers deny drone intel and block remote gadgets automatically for the entire round with no further input.
Are solo queue operators the same as the general meta in Rainbow Six Siege? Mostly yes in Y11S3 — all five recommended attackers and defenders here are S-tier meta picks. The difference is which S-tier operators work alone. Smoke is S-tier but benefits most from team coordination; Jäger is equally S-tier and requires zero coordination. In solo queue, filter by self-sufficiency within the S-tier list.
Does solo queue in Rainbow Six Siege take longer to rank up than playing in a squad? Yes. According to the Ranked 3.0 system (live since Y11S2, Operation System Override, June 2, 2026), the base RP gain per win is approximately 30 RP, and squad restrictions limit rank gaps to 3 tiers in Copper–Emerald and 2 tiers in Diamond–Champion. Solo queue has a lower ceiling partly because opponent prediction is harder — you can have a higher-ranked player drafted into your lobby without a stack to compensate.
Should I use voice chat in solo queue Rainbow Six Siege? Short callouts (plant spotted, two left, roamer at Stairs) add significant value even with strangers. If voice is not an option, text pings and the in-game ping system cover the most critical communications. Operators like Solid Snake and Nomad reduce how much you need to rely on teammate callouts regardless.
How do I counter Mute as a solo queue attacker? Thatcher EMPs thrown through windows or soft-wall holes destroy Signal Jammers without line-of-sight. Alternatively, check jammer placement with a drone and enter the site from an unprotected wall or floor. For a complete guide to beating S-tier defenders, see our Y11S3 counter guide.
Season: Y11S3 (Operation Split Fire, September 1, 2026). Information verified against official Ubisoft operator pages and patch notes. Solo queue operator rankings reflect the Y11S3 meta.
Want to level up further in Rainbow Six Siege?
- Rainbow Six Siege Ranked Guide — Y11S3 — Full Ranked 3.0 system breakdown
- How to Rank Up Fast — Y11S3 — Tactical climbing guide
- Operator Tier List — Y11S3 — Full S through D rankings
- All timesaver.gg services — Boosting and carry services