Drag racing in Forza Horizon 6 looks simple — point the car straight, hold the throttle, win. It isn't. The difference between a 9-second run and a 7-second run on the same car is almost entirely in the tune, and most players lose that time off the line to wheelspin they never even feel. This guide is the build order: what to change, in what sequence, and why — so any eligible car hooks hard and pulls clean to the end of the strip.
Quick answer: To build a fast FH6 drag car, work in this order: (1) AWD drivetrain swap for off-the-line traction, (2) max power via the biggest engine swap and forced induction your class allows, (3) drag/sport compound tires at the widest front and rear, (4) gearing tuned last — set the final drive so you cross the line right as you hit the rev limiter in top gear, and (5) a soft rear / stiff front launch balance to shove weight onto the driven wheels. Dial those five in and a well-chosen S2 car runs a sub-8-second quarter mile; the fastest unlimited builds dip under 7.
Drag is a build-first, tune-second discipline. The car you start with sets the ceiling; the tune just removes the time you'd otherwise leave on the table. If you want the car picks themselves, our Forza Horizon 6 best drag cars breakdown ranks the launch monsters — this guide is how you build them.

Forza Horizon 6 - Wheel Spins
Get wheel spins in 10 minutes
What actually wins a drag race in FH6?
Three things, in order of how much time they save:
- Traction off the line. A drag race is won in the first 100 feet. If the tires spin at launch, every tenth you lose there is gone for the whole run. This is why AWD dominates FH6 drag — it converts raw power into forward motion instead of smoke.
- Power-to-weight. Once you're hooked up, the quarter mile is a power contest. More horsepower and less weight = a quicker trap speed. But power with no traction is useless, which is why it's second, not first.
- Gearing. The right final-drive ratio keeps the engine in its power band the entire run and puts the rev limiter exactly at the finish line. Wrong gearing bleeds a full second off an otherwise perfect build.
Everything below is just the practical way to buy those three things with the Performance Index (PI) you have.
As one r/ForzaHorizon drag builder put it on a launch-setup thread, "your 60-foot time is the whole race — fix the hook before you chase more power." It's the single most repeated piece of advice in the community's drag threads, and it's correct.
Step 1 — Drivetrain: should you AWD-swap a drag car?
Almost always, yes. FH6 offers three drivetrain layouts — RWD, FWD and AWD — and most cars can be converted to at least one alternative (forzafire.com drivetrain guide). For drag, AWD is the default because it puts power down through four tires instead of two, which kills the launch wheelspin that destroys quarter-mile times.
The trade-off is PI. An AWD swap carries a PI cost that varies per car — it can be as little as ~30 PI on one chassis and 80+ on another — so always watch the PI counter before you commit (forzafire.com). If the swap shoves you out of your target class, you have two choices: drop power elsewhere to fit, or keep a factory AWD car that doesn't pay the swap tax at all.
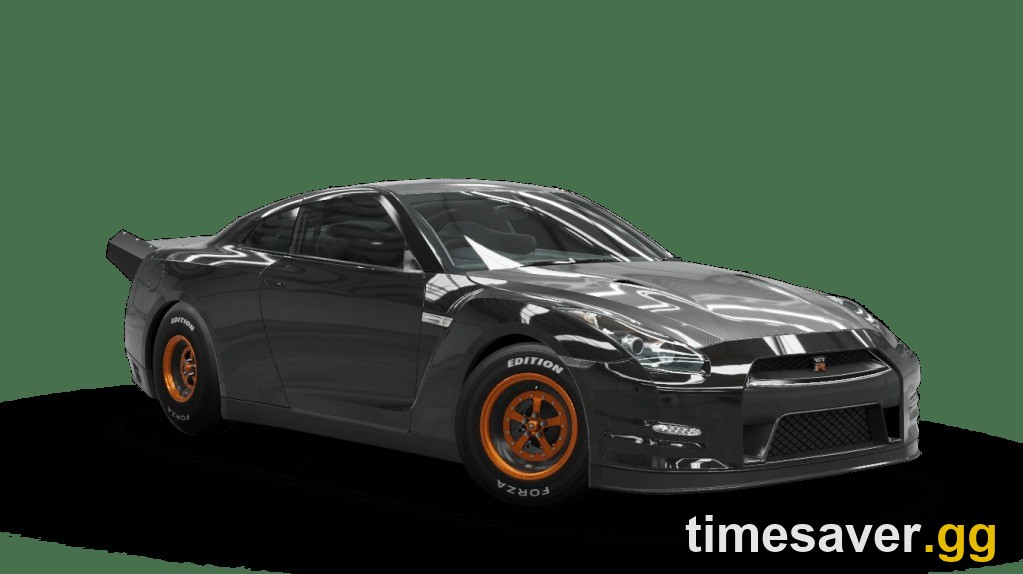
The shortcut: start with a car that's AWD from the factory. Nissan GT-R, Audi quattro/R8, Mitsubishi Evo and Subaru WRX/STI all ship with well-sorted center differentials in FH6 and need almost no drivetrain work (forzafire.com). That's a big reason the Nissan GT-R R35 Forza Edition is the game's S2 drag-record king — it's factory AWD, takes a monster engine swap, and launches like it's bolted to a rail.
RWD drag builds exist and can be lighter, but they demand clutch-launch skill and perfect balance to not go up in smoke. For 95% of players, AWD is free time.
Step 2 — Engine and power: swap, then boost
With the drivetrain sorted, buy power. Drag rewards raw output above almost everything, so the order here is:
- Engine swap first. Most stock motors aren't viable for a serious drag build — pick the swap with the highest power ceiling that fits your class (forza.guide). The swap is the foundation; everything else is tuning around it.
- Forced induction. Add the turbo or supercharger with the biggest power gain. Turbo lag is a non-issue on a drag strip — you're flat-out the entire run, so there's no corner exit where lag would hurt you (bossdown.com).
- Weight reduction and drivetrain/clutch upgrades to cut rotating mass and sharpen shifts.
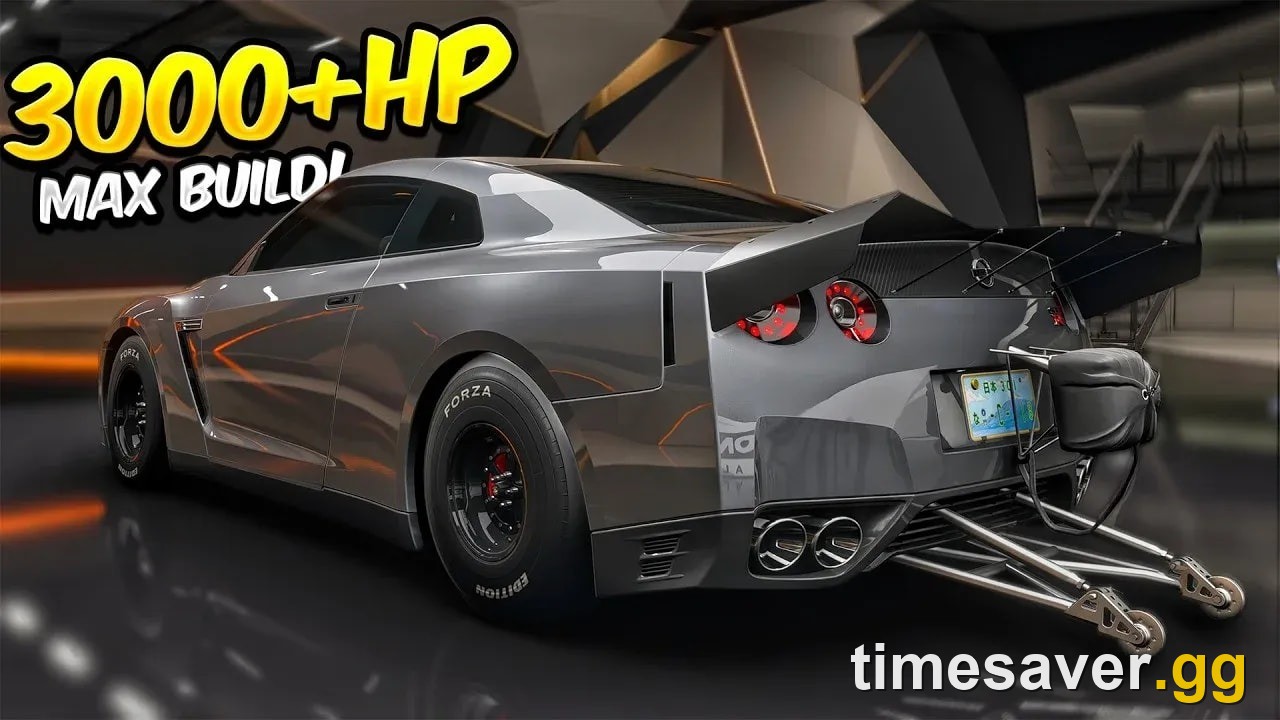
The ceiling here scales with class. FH6's class letters sit lower than older Forza games — 616 PI shows as A, 761 as S1, and S2 events cap at 900 PI — so don't assume legacy "A = 701–800" bands when you're building to a cap. The practical headroom is big: community "max build" drag GT-Rs push past 3,000 horsepower in the unlimited X-class bracket, with the fastest unlimited quarter-mile runs dipping under 7 seconds.

Step 3 — Tires: compound and width
Power with no grip is a smoke show. Two tire decisions matter for drag:
- Compound: fit drag tires if the discipline/event allows them — they're purpose-built for straight-line launch grip. If you're building to a mixed cap where drag slicks aren't ideal, sport or race compound is the next best. Street tires belong on a street car, not a strip.
- Width: go as wide as the class and PI budget allow, front and rear. Wider rear tires on the driven wheels mean a bigger contact patch to put the power down; on an AWD car, don't neglect the fronts either, since they're launching too.
Tires are cheap PI for how much traction they buy. On a wheelspin-limited build, a compound/width change often does more for your time than another engine tier.
Step 4 — Gearing: the step that actually drops your time
Here's the rule the whole community agrees on: tune gearing last, and tune it on the strip. As the grindout.com FH6 tuning guide puts it, drag is "build-first, tune-second" — you set everything else, then you dial the final drive.
The method:
- Take the car to a quarter-mile drag strip (the Festival Playlist's drag meets and the open-world drag strips both work for testing).
- Do a dead-stop, full-throttle run.
- Adjust the final drive until you hit the rev limiter in top gear right as you cross the finish line — not 50 feet before (you've run out of gear and capped your speed) and not after (you never reached your top end).
- If the car bogs off the line, shorten the lower gears slightly; if it spins, you need traction (back to Steps 1–3), not gearing.
Individual gear ratios let you fine-tune the launch and the mid-run pull, but final drive is where 90% of the time lives. Tiny changes to gearing move quarter-mile times by surprisingly large amounts (mitchcactus.co).

Forza Horizon 6 - Credits
Get up to 999M Credits in 10 minutes
Step 5 — Suspension and launch balance
The last tenths come from weight transfer. On launch, you want weight shifting onto the driven wheels for maximum grip. The community-standard drag suspension setup leans toward:
- Soft rear springs/damping to let the back squat and load the rear tires on launch, and stiffer front to resist nose-lift (mitchcactus.co).
- Soft rebound damping on launch-heavy builds so the suspension doesn't unload the tires.
- Differential biased toward acceleration so both axles drive hard off the line.
- Aero trimmed for minimum drag on a pure strip build — downforce you don't need on a straight line is just top-speed tax (the Aero tab is where you set front/rear downforce, pictured above).
Without this, even the strongest engine will fight wheelspin all the way down the strip. With it, the car plants and goes.
How to launch the car (driver inputs matter too)
A perfect tune still needs a clean launch:
- Turn off traction and stability control for drag — you want all the power, and you're going straight. Keep them for everything else.
- Build revs on the line and feed throttle in as the light drops, rather than flooring it cold and spinning.
- Shift manually and shift right at the limiter. Auto shifts early and costs you power-band time; even with no clutch work, manual shifting alone is worth a measurable chunk of your quarter mile.
- On RWD builds, manual-with-clutch launches are the difference between a hook and a burnout — this is the skill ceiling that makes RWD drag harder than AWD.
Does a faster drag car actually need credits?
Yes — and this is where a lot of players stall. Engine swaps, forced induction, the car itself, and buying multiple chassis to test builds all cost Credits (CR), and the best drag bases (like Forza Edition cars) are frequently sniped fast on the Auction House. If you're grinding for the car before you can even start tuning, you can skip straight to the build:
Want to skip the grind and get straight to building? Here's what pairs with a drag project:
- Forza Horizon 6 Credits — fund the engine swaps, forced induction and the chassis you want to tune. Instant delivery, safe, best rate.
- Forza Horizon 6 All-Cars Bundle — every car in the game, so your drag base (GT-R, Evo, quattro) is already in the garage.
- Forza Horizon 6 Wheelspins — fastest route to the rare Forza Edition drag kings that get sniped on auctions.
- Forza Horizon 6 Account Leveling — unlock the drag meets and progression that gate the best events, hands-free.
If you want the raw CR methods instead, our how to make credits fast in FH6 guide covers the fastest farms.
A worked example: the sub-8-second AWD build
Put it together on a factory-AWD base like the GT-R R35:
- Keep the factory AWD (no swap tax).
- Biggest engine swap + max forced induction your target class allows.
- Drag or race compound tires, widest front and rear.
- Weight reduction, race clutch/driveline for faster shifts.
- Gearing tuned on the strip — rev limiter at the finish line.
- Soft rear / stiff front launch balance, accel-biased diff, minimal aero.
- Launch with TCS off, manual shifting, revs loaded on the line.
Built to the S2-900 cap, that recipe runs a sub-8-second quarter mile. Take it to the unlimited X-class and the same logic — just more power — is what runs the sub-7 world-record builds.
FAQ
Is AWD or RWD better for drag in Forza Horizon 6? AWD for almost everyone. It puts power down through four tires, so you launch without the wheelspin that destroys quarter-mile times. RWD can be lighter and is more authentic, but it needs clutch-launch skill to avoid going up in smoke. If you're not chasing world records, AWD is free time.
What should I tune first on a drag car? Build the car first (drivetrain, engine, tires), then tune. The community rule is "build-first, tune-second." Of the tuning steps, gearing drops the most time — set your final drive so you hit the rev limiter in top gear exactly as you cross the line.
What's a good quarter-mile time in FH6? A well-built S2 car (capped at 900 PI) should run around or under 8 seconds. The fastest unlimited X-class builds — 3,000+ horsepower monsters — dip under 7 seconds. Times are build- and launch-dependent, so treat these as targets, not guarantees.
Do I need drag tires specifically? Use drag tires when the event allows them — they're built for straight-line launch grip. If your build is to a mixed cap where slicks aren't ideal, sport or race compound is the next best choice. Never drag on street tires.
Should I turn off traction control for drag? Yes. For a straight-line launch you want all the power, so switch TCS and stability control off and manage wheelspin with throttle. Keep them on for normal racing — this is a drag-only change.
Where can I test my drag build? FH6 ships with three drag strips, including the Irokawa Quarter Mile Drag Meet at the Irokawa Space Center in the Nangan Region (far south of the map, unlocked with the Green Wristband). Do dead-stop, full-throttle runs there and adjust final drive between attempts until the rev limiter lands at the finish line.