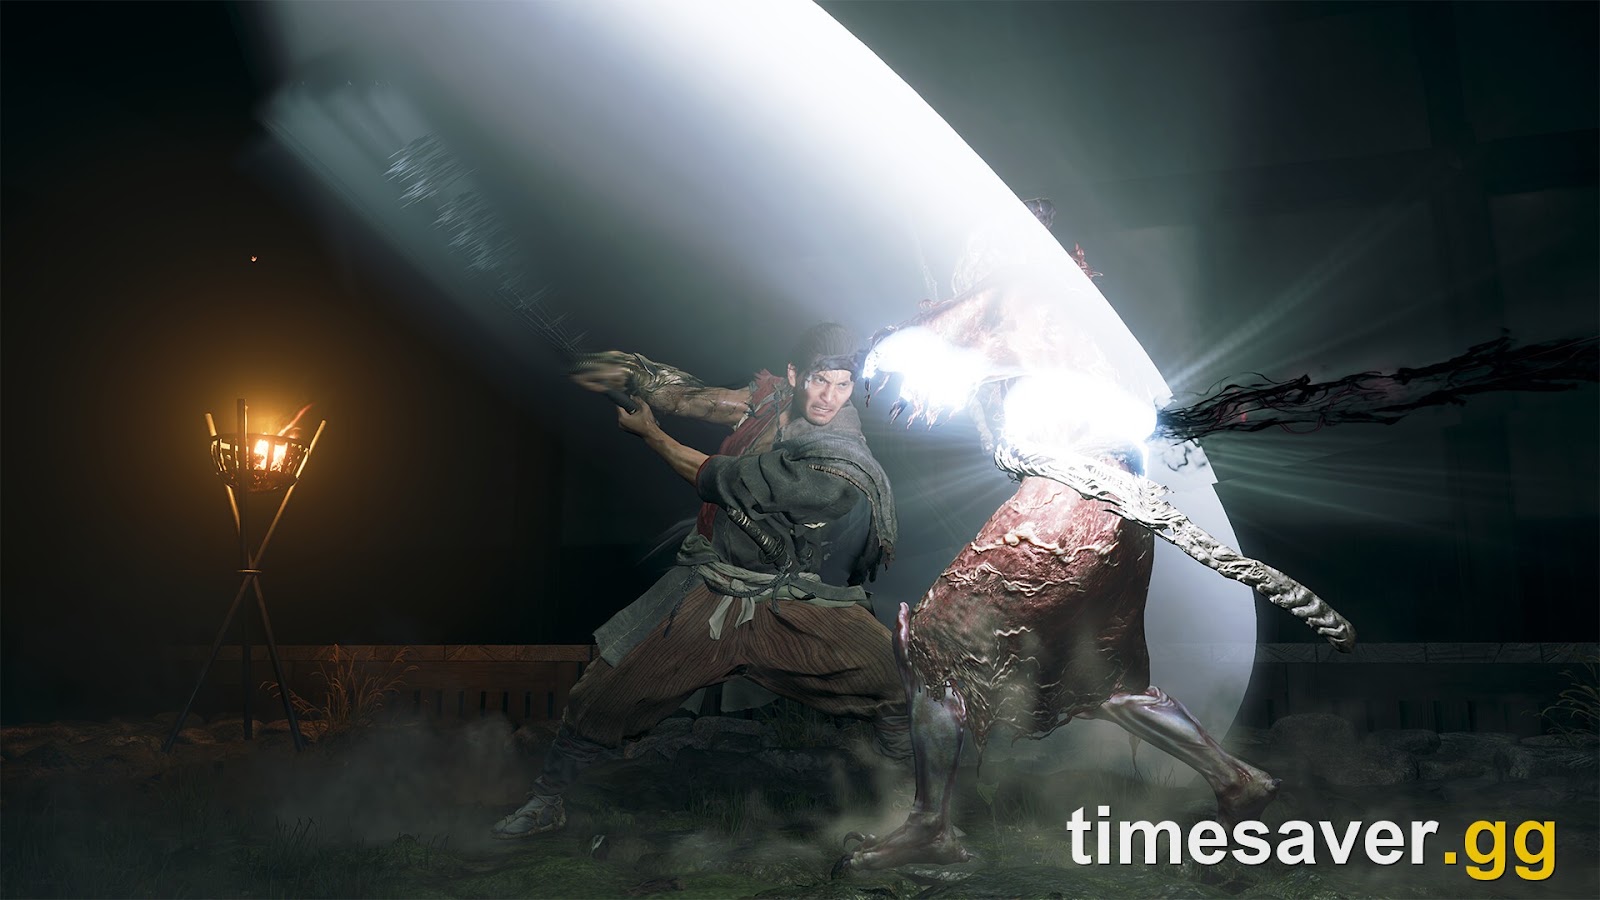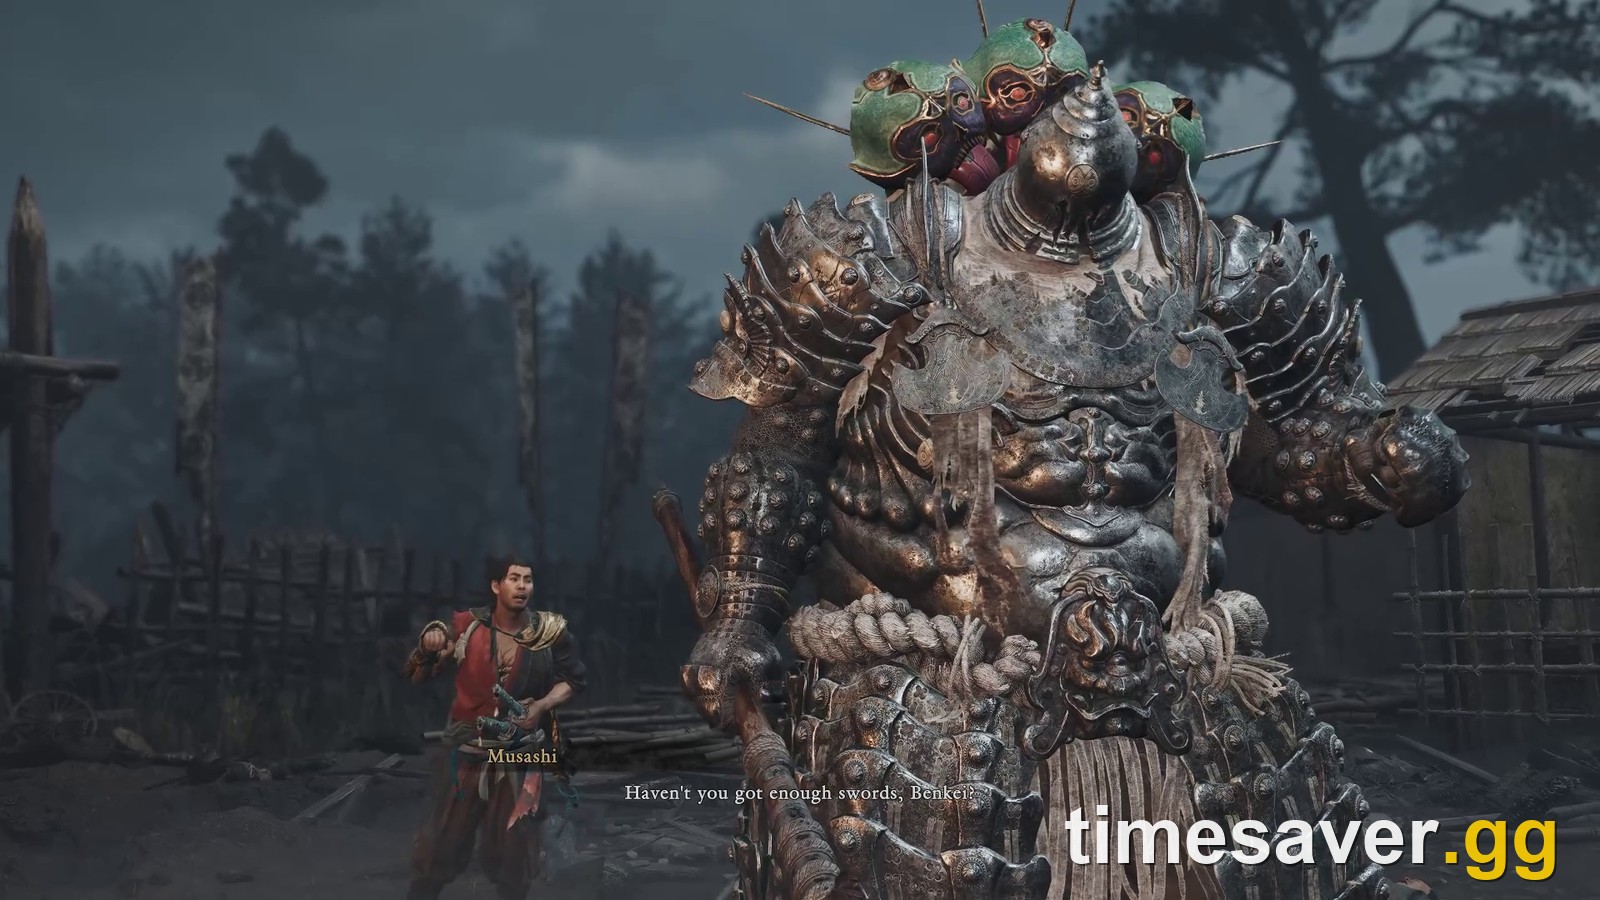
Quick answer (as of October 26, 2026): You fight Benkei twice in Onimusha: Way of the Sword. The first fight ends Bloodbath on the Bridge (Mission 14, Gojo-Ohashi bridge). The rematch, Benkei (Fully Armed), is in The Clash at Rendaino (Mission 23, the point of no return). Both fights use the same rule: your hits barely matter until you break his armor. He wears six armor pieces (both arms, both legs, chest and head). Break them with Oni Strength, the Earth-Shakers, or by picking a red armor spot when Break Issen lets you choose a target. When his naginata glows, the next hit is an unavoidable attack: parry or deflect it, because dodging won't work. In phase 2 he draws a second naginata and chains two unavoidables in a row. In the Rendaino rematch, shoot the shoulder cannon with the Oni Bow and press Dodge just before his blue-glowing hand grabs you. Those two moves cause most Carnage deaths in this fight.
Benkei is the fight where Onimusha: Way of the Sword stops letting you trade hits. He's a giant armored warrior with a naginata, and until his armor is gone most of your sword damage bounces off. PowerPyx's Carnage boss guide puts the solution in one line: "depleting his stamina bar and then choosing red soul spots when given a choice." It rates the first fight 3/10 and the Fully Armed rematch 5/10. Neither is a top-tier wall, but the rematch has two attacks that can end a Carnage run.
Onimusha: Way of the Sword released on September 4, 2026 on PS5, Xbox Series X and Series S, Nintendo Switch 2 and PC. Move names and counters below come from IGN's Benkei guide, IGN's Rendaino walkthrough, Maxroll's mission guides and Vandal's boss guide, all fetched on October 26, 2026. Tips from r/Onimusha are labeled as player reports.
Where do you fight Benkei in Onimusha: Way of the Sword?
Twice in the story. Both fights are also in the Boss Rematch menu once you've beaten them.
| Fight 1: Benkei | Fight 2: Benkei (Fully Armed) | |
|---|---|---|
| Mission | Bloodbath on the Bridge (Mission 14) | The Clash at Rendaino (Mission 23) |
| Arena | Gojo-Ohashi bridge, Eastern Kyoto | Rendaino |
| PowerPyx difficulty | 3/10 | 5/10 |
| Phases | 2 (phase 2 = flaming second naginata) | 2 (phase 2 = cannon, hammer, knives, axes) |
| Red Souls dropped (GameTrek) | 4,025 | 12,870 |
| Mission rewards | Hempen Cloth x2, Tamahagane x1, Power Stone x2 | Tempered Iron x2, Leather x2, Power Stone x2 |
| Trophy / achievement | Benkei: Out, but Not Down | Baited by Benkei |
| Boss Rematch roster slot | 11 of 18 | 12 of 18 |
Two things to know before Rendaino. First, starting that mission is the point of no return: Maxroll warns that "once started you need to complete the remainder of the game before you can return to Eastern Kyoto or do any side content." Our point of no return checklist lists what to finish first. Second, the bridge where you fought Benkei the first time hides Genma Note #18. It's in a chest you reveal with Oni Power, so grab it on a return visit if you're going for the Genma Notes trophy.
How do you break Benkei's armor?

This rule decides both fights. IGN puts it plainly: "You must destroy Benkei's armor to deal damage to his flesh." According to IGN, the armor comes in six pieces: left arm, right arm, left leg, right leg, chest and head. Each one has to be broken separately. You have three ways to do it:
- Oni Strength. IGN calls it "the best tool in your arsenal" here. IGN counts six uses to clear all of it, one per piece, and Musashi calls out the count as you go. IGN's tip for the rematch is to parry, then use Oni Strength while Benkei is briefly stunned.
- Earth-Shakers. Vandal's whole plan is built on this Oni Armament: "use the Earth-Shakers to destroy his armor almost immediately and even interrupt some of his attack animations." Charge it fully after his jump slam, when he's stuck in place for a second or two. The swing also gives you invincibility frames, although Vandal notes he "can still interrupt you while you're charging it." Our Oni Armament ranking explains why the Earth-Shakers are the top pick for armored bosses.
- Break Issen on a red spot. When his stamina bar runs out, Break Issen lets you choose a target. Pick one of the red-marked armor spots instead of a soul and that piece breaks. Once every piece is gone, Break Issen does full health damage.
Maxroll mentions a trade-off. Breaking pieces one at a time with attacks, Oni Strength or Break Issen "gives you more opportunities to stagger Benkei but makes it harder to deal health damage." Use the Earth-Shakers if you just want the armor gone. Once he's bare, Maxroll suggests switching to The Two Celestials so you get Yellow Souls (health) for the rest of the fight.
Watch his soul intake. Like other bosses, Benkei absorbs souls during the fight, and IGN notes that absorbing enough of them makes him empowered early. When that happens, the device on his back glows and he gets his phase-2 combos. Maxroll gives the same warning for Rendaino: "This fight is much easier if you can prevent him from collecting enough souls to enter this form before you deplete his first health bar." Collect souls quickly and don't let them pile up on the floor.
How do you beat Benkei on the bridge (fight 1)?
Vandal sums up the first fight: "Benkei is a deceptively easy boss... or an extremely difficult one." His moveset is small and well telegraphed. Players get killed by the follow-ups, not the opening swings.
Phase 1 moves and counters
| Move (IGN name) | Tell | Counter |
|---|---|---|
| Stab → unavoidable spin | Drops low, blade pointed forward with both hands | Parry/deflect the stab, then parry/deflect the unavoidable follow-up |
| Double Swing → unavoidable | One hand on his knee, winds up a swing | Parry, dodge, Issen or deflect the first hit; parry/deflect the second |
| Whirlwind | Blade behind his shoulder, spins while walking at you | Wait until it's close, then parry/deflect |
| Big Chop | Spins like a top into an overhead chop | Let the spin finish, then parry/deflect |
| Two-Hit Combo | Blade behind him with one hand, two sweeps | Parry/deflect both |
| Swipe Escape | Leans forward, swipes, then jumps back | Parry/deflect on contact |
| Stomp | Jumps high, lands feet first | Dodge when his heels are right above you (unarmed attack) |
| Kick Punch | Raises a leg, kicks, then a downward hammer fist | Dodge both (unarmed attack) |
Two openings are worth waiting for. The jump/stomp is the best one: Hardcore Gamer ranks it with the overhead blow as "the best attacks you can hope for," and Vandal points out that he's stuck in place for a moment if it misses. That's your Earth-Shakers window. If you've taken the Reflex Combo skill, IGN says dodging his unarmed moves sets up a counter "that ignores armor." The wide circular swing is the one to fear. Vandal notes that whether you parry it or get hit, "Benkei will immediately follow it with an Unavoidable Attack."
Two smaller annoyances: the butt-of-the-weapon jab, which Maxroll calls "fast and can catch you off guard," and the front kick. Neither does much damage, but both break your rhythm. Don't let a chip hit push you into panic-dodging the next unavoidable.
Phase 2: the flaming second naginata
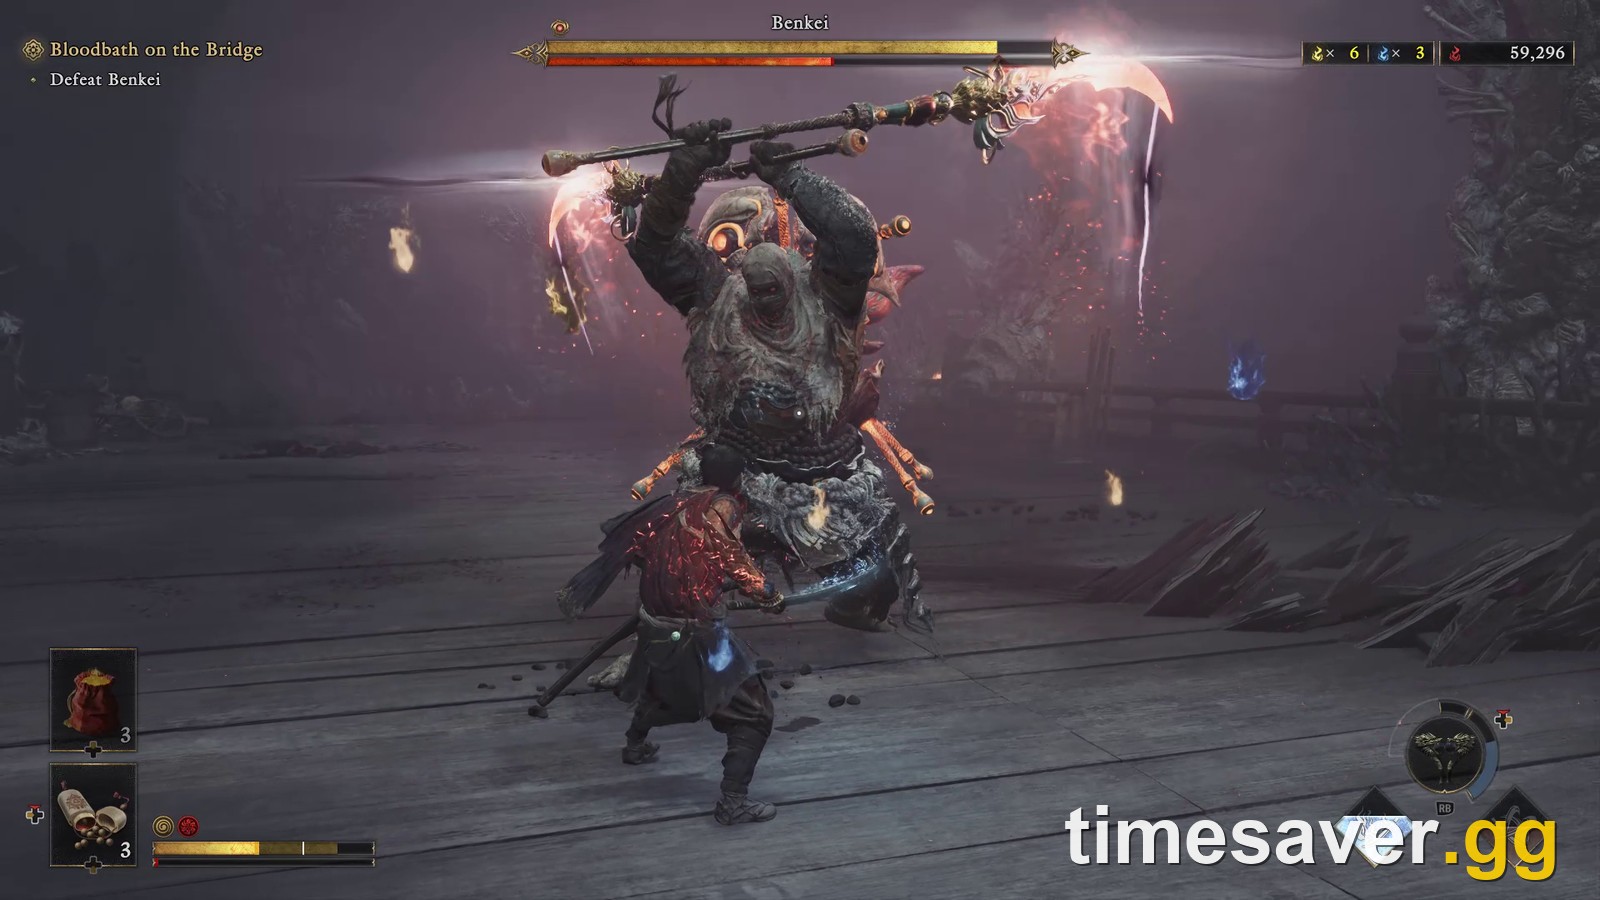
Empty his first health bar and Benkei enters phase 2. His naginata catches fire, a second one comes out, and he gets faster. IGN says his move list "doesn't change from his empowered mode in Phase One," so if he empowered early you've already seen everything. The upgraded combos are:
- Stab Combo: the unavoidable from phase 1, followed by a second unavoidable with both naginatas.
- Double Swing Combo: the same idea, with two unavoidables back to back.
- Big Chop Combo: a second chop with both blades. IGN says that parrying the last hit "leave[s] him stunned long enough for a counterattack or Oni Strength."
Vandal's warning about the double unavoidable is the one to remember: "successfully Parrying that Unavoidable Attack is immediately followed by another one, this time as Benkei leaps into the air wielding two naginatas." He can also start that leap without any setup. Maxroll adds that if you're used to dodging weapon attacks or holding block, you need to "watch out for when his weapon glows pink, indicating you need to parry or deflect!" If you only drill one thing for this fight, drill parry, then parry again. Our Issen guide covers the timing.
How do you beat Benkei (Fully Armed) at Rendaino (fight 2)?
Benkei's first phase at Rendaino is mostly the fight you already won. IGN says to expect "his unavoidable stab attack, the leaping stomp, and the naginata whirlwind," and you strip the same six armor pieces. Two things change. According to PowerPyx, the rapid flurry of glowing second-naginata strikes that used to be phase-2-only now shows up in phase 1. And Maxroll says his regular → unavoidable combo gets a third unavoidable using both weapons: "easy to deflect, just be ready for it and don't spam attacks."
The danger is in his new kit, which he uses once he's empowered and throughout phase 2.
The grab: press Dodge just before the hand lands

Maxroll calls the grab "by far his most dangerous move." The tell is his left hand glowing blue. IGN's counter is to "press the Dodge button or key right before his hand reaches Musashi to reverse the grab." Maxroll gives the same timing, "right after the flash do a grab reversal as Benkei's hand reaches for Musashi," and suggests interrupting it with a ready Oni Armament if you keep missing the window. Pressing early is the usual mistake. Wait until the hand is almost on you.
The shoulder cannon: shoot it with the Oni Bow

Benkei pulls a cannon out of the pack on his back, puts it on his shoulder, and the barrel starts glowing as it charges. Don't try to tank it. IGN's counter is to "quickly pull out the Oni Bow and fire it at the cannon, causing it to explode into pieces, damaging Benkei's health and stamina." GameTrek says the same thing: aim at the mouth of the cannon while it charges. If your bow isn't ready, get as far away as you can. GameTrek notes he sometimes sets this up from close range with a quick swipe while jumping back, so expect a cannon after that backstep.
Hammer, ground wave, knives, axes and cannon fire
| New move | What happens | Counter |
|---|---|---|
| Ground Hammer | Throws a huge hammer that sticks in the ground, then explodes | Dodge just before each blast; IGN's cue is the hammer expanding and the eyes of its carving glowing |
| Ground Wave | Pulls his naginata out of the ground and sends a wave at you | Dodge (unarmed attack) |
| Fan Knives (phase 2) | Throws a fan of shuriken knives | Block, parry, or deflect them back at him |
| Axe Toss (phase 2) | Several axes curve in from the side | Dodge by moving; block, parry or deflect any that still reach you |
| Cannon Fire (phase 2) | Lobs cannonballs in a slow arc | Dash to the side ahead of them or back off; Maxroll says to dodge through the mortars |
r/Onimusha players disagree about how hard Rendaino is. In a recent Carnage rematch thread, one player said they could Issen "nearly 80% of his moveset easily." Another replied that "his projectiles are part of the 20% you're not supposed to Issen," and a third said the opposite: that the knives and axes are "all very easy to issen." The safe approach is to dodge the projectiles and save your Issen for the slow naginata wind-ups. One player who found him hard said they "kept getting duped by his unblockable, which has a similar windup to one of his more issenable moves." So if you can't tell which attack is coming, parry. A parry handles the unavoidable and the normal swing; an Issen attempt only handles the normal one.
What changes when you fight Benkei on Carnage?
Carnage unlocks in New Game Plus after you finish the story once (see our NG+ guide). Benkei's patterns don't change, but his damage does. PowerPyx's advice on the rematch is not to underestimate him because he deals massive damage. Fan wiki onimushawiki.com warns that the Fully Armed cannon attacks can kill outright on Carnage. In practice:
- Shoot every shoulder cannon. Letting it fire on Carnage risks a full reset.
- Break the armor before you get greedy. Every armored hit you land is wasted time in a fight where he can kill you fast.
- Burn Oni Awakening on phase 2. Maxroll suggests a Ranged Issen during Oni Awakening as another way to interrupt the charged cannon.
- Bring the right setup. Our Carnage survival guide and best charms list cover the charms that help with one-hit deaths.
For the full difficulty ranking across all 18 fights, see our all bosses guide. Benkei sits in the middle of it.
Who is Benkei in Onimusha: Way of the Sword?
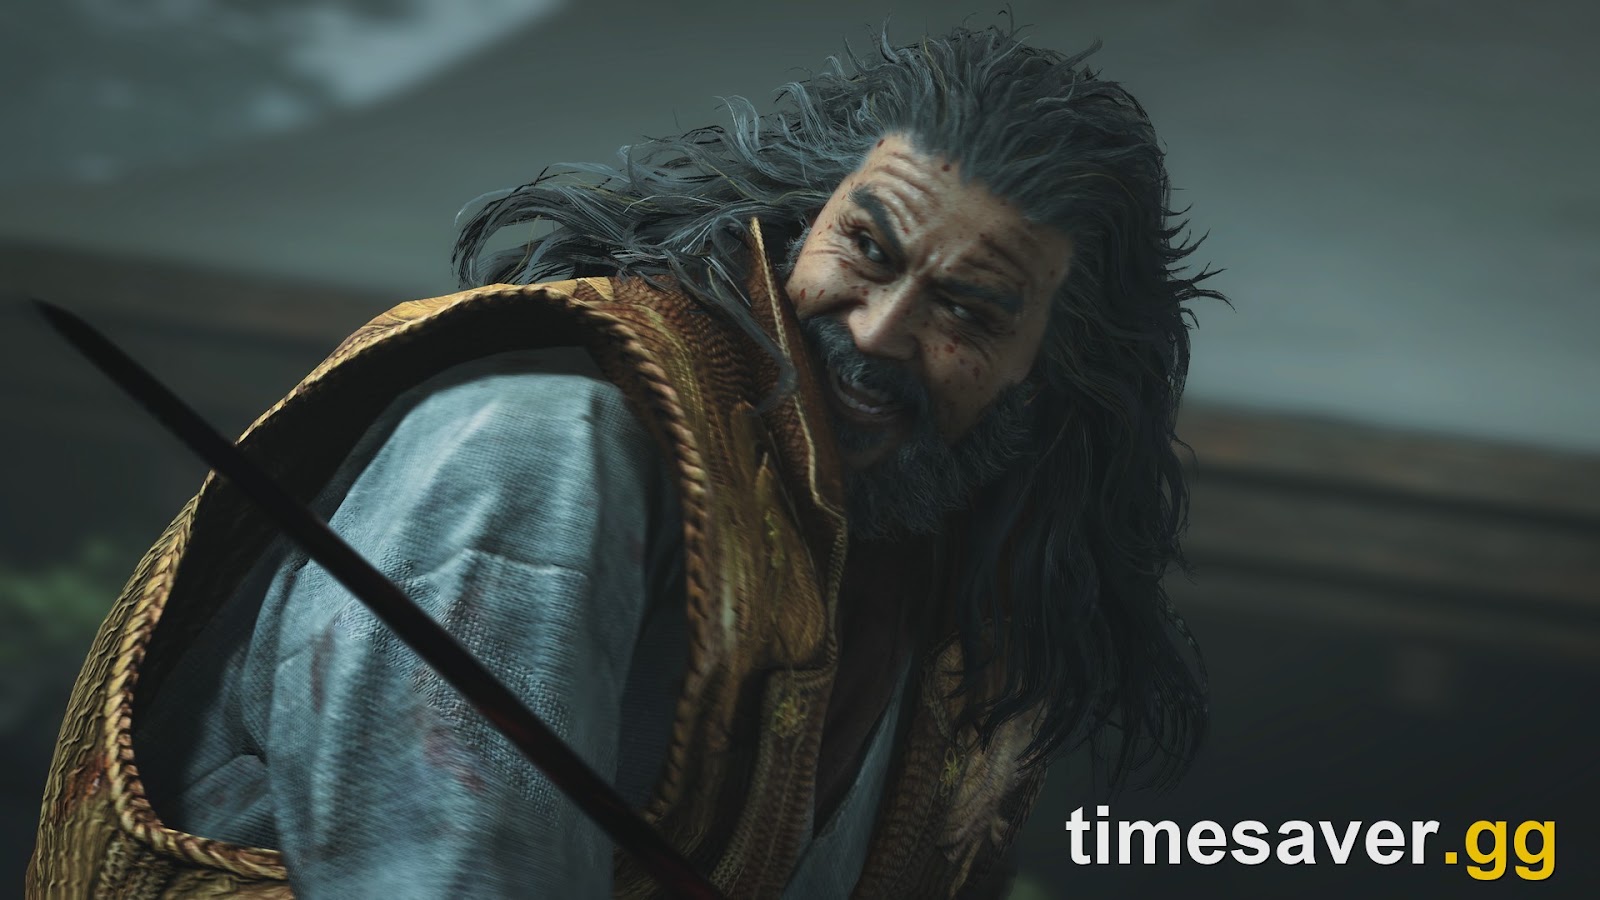
In Japanese legend, Benkei is the warrior monk who served Minamoto no Yoshitsune, and Yoshitsune is the game's final boss. The legend also connects Benkei with Gojo Bridge, which explains where the first fight takes place. How much of that history the game confirms is something to see in the story itself. After the first fight, Benkei appears to be finished, so his return at Rendaino is a surprise. IGN's walkthrough jokes that he "seems to have survived his clash with Musashi." We're keeping story details for the late chapters out of this guide. Our ending explainer covers them with spoiler warnings.
FAQ
How many times do you fight Benkei in Onimusha: Way of the Sword? Twice in the story: in Bloodbath on the Bridge (Mission 14) and as Benkei (Fully Armed) in The Clash at Rendaino (Mission 23). Both fights appear separately in the Boss Rematch menu once you've beaten them.
Why can't I damage Benkei? He's covered in armor. Your attacks do little until you break the six pieces (both arms, both legs, chest and head) with Oni Strength, the Earth-Shakers, or by picking red armor spots during Break Issen after you drain his stamina.
How do you counter Benkei's grab? In the Fully Armed fight his left hand glows blue before he grabs. Press Dodge just before the hand reaches Musashi to reverse it, or interrupt him with an Oni Armament.
How do you stop Benkei's cannon? Shoot the shoulder cannon with the Oni Bow while it's charging. It explodes and damages Benkei's health and stamina. If the bow isn't ready, get as far away as you can.
Is the second Benkei fight harder than the first? Yes. PowerPyx rates Benkei 3/10 and Benkei (Fully Armed) 5/10. The rematch adds the grab, the cannons, the exploding hammer and projectiles, and his combos gain a third unavoidable hit.
What do you get for beating Benkei? The bridge fight drops 4,025 Red Souls (per GameTrek) and unlocks the trophy "Benkei: Out, but Not Down." The Rendaino fight drops 12,870 Red Souls and unlocks "Baited by Benkei."
More Onimusha: Way of the Sword boss guides
Stuck on a different fight? These guides use the same parry-first approach: