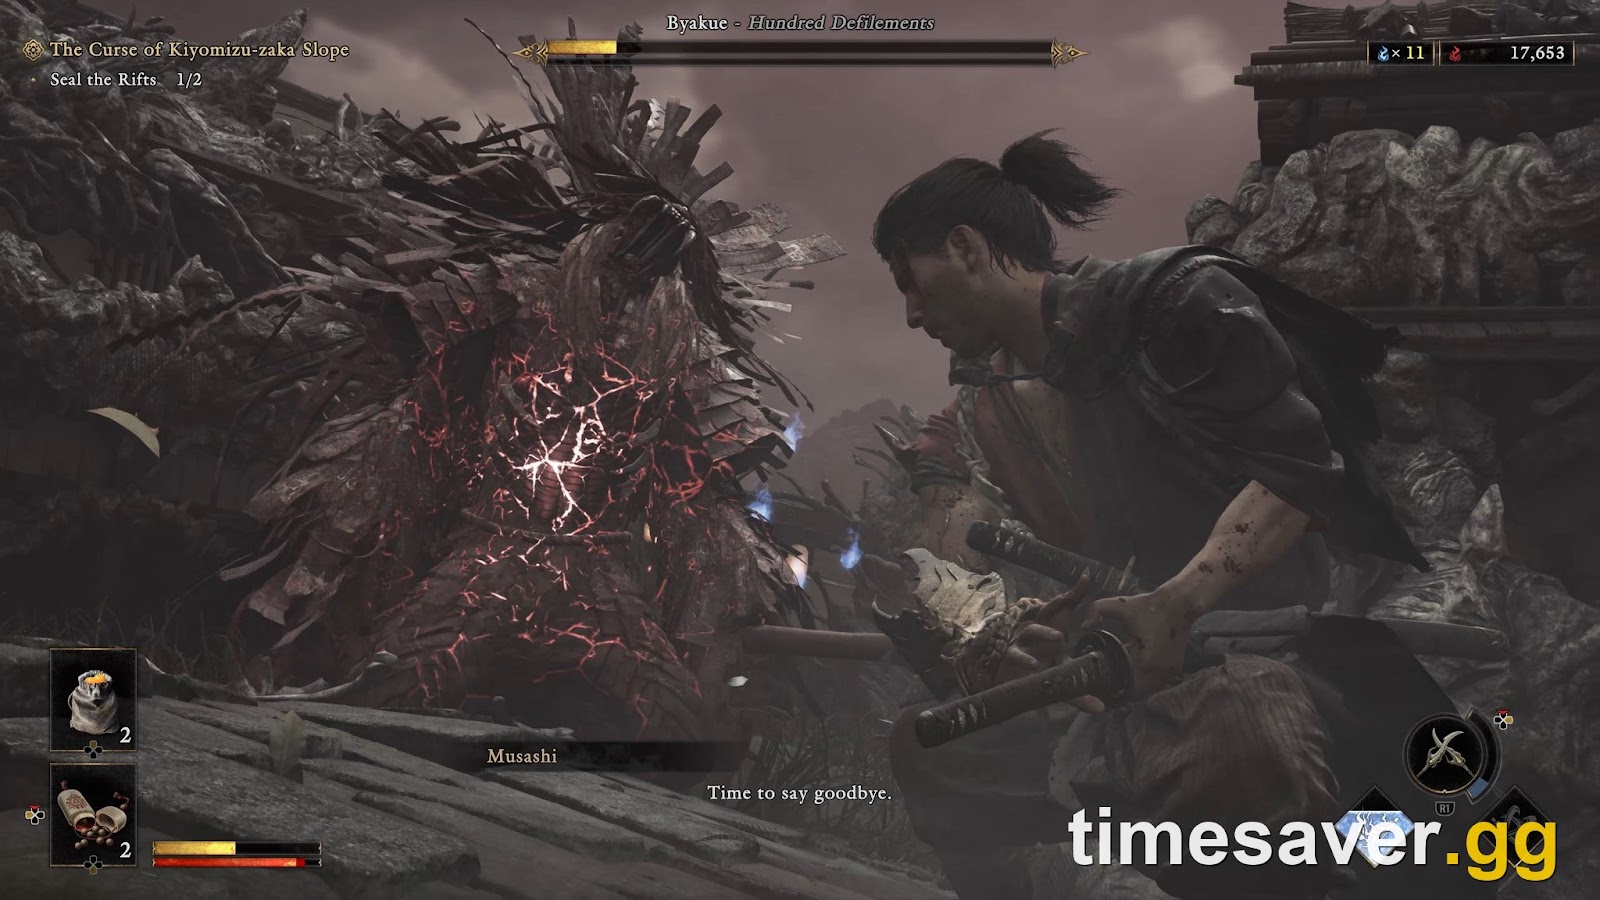
Quick answer (as of September 19, 2026): The final boss of Onimusha: Way of the Sword is Minamoto no Yoshitsune — the "Man in White" who handed Musashi the Oni Gauntlet — fought at the climax of the last mission, The Clash at Rendaino. It is a three-phase duel with no checkpoints, so you have to clear all three in one run. The single rule that decides the fight: in phase 3, your normal attacks do not lower his health — you can only damage him while in Oni Awakening. So bank souls all fight, use Oni Awakening and Oni Armaments as "use it or lose it" in phases 1–2 (he steals souls off you otherwise), and save the big Onimusha Onslaught finisher to interrupt his phase-3 Soul Drain attack. Before you walk in, stock Mirror of Revival, Sun-Dried Hozuki, Stimulant, and Heavy Restorative. This guide breaks down all three phases, verified against launch boss guides from Maxroll, TheGamer, Rock Paper Shotgun and Vandal (September 2026).
Spoiler warning: this guide names the final boss, the final mission and its moveset. It does not walk you through the ending or the post-credits scene. If you want the finale kept completely blind, turn back now.
Capcom's first mainline Onimusha in over 20 years launched on September 4, 2026 (PS5, Xbox Series X/S, Nintendo Switch 2, PC), and two weeks in, r/Onimusha is full of players trading Yoshitsune stories — "no damage" Carnage clears, speedrun attempts, and the occasional "this game is kicking my ass (in a good way)." He is the wall everyone hits last, and the fight is a final exam on every mechanic the game taught you: parry, deflect, Issen, grab reversals, and Oni Awakening timing. Get the phase-3 rule and the prep right and a fight that feels impossible on attempt one folds in a handful of tries.
Key takeaways
- Three phases, no checkpoints. Yoshitsune is the final boss of the mission The Clash at Rendaino, fought across three health bars in a single continuous run. Die and you restart from phase 1. (Sources: TheGamer, Rock Paper Shotgun boss guides, Sept 2026.)
- Phase 3 is Oni-Awakening-only damage. Once you reach the third health bar, regular attacks only chip his stamina — his health drops only while you are in Oni Awakening. Bank souls the whole fight so you can transform on demand. (Maxroll; Vandal.)
- Prep items are mandatory on Action difficulty. Stock Mirror of Revival (one free death), Stimulant (refills the Oni gauge), Heavy Restorative and Sun-Dried Hozuki at your storehouse before the point of no return. (Maxroll; Rock Paper Shotgun.)
- Deny his empowered sword in phase 1. Yoshitsune empowers his blade by absorbing souls — and instantly empowers it if you eat his grab or his undodgeable slash. Denying it makes phase 2 dramatically easier. (Maxroll.)
- Onimusha Onslaught beats the phase-3 Soul Drain. When he gathers souls in the arena center, collect them yourself with the gauntlet, enter Oni Awakening, and use the special Onimusha Onslaught to interrupt his ultimate for a big damage window. (Vandal; TheGamer.)
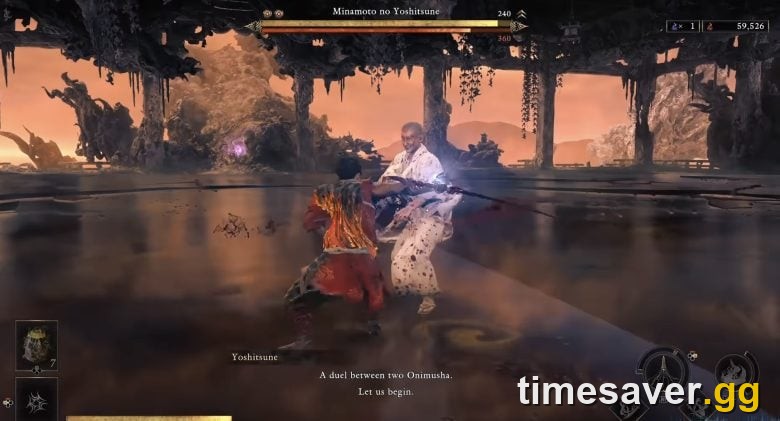
Who is the final boss in Onimusha: Way of the Sword?
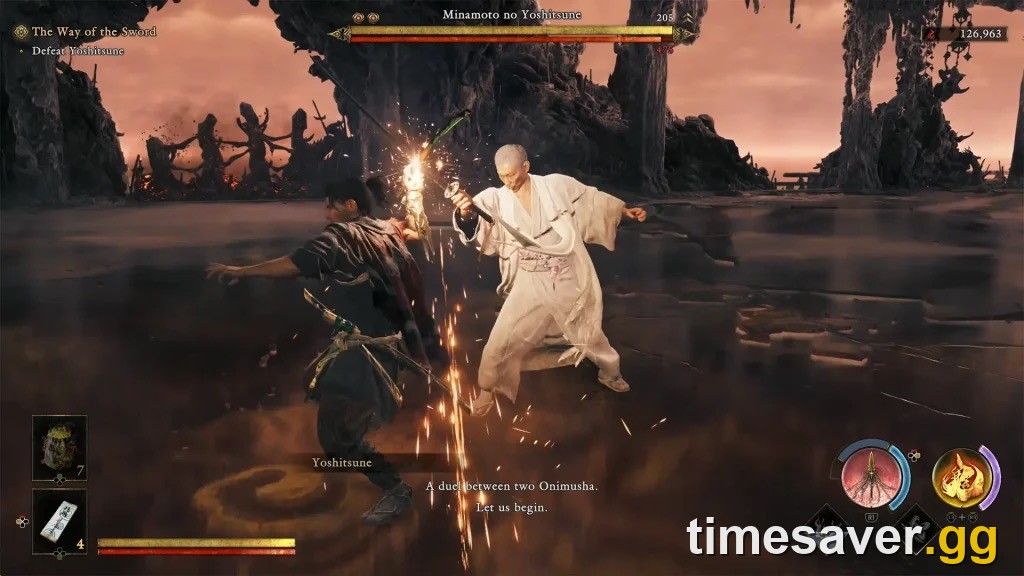
The final boss is Minamoto no Yoshitsune, introduced through the story as the mysterious "Man in White" — the same figure who gave Miyamoto Musashi the Oni Gauntlet at the start of his journey. You face him at the very end of the last main mission, The Clash at Rendaino, and the game frames it as a duel between two Onimusha: as the fight opens, the subtitle reads "A duel between two Onimusha. Let us begin."
Two things matter for the fight itself. First, he is a relentless, combo-heavy swordsman — Maxroll describes him as "a relentless attacker" who "unleashes a flurry of blows by quickly chaining sword combos together." Second, there are no checkpoints between his three phases, so treat the whole thing as one long test rather than three separate bosses.
What should you bring to the Yoshitsune fight? (Prep and loadout)
Unless you are on Story difficulty (which widens the Issen window and softens deaths), you should prepare deliberately. The item list every launch guide agrees on:
| Item | What it does | Why it matters |
|---|---|---|
| Mirror of Revival | Auto-revives you once when you die | A free second chance in a no-checkpoint fight |
| Stimulant | Slowly refills the Oni Awakening gauge | Phase 3 is gated behind Awakening — this feeds it |
| Heavy Restorative | Large heal | His hits take huge chunks; topping off buys attempts |
| Sun-Dried Hozuki | Grants three more Hozuki when used | Insurance if your healing pouch runs dry |
Two upgrades punch above their weight going in:
- Charm of Oni Power (from the Restless Spirits side quest) fills your Oni Power Gauge faster — exactly what you need for phase 3. Upgrade it and equip it. If you have Charm Capacity 2 unlocked, you can run a third charm alongside it.
- Onimusha Onslaught: Power, an Oni Portal ability, raises your Oni Awakening damage — it shortens the whole phase-3 grind.
Make sure your gear is upgraded as far as your collected materials allow; you can top up missing items at Yorimasa's shop before the mission's point of no return.
Yoshitsune Phase 1 — deny the empowered sword
Phase 1 looks brutal on your first attempt and becomes routine once you read his tells. The priority is preventing him from empowering his sword — he does that by absorbing loose souls, and he empowers instantly if you fail his grab or his undodgeable slash. A non-empowered Yoshitsune makes phase 2 far more forgiving.
- Sword strings: he attacks in sets of two or three. Deflect them — deflecting drains a big slice of his stamina. If you get tapped, the chip damage is minor, so don't panic. Watch for the "friendly" tell where he casually taps his own blade against his back: that precedes a superfast slash you can still deflect.
- Springboard push: he plants both feet on you and launches away. It's fast and hits harder than it looks. Dodge it to set up a Reflex Combo (which knocks him down for free hits) or deflect to nullify the damage. When he ends a string standing face-to-face with you, expect it.
- Undodgeable slash: he stands back, hops, then jumps in with a circular slash. Parry or deflect the slash — not the hop. Failing this instantly empowers his sword, so it's the most important read in the phase.
- Giant glowing sword: he extends the blade with a pink flame and swings one to three times from range. Dodge these to build Reflex; deflecting is risky at that range.
- Stamina Breaker: the blade glows light red. Getting hit drains your stamina and locks you into a punishing animation. Safest is to dodge; deflecting chips a lot of his stamina if you can time it.
- Grab: listen for the sizzling sound and watch for the glowing hand — wait about two seconds, then dodge/reverse it. A missed grab is a heavy hit and an instant sword empower.
- Sword Lock / Battle Barrage / Sword Guard: mash light attack to win a Sword Lock; in a Barrage use the opposite attack to the one that clashed; break a Sword Guard with Heavy Attack + Dodge (guard break), then follow up with another.
Throughout, keep absorbing souls so he can't. Maxroll's framing is the right mindset: treat Oni Armaments and Oni Awakening as "use it or lose it" in phases 1–2, because Yoshitsune will knock souls out of you and steal them if you sit on resources.
Yoshitsune Phase 2 — armored, faster, more punishing
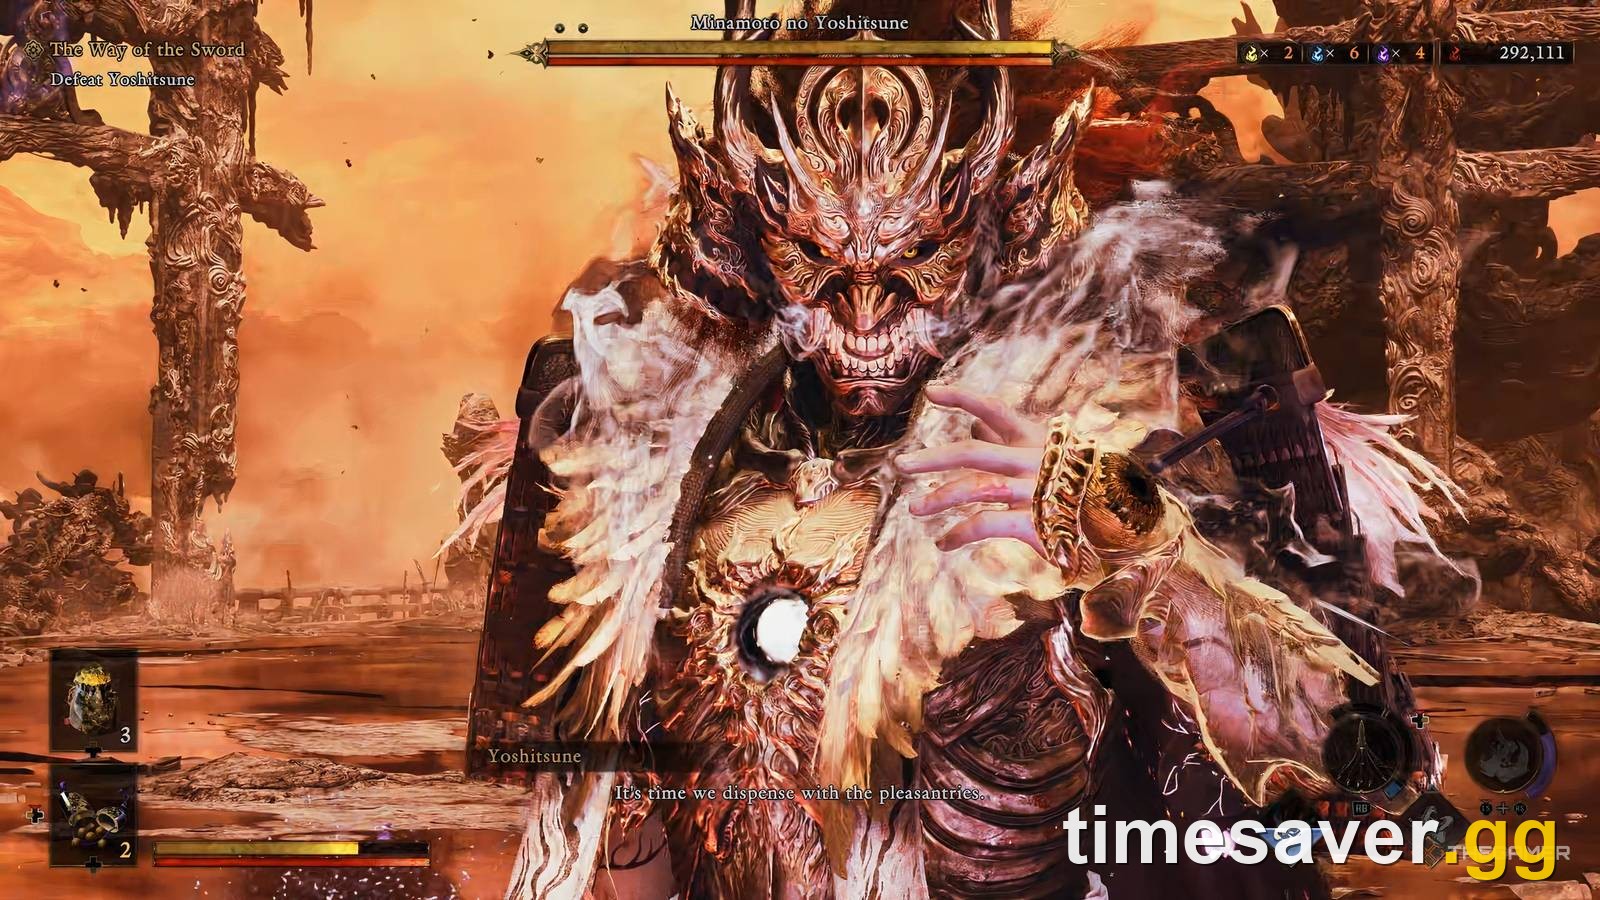
Entering phase 2, Yoshitsune becomes armored and adds new tools. If you denied his empowered sword in phase 1, this whole phase is "significantly easier," per Maxroll. If you didn't, you now have to survive a deadly three-strike undodgeable combo.
- Earth Shatterer (his opener): he hops and stomps, then hops again and stomps much harder with an area effect. Dodge both. Eat the first and you'll almost certainly eat the second — that's roughly half your health gone. If you can't dodge the second, at least be far from the impact.
- Soul Punches: his left fist glows purple and he throws up to three shockwaves with a delay between the first two. Dodge all of them and build Reflex.
- Improved springback: he loves it here, sometimes air-dashing in just to push off again. Individually weak, collectively lethal — stay ready to dodge every time.
- Improved Stamina Breaker (×3): he raises his hands to announce it, then swings three times. Dodge or deflect all three. Deflecting even just the last one knocks him down for free damage; if the third swing's timing throws you, just dodge the set.
- Teleport grab: in phases 2 and 3 his grab gains a blink — he flashes forward, his hand glows, then he grabs. Keep a little distance so you can actually see it coming, and reverse after the blink.
- Countering stance (blue glow): if his sword glows blue and he holds a counter, punch through with Oni Strength / a guard break rather than trading normally.
- Bow attacks: new ranged arrows — dodge them or, better, deflect / Ranged Issen them back to chip his stamina.
Everything else (giant sword, sword lock, barrages) carries over from phase 1. Use phase 2 to practice your counters cleanly, because phase 3 assumes you can already handle this moveset while managing resources.
How do you damage Yoshitsune in phase 3? (Oni Awakening and the Soul Drain)
Here's the rule that catches everyone: in phase 3, your normal attacks only reduce his stamina — his health goes down only while you're in Oni Awakening. His moveset is essentially the same as phase 2 with one addition, so survival isn't the problem; converting souls into Awakening damage is.
- Bank and burst. Refill your Awakening gauge from the souls generated by Issen counters (and from Stimulant / the Charm of Oni Power). When the gauge is up, transform, and use Issen to burn most of your Awakening window into his health.
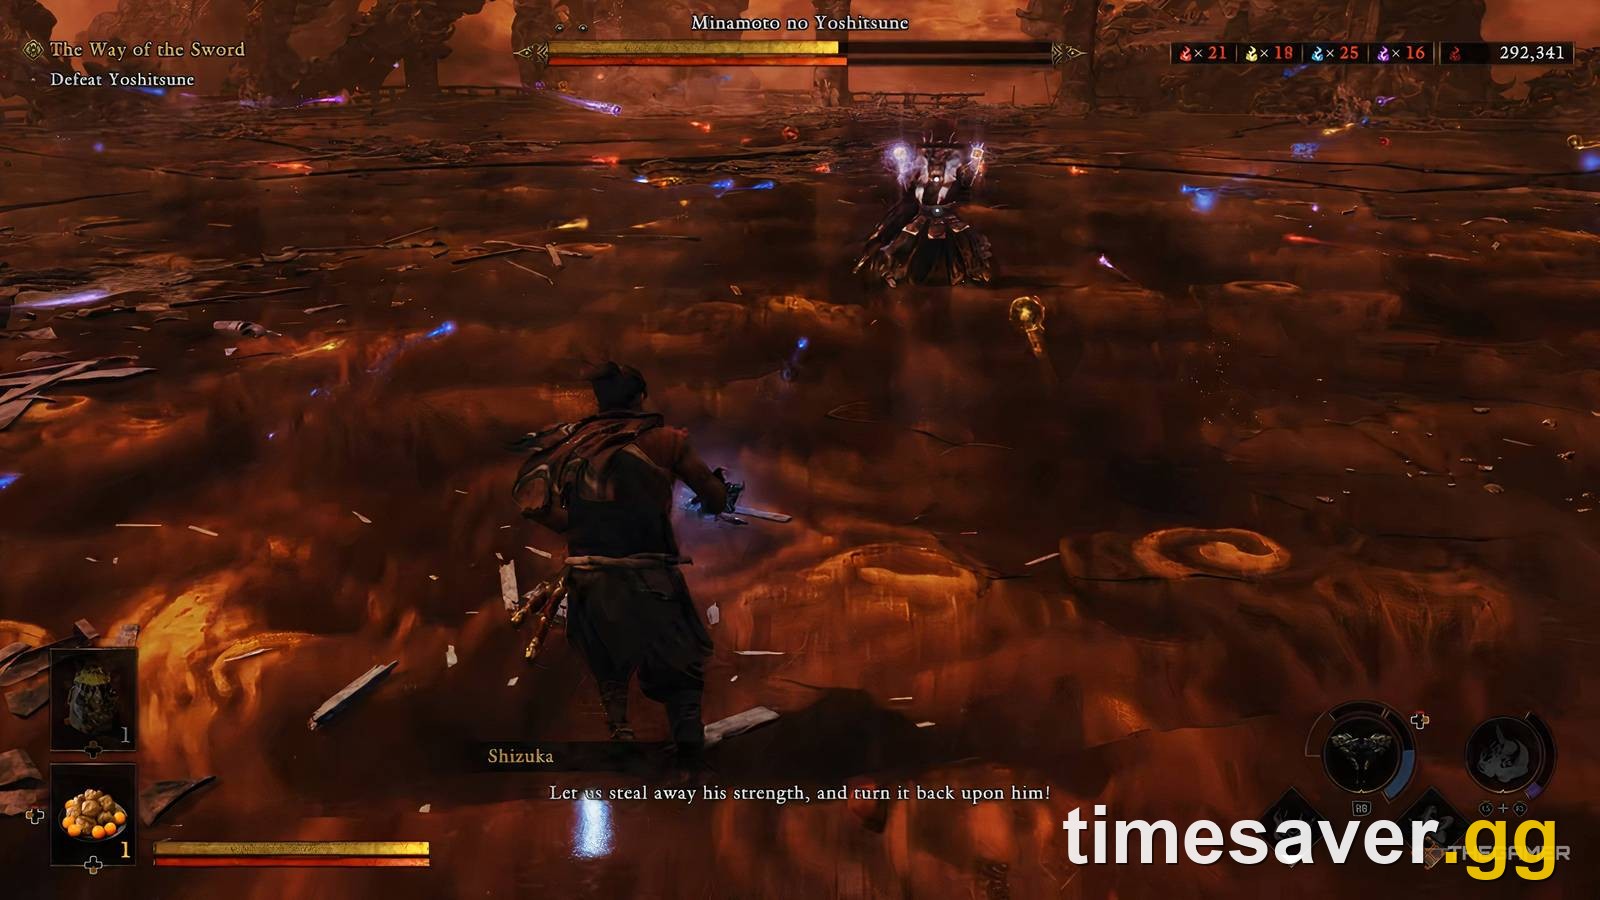
- Soul Drain (the new attack): Yoshitsune jumps to the arena center and starts pulling in every soul around him. Do the same thing — hold the gauntlet input and collect as many as you can. When the souls stop flowing, he unleashes a big finishing swing. Rather than gambling on a parry, interrupt him with Onimusha Onslaught while in Oni Awakening: it stops the attack, plays a special high-damage animation, and (per Vandal) deals far more than a normal hit. If you're short on souls, an Oni Armament gives you i-frames through the swing instead. Listen for your ally Shizuka — she calls out "Let us steal away his strength, and turn it back upon him!" as he gathers souls, and IGN's walkthrough notes she shouts "Get ready!" right before his draw so you can time the parry.
- How many transformations? It typically takes several Oni Awakenings to whittle his health down — how many depends on your Awakening damage upgrades and how much you squeeze in around each Onslaught. If you're struggling to charge fast enough, lean on Stimulant or a soul-generating charm. Land the finishing Awakening and you'll trigger a cinematic finisher — and the credits.
During his Soul Drain, both of you race for the same souls — collect what you can, then punish the follow-up swing.
The fastest mental model for the whole fight
If you strip everything down, three habits win this fight:
- Deflect his strings, dodge his commitments. Sword combos and stamina breakers → deflect to break his stamina; springbacks, stomps, giant swings and soul punches → dodge to build Reflex.
- Never let him have souls. Absorb everything, spend Awakening/Armaments freely in phases 1–2, and deny the empowered sword.
- In phase 3, only Awakening counts. Collect during Soul Drain, interrupt with Onimusha Onslaught, and repeat the Awakening loop until his health is gone.
That's the entire boss. The rest is repetition until the timings live in your thumbs — the same lesson the whole game has been teaching since the demo's Sasaki Ganryu duel.
FAQ
Who is the final boss in Onimusha: Way of the Sword? The final boss is Minamoto no Yoshitsune, the "Man in White" who gave Musashi the Oni Gauntlet. You fight him at the end of the last mission, The Clash at Rendaino, in a three-phase duel with no checkpoints.
Why can't I damage Yoshitsune in the last phase? Because phase 3 only lets you damage his health while you're in Oni Awakening. Outside of Awakening, your hits just drain his stamina. Bank souls all fight (Issen counters are the fastest source), transform, and use that window — plus Stimulant or the Charm of Oni Power — to actually lower his health.
What items should I bring to the Yoshitsune fight? Stock Mirror of Revival (a free revive), Stimulant (refills the Oni gauge), Heavy Restorative (big heal) and Sun-Dried Hozuki (extra Hozuki). On Action difficulty this loadout is close to mandatory; on Story, the wider Issen window makes it more forgiving.
How do I beat his soul-absorbing attack in phase 3? When he gathers souls in the center of the arena, collect them yourself with the gauntlet, enter Oni Awakening, and interrupt his follow-up swing with Onimusha Onslaught for big damage. If you lack souls, an Oni Armament gives you i-frames through the hit. Listen for Shizuka's callout as the souls gather, and (per IGN) her "Get ready!" shout right before his draw.
How many phases does Yoshitsune have? Three, fought back-to-back with no checkpoint between them. Phases 1 and 2 are about denying his empowered sword and practicing counters; phase 3 flips to Oni-Awakening damage and the Soul Drain.
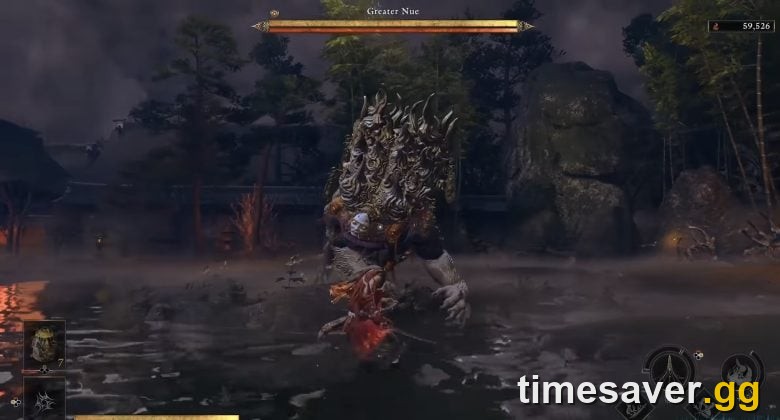
Is Yoshitsune the hardest boss in the game? For most players, yes — he's the difficulty peak and the final exam on Issen, deflects and Awakening. That said, once you deny his empowered sword and internalize the phase-3 loop, guides broadly agree he becomes very manageable, especially compared to earlier walls like the Greater Nue.
Related Onimusha: Way of the Sword guides
Reached the credits and want more? These sibling guides go deeper on the systems this fight tests:
- Onimusha: Way of the Sword — All Bosses & How to Beat Them — the full boss order and quick strategies for every fight leading up to Yoshitsune.
- Issen Guide — How to Master the Parry Counter — the single mechanic that makes phase 3 possible.
- How to Beat the Greater Nue — the mid-game wall that teaches Unavoidable Attacks.
- Difficulty Settings & How to Unlock Carnage — Story vs Action, and the one-hit-kill New Game+ mode you'll face Yoshitsune in next.
- Ending Explained — Final Boss, Post-Credits Scene & the Fake True-Ending Myth — what the duel actually means for the story (full spoilers).