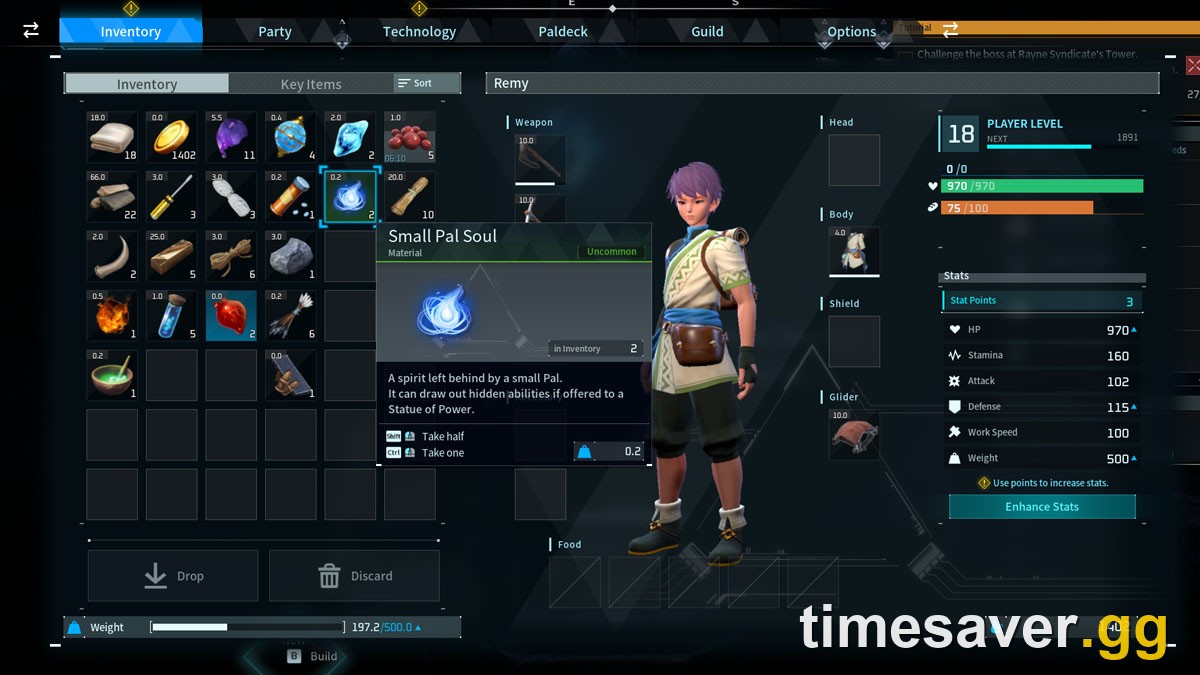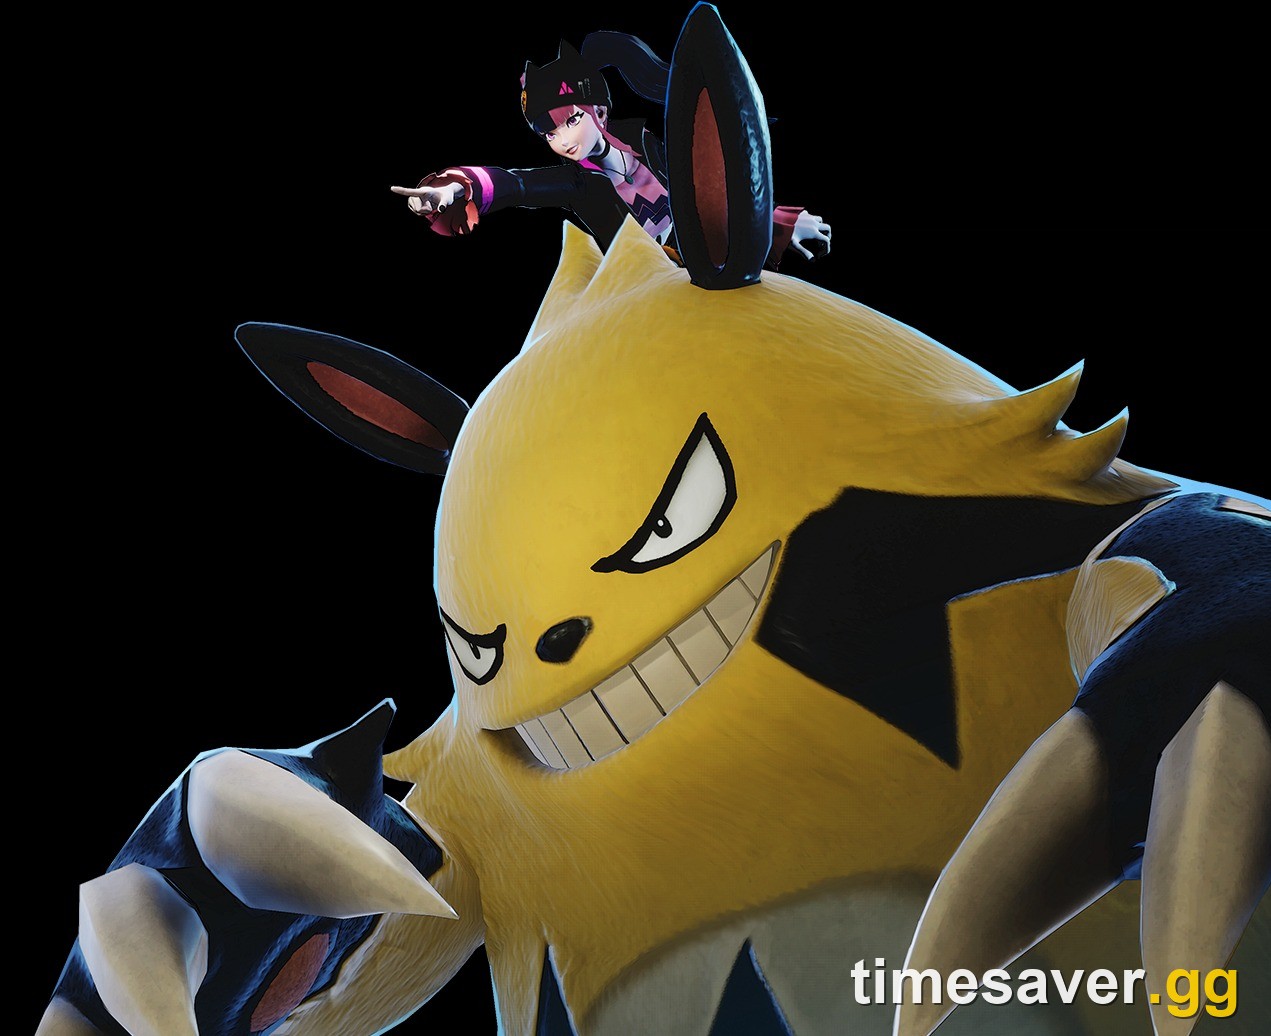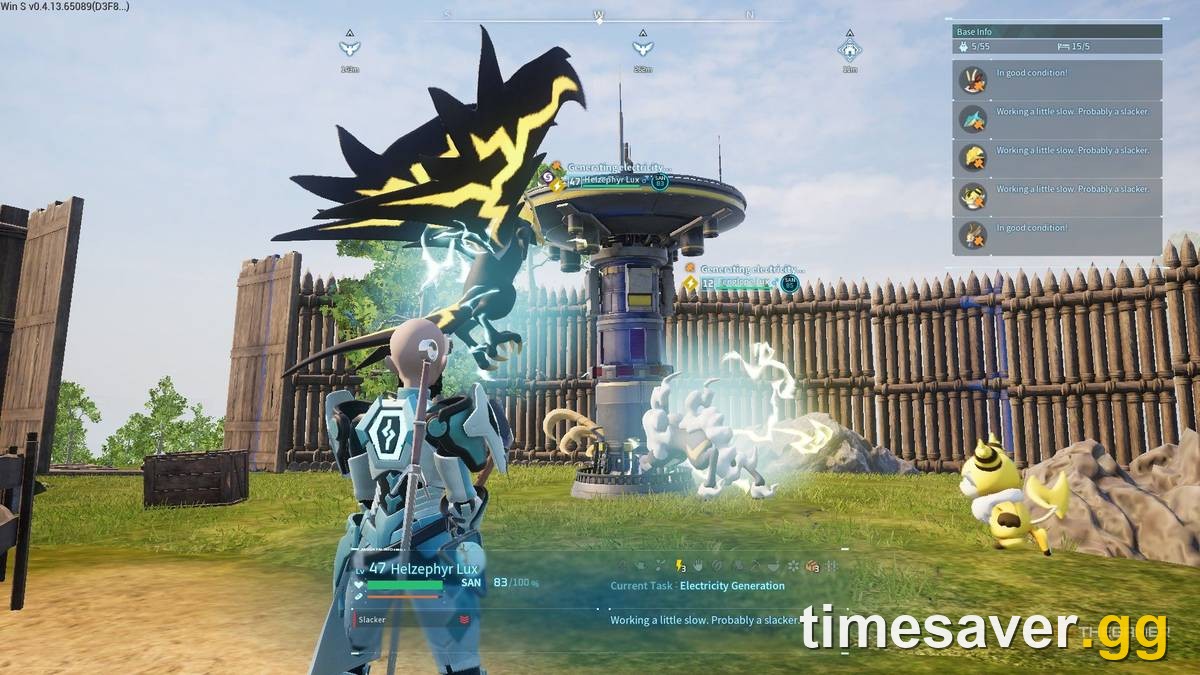
Hard Mode in Palworld 1.0 is not a +10-level version of the campaign — it is a gear, DPS and passive check that punishes the Early Access "stack four identical Pals" habit. The towers rescale from Level 72 up to a Level 100 final boss, and the Pals that carried your first clear will get deleted unless they are fully condensed, souled and running the right passives. This guide is built against the current live build (v1.0.5, released 2026-09-15) and covers which Pals actually clear Hard Mode, how to power them to the ceiling, and the counter-pick order for all nine towers.
Quick answer: There is no single "best Pal" for Hard Mode — you counter-pick each tower with a fully 4-star condensed, max-IV, max-trust, Pal-Soul-enhanced Pal of the right element, plus a Gobfin support line for the Angry Shark attack buff. The universal picks that work almost everywhere are Jetragon (mount DPS), Orserk (Meteorain electric burst) and Frostallion (ice damage for the raid-tier bosses). The final boss, Zenara & Astralym, is typeless, so there you bring pure DPS, not a counter.
If the climb to 80 is the part you want to skip, our Palworld leveling service handles it on PC, Xbox and PlayStation, on your own world or a dedicated server.
Palworld - Pals Leveling
Get any Pal to level 80
How Hard Mode works in Palworld 1.0
Hard Mode is the tower rematch system that unlocks after you defeat Auri & Shaolong at the Azure Covenant Tower in Sunreach on normal difficulty. Once it is active, you pick "Hard" at the entrance of any tower you have already cleared. This is separate from the save-wide "Hard" world difficulty setting — you do not need a hardcore world to fight Hard Mode towers. For the per-boss unlock chain and loot tables, see our full Hard Mode tower bosses guide.

Three things make Hard Mode different from your first campaign clear:
- The level jump is brutal at the top. The Hard tower levels run Zoe & Grizzbolt 72, Lily & Lyleen 74, Axel & Orserk 76, Marcus & Faleris 78, then Victor & Shadowbeak, Saya & Selyne, Bjorn & Bastigor and Auri & Shaolong all at 80, and Zenara & Astralym at 100 (the "Blightstar Calamity" rematch).
- The timer is still 5 minutes. Palworld 1.0 cut the tower timer from 10 minutes to 5, so a slow team times out even if it never dies. You need damage, not just survival.
- Counter-picking matters more, not less. Bosses hit harder, so the element that halves their damage and doubles yours is the difference between a 90-second clear and a wipe.
Every Hard clear is worth it: you get a guaranteed boss faction hat, a Training Crystal (+1 Pal level), another Tower Key Sphere, and a permanent Hard Pal Expedition unlock, plus a ~10% shot at a Tier-4 weapon or armor schematic.
What "maxed" actually means in 1.0
Before any Pal name matters, understand this: a Hard Mode Pal is not a high-level Pal, it is a fully enhanced Pal. Palworld 1.0 stacks five permanent upgrade tracks, and Hard Mode assumes you have most of them maxed. They all stack multiplicatively on top of each other.
| Upgrade track | What it does | Cost to max |
|---|---|---|
| Condensing (Pal Essence Condenser) | +5% HP/Atk/Def per star, +20% at 4 stars; also raises Partner Skill and work suitability | 48 duplicates (4 / 8 / 12 / 24) |
| Pal Souls (Statue of Power) | +3% per rank × 20 ranks = +60% to HP, Attack, Defense or Work Speed | ~52 souls per stat |
| Stat Fruits (IV / Potential) | Life / Power / Stout Fruit, +10 each to cap 100; a 100 IV is roughly +30% | 10 fruits per stat |
| Trust | Max rank 10, adds flat base stats before every multiplier; weak Pals gain the most | up to 200,000 points |
| Awakening | ×1.1 HP/Atk/Def, one-time and irreversible, gold aura | 50 Radiant Gems + 10 World Tree Holy Water |
Two things to internalize: condensing dropped from the old 116-Pal cost to 48, so a 4-star is genuinely achievable now, and IVs are no longer locked at capture — Stat Fruits fix a bad roll after the fact, so you never have to re-hunt a Pal for a better spawn. The Pal Souls track is the most overlooked of the five — our Pal Souls farm guide covers the fastest no-butcher routes to the Giant souls you need for ranks 11–20. The "stack four identical Pals" meta from Early Access is dead because a single fully-enhanced counter Pal now out-damages a pile of under-built ones inside the 5-minute window.
Best Pals for Hard Mode
Universal carries (good almost everywhere)
- Jetragon — the Legendary Dragon mount and the single most reliable Hard Mode weapon. In 1.0 it spawns as a Level 70 Field Alpha in north-west Sunreach near the Azure Tapestry fast-travel point (it is no longer at Mount Obsidian). Its Aerial Missile partner skill lets you bomb a boss from the air while mounted. Catch it with 15–30 Legendary Spheres, bring an Ice Pal and heat-resistant armor for the capture.
- Orserk — the community's favorite electric nuke. Its Meteorain / Polykeraunos attacks blanket the arena, and players run a line of them so that "when the Pal in front falls, the Pal behind picks up the Meteorain and keeps firing." Orserk now has a wild World Tree spawn (~Level 74–76) in 1.0, so it is no longer breed-only.
- Frostallion — the Ice Legendary, and the answer to the raid-tier bosses (it melts Xenolord and the Ultra raids). Lv.50 field boss in Frostallion's Domain. Not the fastest mount, but one of the hardest hitters. For the full damage ranking across every element, see our best combat Pals tier list.
Support line — the Gobfin stack
The quietest power spike in a Hard Mode team is Gobfin. Its Angry Shark partner skill buffs your attack, and because the buff stacks, players field three or four Gobfins in the party slots behind their main damage dealer. Pair that with the Vanguard passive (more attack stacking) and you can roughly double your effective DPS without touching your weapon. This is the single most common endgame tip on r/Palworld, and it is why "which main Pal" matters less than people think once the support is in place.
World Tree combat picks
If you have reached the World Tree, several new 1.0 Pals double as strong fighters on top of their work roles — Solenne, Renjishi and Venusa show up constantly in player hard-mode teams for raw damage and element coverage. Keep them 4-star condensed and souled like everything else.
Hard Mode tower counter-pick order

Counter-picking is the whole game in Hard Mode. Bring the element that the boss's signature Pal is weak to, mounted on your best DPS carry of that type. The towers in Hard order:
Zoe & Grizzbolt (Lv.72, Electric) — bring Ground-type damage; Electric is weak to Ground. Lily & Lyleen (Lv.74, Grass) — bring Fire. Axel & Orserk (Lv.76, Electric) — Ground again. Marcus & Faleris (Lv.78, Fire) — bring Water. Victor & Shadowbeak (Lv.80, Dark) — bring Dragon; a 4-star Dragon main (Jetragon) shreds this one. Saya & Selyne (Lv.80, Dark) — Dragon. Bjorn & Bastigor (Lv.80, Ice) — bring Fire or Dragon. Auri & Shaolong (Lv.80) — this is the one you beat on normal to unlock Hard Mode; on Hard, bring your strongest mounted DPS. Zenara & Astralym (Lv.100, typeless) — see below.
Match the element, keep your Gobfin support stacked behind the main, and most Hard towers fall inside 90 seconds.
Palworld - Tower Bosses
Get any Tower Boss cleared for you
The final boss: Zenara & Astralym on Hard
This is where counter-picking stops working. Zenara & Astralym is typeless — it has no elemental weakness and resists nothing, because it cycles multi-element attacks itself. On Hard Mode its HP climbs into the 5,000,000+ range and it plays like a raid that burns through multiple teams.
For this fight you abandon the counter-pick plan and bring pure, maxed DPS: a Level 80 self (your Pals cap to your level), Awakened + 4-star + max-trust Pals like Jetragon, Orserk and Bastigor, with the Beam Launcher (Tech 80) and Plasma Rifle (Tech 78) for your own damage, in Lightweight Ancient Armor (see our armor tier list for the full endgame set). Offensive passives: Demon God, Legend and Lucky; defensive: Diamond Body for flinch resistance. Watch for its wide beam AoE (small-hitbox Pals survive it), the centered charge one-shot (break it by hitting the wings), and the enrage at roughly 10% HP.
Passives and how to put them on your Pals
Hard Mode Pals cap at four passives each, no duplicates, and same-stat passives stack. The best combat stack is some combination of Demon God (Atk +30% / Def +5%), Legend (Atk +20% / Def +20% / Move Speed +15%), Lucky (Atk +15% / Def +15% / Work Speed +20%) and Diamond Body (Def +30%).
You put passives on a Pal three ways: breed them down (set the wanted passives as the parents' active skills and use a Special Cake, unlocked at Technology Level 74, for a reliable pass-down), catch a wild Pal that already spawned with them, or use the Pal Surgery Table (mid-30s Tech level) with Implants bought from the Bounty Officer (Bounty Tokens) or the Pal Arena merchant (Battle Tickets). One hard limit to know before you grind: the mutation-only "rainbow" passives — Legend included — cannot be implanted. Legend only comes from breeding or from catching a Pal that already has it, so plan your breeding project around that.
FAQ
What is the best Pal for Hard Mode in Palworld? There isn't one single answer — Hard Mode rewards counter-picking, so your "best" Pal changes per tower. The most reliable universal carries are Jetragon (mount DPS), Orserk (electric burst) and Frostallion (ice for the raid-tier bosses), each fully 4-star condensed, max-IV and Pal-Soul enhanced.
How do I unlock Hard Mode? Defeat Auri & Shaolong at the Azure Covenant Tower in Sunreach on normal difficulty. After that you can select "Hard" at the entrance of any tower you have already cleared.
Does the old "stack four identical Pals" strategy still work? Not well. Palworld 1.0 killed that meta. A single fully-enhanced counter Pal (4-star + maxed souls + Stat Fruits + Awakening) now out-damages a pile of under-built duplicates inside the 5-minute tower timer. Build one great Pal per element instead of four mediocre clones.
Can I transfer any passive with breeding, like Immortality-style rainbow passives? The mutation-only rainbow passives — Legend is the one you'll chase most — only come from breeding (set them as the parents' active skills plus a Special Cake) or from catching a Pal that spawned with them. They cannot be added with an Implant at the Surgery Table, so don't waste Bounty Tokens trying. Tier 1–3 passives like Demon God and Diamond Body can be implanted or caught wild.
How strong do my Pals need to be for the Level 100 final boss on Hard? Fully maxed: Level 80 self, Awakened, 4-star condensed, max trust, Stat-Fruit capped IVs, and best-in-slot weapons (Beam Launcher + Plasma Rifle). Zenara & Astralym on Hard has 5,000,000+ HP and no weakness, so it is a pure DPS and dodge check — expect to burn through more than one team.
Skip the grind and jump straight into Hard Mode
Getting a roster of 4-star, Awakened, Stat-Fruit-capped Pals to Level 80 is dozens of hours of condensing, soul farming and Radiant Gem runs. If you would rather spend that time actually fighting the towers instead of grinding fodder for the condenser, our boosters can power your account to the Hard Mode ceiling for you.
Ready to clear Hard Mode without the grind? Get carried to cap and skip straight to the fights that matter.
- Palworld Leveling Boost — skip the grind, hit the Level 80 cap fast and arrive Hard-Mode ready
- All Palworld services — carries, boosts and farming for every part of the endgame
Facts in this guide verified against the Palworld 1.0 patch notes and palworld.wiki.gg for build v1.0.5 (2026-09-15). Tower levels and the Hard Mode unlock condition are from the in-game 1.0 changelog; player team strategies are drawn from the r/Palworld community.