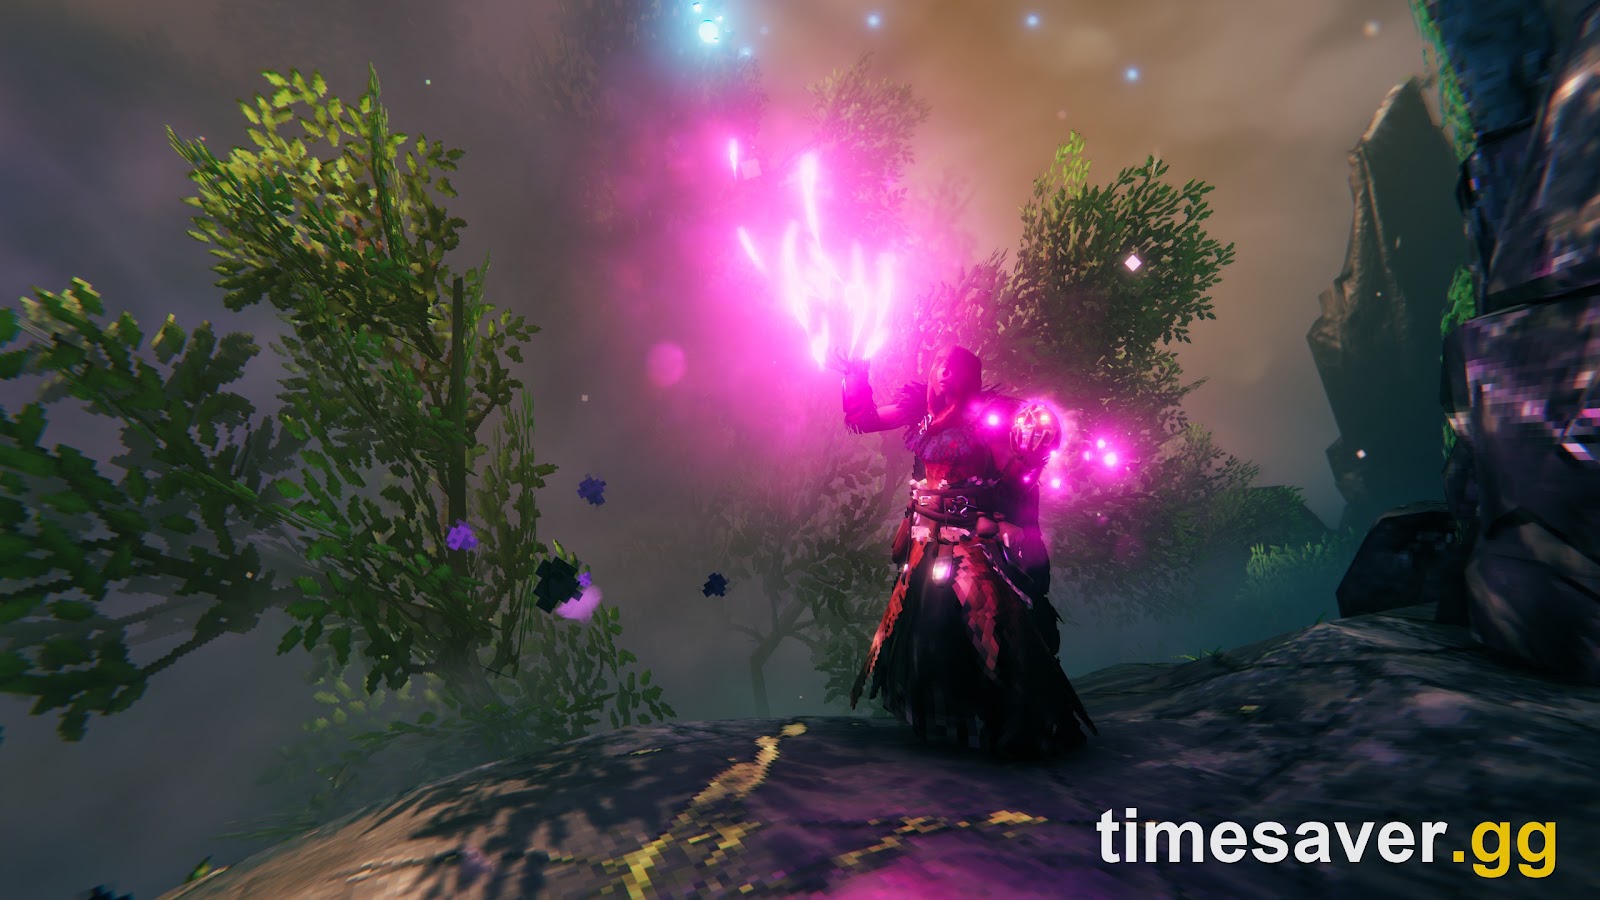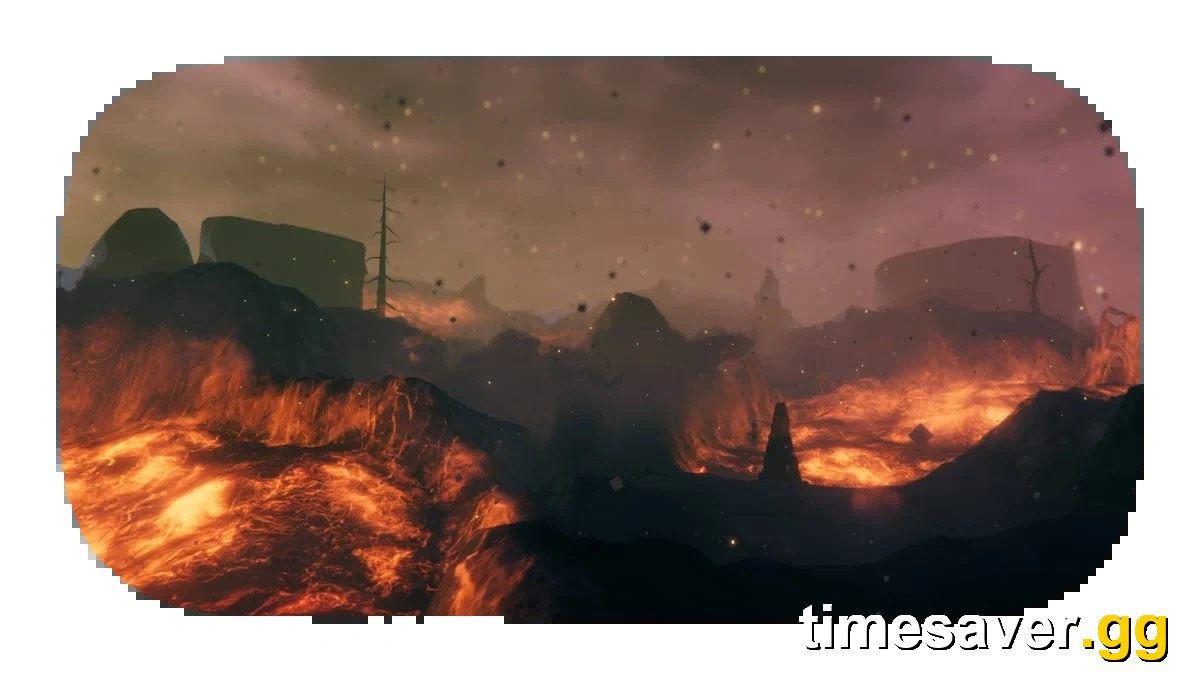
The Ashlands is the point where a lot of Valheim runs quietly die. You sail south feeling maxed-out from the Mistlands, your wooden longship catches fire in boiling water, and within thirty seconds a squad of undead archers has you pinned in a lava field. It is, by design, the hardest content in the game right now — and it is beatable solo. This guide covers exactly what to prepare, how to survive the Charred Fortresses, and how to bring down Fader, the seventh boss.
Everything below applies to the live default branch, patch 0.221.12 (released February 19, 2026). The Ashlands itself arrived in patch 0.218.15 on May 14, 2024, and the combat details assume the "Call to Arms" overhaul (patch 0.221.4, default since September 9, 2025). Valheim is still in Early Access; the Ashlands is the current final biome until the Deep North ships with 1.0 on September 9, 2026.
Key takeaways (the short version)
- Fire resistance is not optional. Brew Fire Resistance Barley Wine (a Plains-tier mead you can make before you ever go) and keep it topped up. Cinder rain, lava, and the Charred all deal fire damage.
- You cannot sail there in a wooden boat. The water around the Ashlands is boiling and destroys wooden hulls. You need a Drakkar, the boat unlocked after killing The Queen.
- Terrain is your best armor. Pickaxe earthen walls and ramps to break line-of-sight from archers and to safely siege Charred Fortresses — this is the single tactic that turns "impossible" into "manageable."
- Fader has 25,000 HP and is summoned with 3 Bells, each crafted from 3 Bell fragments (9 fragments total) looted from Charred Fortresses.
- If it's still too much, the difficulty sliders are there on purpose. Lowering combat difficulty or enabling a passive/no-build-decay world modifier is a legitimate way to play, not a cheat.
Why is the Ashlands so hard?
The Ashlands is a molten hellscape — a crescent-shaped island in the far south of every world, mostly lava with pockets of scorched rock. Three things make it a spike in difficulty rather than a gentle step up from the Mistlands:
- Everything is on fire, including you. Iron Gate's Ashlands patch notes state plainly: "Cinders rain down from above in the Ashlands, causing damage to those who are unprotected" and "Wooden build pieces can now catch fire in the Ashlands – and the fire spreads!" (Ashlands patch notes, 0.218.15). Without fire resistance and stone construction, both you and your base burn.
- The enemies come in coordinated packs. The Charred — an undead army — field melee Charred Warriors, ranged Charred Marksmen, and spell-casting Charred Warlocks, plus roaming Morgen (which erupt from the ground like the Swamp's Abominations) and rideable Asksvin. They rarely fight you one at a time.
- The map itself attacks. Lava blocks movement, cinder rain damages structures, and the boiling ocean around the biome will sink a careless approach before you even land.
That combination is why the most common post on r/valheim about this biome is some version of "the Ashlands is impossible." It isn't — but it punishes the "just sail in and swing" approach that carried you through six previous biomes.
How do you get to the Ashlands safely?
Getting there is its own mini-boss. The water surrounding the Ashlands is boiling and will destroy any wooden ship — longships included. The only vessel that survives the crossing is the Drakkar, a large, high-speed, high-storage boat you can build after defeating The Queen (the Mistlands boss). Drakkars are the most expensive boats in the game to construct, but they are the only ones with the durability to reach the biome.
Two more crossing hazards to plan for:
- Bonemaw serpents patrol the boiling waters and can wreck a Drakkar that stops moving. Keep sailing and don't try to fight them from the water.
- You need a beachhead. Pick a landing on the edge of the biome, not deep inside it, and immediately pickaxe out a small elevated pocket of earth. That safe cube is where you'll place a portal back to base and a Workbench so you can repair, restock, and retreat.
Set up that portal first. Every experienced Ashlands player treats gear retrieval as inevitable — you will die out here, and a nearby portal is the difference between a quick recovery run and losing your best set permanently in a lava field.
The Ashlands prep checklist (do this before you sail)
Preparation is the whole game in the Ashlands. Community shorthand for it is the "7 Ps" — proper preparation prevents piss-poor performance — and it's genuinely the best advice for this biome. Before you leave:
- Brew fire resistance. Fire Resistance Barley Wine is a Plains-tier mead — you can ferment a full stack long before you're Ashlands-ready. Bring dozens.
- Max your character skills and health/stamina pool. Fresh characters get shredded here. Eat your best three-food loadout every fight (more on food below).
- Bring stone and a pickaxe. Earthen walls are your portable fortress. You'll dig them constantly.
- Pack healing and stamina meads, plus a Frost-tier or Mistlands weapon as a fallback until you craft Ashlands gear.
- Stock arrows or an Eitr loadout. You'll want ranged options to answer the Charred Marksmen and Warlocks without walking into their crossfire.
Food and the three-slot system
Valheim food is a buff system, not a hunger bar — there is no starvation, and food buffs decay uniformly over their duration. You can run three different foods at once, and the fork colour on each icon tells you the bias: red = max health, yellow = max stamina, blue = max Eitr, white = balanced. For the Ashlands most players run two red foods plus one yellow (health-heavy for survivability), or shift toward blue/yellow if you're playing a mage. Max health matters more than it looks: your max Stagger capacity scales with it, so a health-heavy loadout also means you get staggered — and stunlocked — far less often. (Exact food stats change patch to patch; pull current numbers from the in-game recipes for 0.221.12 before you optimise.)
Surviving the Charred Fortresses
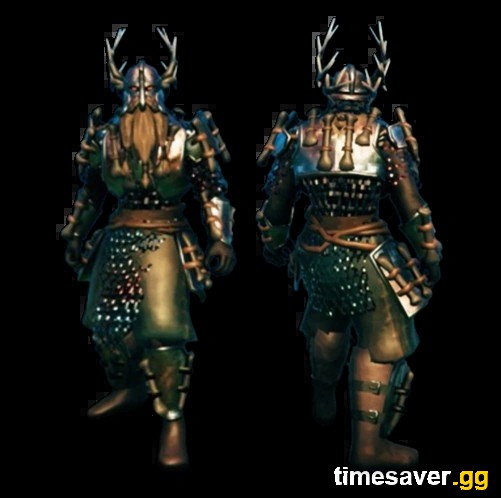
Charred Fortresses are the heart of the Ashlands loop. They contain the Bell fragments you need to summon Fader, the gemstones that upgrade your weapons, and the densest concentration of enemies in the game. Iron Gate even added a way to break in: the patch notes promise you can "lay claim to Charred Fortresses with two new Siege Machines."
Here's the approach that works, distilled from players who clear them solo:
- Wall up before you engage. Pickaxe an earthen rampart or ramp at the fortress edge. Raised earth blocks arrows and lets you fight from a chokepoint instead of getting surrounded. This is a core mechanic, not an exploit — terraforming is exactly what the pickaxe is for.
- Kill the spawners first. Fortresses continuously spawn reinforcements. Use your earthworks as cover, focus the spawners down, and the fight stops refilling. Everything gets easier the moment they're gone.
- Prioritise by threat: Warlocks and Marksmen before Warriors. The ranged casters and archers are what actually kill you; the melee Warriors become a "mindless swing-fest" once the ranged threats are dead.
- Consider the Bonemass power for melee. The Bonemass Forsaken Power (−25% physical damage taken, −100% block stamina cost) is the classic tank buff for storming a fortress toe-to-toe. Casters lean on kiting and Eitr instead.
- Retreat is a tactic. If a spawn wave overwhelms you, fall back through your ramp, re-eat food, drink a healing mead, and re-engage. There's no shame in it — the fortress isn't going anywhere.
Gear and combat: Flametal, gems, and Adrenaline
The Ashlands introduces a new metal, Flametal, smelted from Flametal ore in a Blast furnace using Coal. From it you craft the biome's armour and weapons:
- Flametal Armor — a heavy set with the highest armour value currently in the game. Best raw survivability.
- Ask Set — a medium-armour alternative, more mobile than Flametal.
- Embla Set — the lighter/Eitr-friendly option for mages.
Ashlands weapons use a gem-upgrade system: base weapons like the Splitnir spear can be socketed with one of three gemstones — Bloodstone (a "Blood" variant), Iolite (a lightning/storm variant), or Jade (a nature variant) — all looted from Charred Fortress chests. The lightning-gem builds are the "storm" weapons players rave about for melting packs of Charred.
On top of the gear, remember you're now playing the post-"Call to Arms" combat model:
- Adrenaline builds as you land hits, trigger Forsaken Powers, and pull off Perfect Blocks and Perfect Dodge Rolls. When the bar fills, your equipped Trinket determines the surge effect.
- Perfect Dodge Rolls refund a chunk of stamina; Perfect Blocks return Adrenaline. Learning the timing here is worth more than any single gear upgrade in the Ashlands.
How do you beat Fader, the seventh boss?
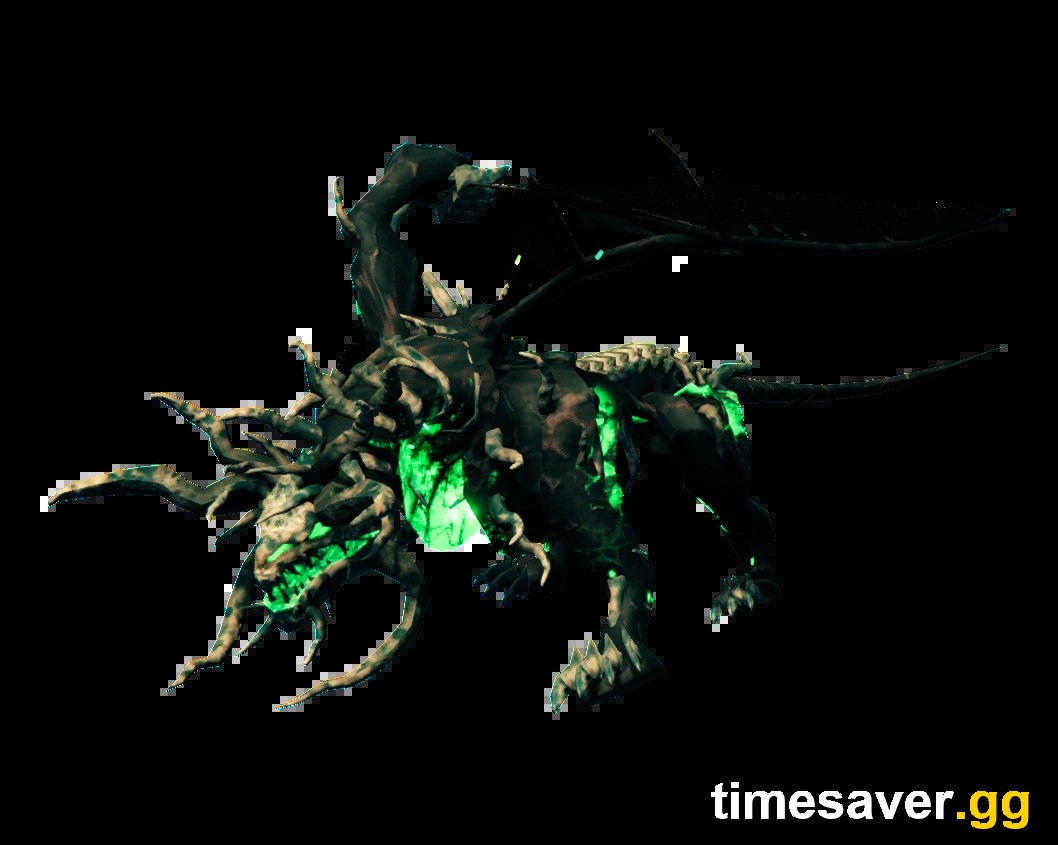
Fader is the Ashlands boss and the seventh of the Forsaken — a charred, skeletal dragon that glows green through the gaps in its body. To summon it you need 3 Bells, each crafted at the Black forge from 3 Bell fragments (so 9 fragments in total), all pulled from Charred Fortresses. Fader has 25,000 HP, making it the tankiest boss in the game so far.
Fight plan:
- Go in with full fire resistance and health food. Fader's arena and attacks are fire-heavy; a lapsed Fire Resistance Barley Wine buff will get you killed fast.
- Keep moving and use the terrain. As with the fortresses, prepared ground — walls, ramps, a cleared arena — beats standing and trading hits.
- Punish with your gem weapon. A fully upgraded Flametal weapon (storm/Iolite for AoE, blood/Bloodstone for single-target) is what the DPS check is tuned around.
Defeating Fader hangs its trophy at the Sacrificial Stones back at spawn, which unlocks its Forsaken Power: +100% Adrenaline gain, −50% stagger meter, and −50% fire damage. That power is tailor-made for the Ashlands itself — the fire resistance and Adrenaline boost make every subsequent fortress run dramatically safer. It's also a strong pick heading into whatever the Deep North throws at players when 1.0 lands.
Is the Ashlands too hard? Difficulty sliders and solo tips
If you've done everything above and it's still not fun, use the tools the game gives you. Valheim's world modifiers let you lower combat difficulty, enable passive/no-aggression modes, or turn off build decay — and using them is a legitimate, developer-sanctioned way to play, especially solo. Plenty of players who "couldn't do" the Ashlands cleared it after nudging the combat slider down one notch.
A few closing solo-specific tips:
- Not all seeds are equal. Some worlds hand you a brutal Ashlands landing with fortresses stacked on the coast; others are gentle. If your world's Ashlands is a nightmare, that's partly the seed, not just you.
- Tame an Asksvin. These fast, rideable Ashlands creatures make crossing lava fields and outrunning packs far safer once you've tamed one.
- Progress in loops, not in one heroic push. Land, wall up, grab what you can, portal home, upgrade, repeat. The Ashlands rewards patience over bravado every single time.
FAQ
Is the Ashlands possible solo in Valheim? Yes. It's the hardest biome in the game on the live 0.221.12 patch, but it's fully beatable solo with fire resistance, Flametal-tier gear, earthwork tactics, and patience. Many players clear it — and Fader — alone. If it feels impossible, that usually means you're under-prepared (no fire resistance, low skills) rather than that it can't be done.
Do I really need fire resistance for the Ashlands? Effectively yes. Cinder rain, lava, and most Charred attacks deal fire damage. Fire Resistance Barley Wine is a Plains-tier mead you can brew well in advance, and keeping it active is the biggest single survivability boost you can bring.
How do I get to the Ashlands? You sail there in a Drakkar, the boat unlocked after defeating The Queen in the Mistlands. Wooden boats — including longships — are destroyed by the boiling water surrounding the biome, so a Drakkar is mandatory. Watch for Bonemaw serpents on the crossing.
How many Bells do I need to summon Fader? Three Bells, each crafted at the Black forge from three Bell fragments — nine Bell fragments total, all found in Charred Fortresses.
What's the best armour in the Ashlands? Flametal Armor currently has the highest armour value in the game, making it the top choice for survivability. The Ask Set is a lighter medium-armour option, and the Embla Set suits Eitr/mage builds.
Is the Ashlands the last biome in Valheim? For now, yes — it's the current final biome and follows the Mistlands. The Deep North becomes the game's true final biome when Valheim 1.0 launches on September 9, 2026. As of patch 0.221.12, the Deep North is still empty placeholder terrain.
More Valheim guides
Keep building your run with our other Valheim walkthroughs:
- Valheim Boss Order: All 7 Forsaken and How to Beat Them — the full progression ladder from Eikthyr to Fader.
- Valheim 1.0 and the Deep North: Do You Need a New World? — what happens to your save, world, and base when 1.0 arrives.