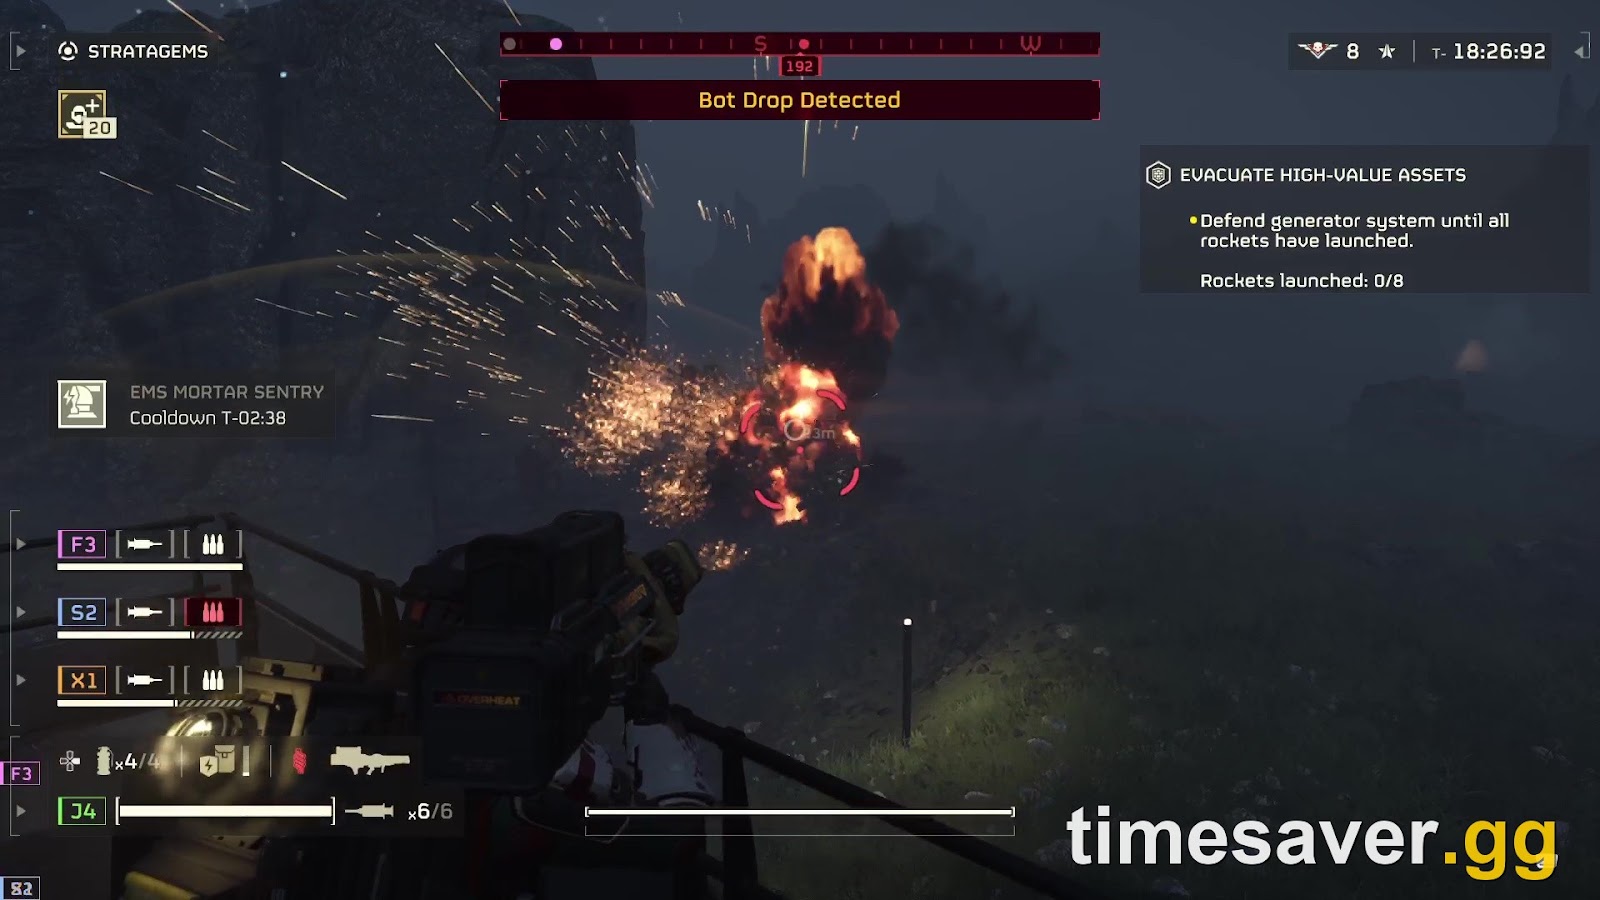
Quick answer: Evacuate High-Value Assets is the defend-the-rockets mission in Helldivers 2 — you hold a position and protect two exposed generators while a set of evacuation rockets launches. If even one generator is destroyed, the mission fails. The Devoid of Liberty: 7.1.0 update (released September 22, 2026) deliberately made this mission much harder: it added more enemy waves, slashed the downtime between them (start gap 60s → 42s, end gap 40s → 28s, the finished-wave gap 10s → 2s), and now scales enemy count up as more players join. To beat it in 7.1.0, treat it as a fixed defense: split the map, kill dropships before they land, wall off the lanes into the generators, and never let both generators get pressured at once. This guide is written and verified for patch 7.1.0.
Evacuate High-Value Assets used to be the easy, semi-AFK objective a coordinated squad could clear on autopilot. Arrowhead noticed. In the 7.1.0 patch notes they say the quiet part out loud, so it is worth quoting directly before anything else:
"The missions have fallen behind in difficulty, making it so they feel boring and easy for many players that have access to good tools for these types of missions... The missions should feel more intense and be more difficult to complete, especially in lobbies with 3-4 players." — Devoid of Liberty: 7.1.0 patch notes, Arrowhead Game Studios, September 22, 2026
So if it suddenly feels like the walls collapse before the second rocket even launches, that is intended. Here is exactly what changed and how to hold the line now.
Short on time for the climb to 150? Timesaver offers Helldivers 2 power leveling plus sample and medal farming, all played by hand on your account.
Helldivers 2 - Missions Carry
Get any mission cleared on Super Helldive
What is the Evacuate High-Value Assets mission?
It is a static defense mission. Instead of roaming an open map, your squad is locked to a small facility built around two power generators that feed a bank of underground evacuation rockets. Your job is simple to state and hard to do: defend the generators until all rockets have launched (the on-screen objective reads "Rockets launched: 0/8" and ticks up as each one fires).
The enemy — Automatons on the bot front, or Terminids/Illuminate on their fronts — spawns in waves that arrive from marked lanes and pushes toward the two generators. The generators are exposed and destructible: enemy fire, explosions, and even your own friendly fire can blow them up. Lose one generator and the mission ends in failure on the spot. You can then only extract or burn through your remaining reinforcements.
Two details most new players miss:
- You can start the rocket launch sequence early. Interact with the mission terminal and use the directional inputs to enable Power, Fuel, and Engines — this begins the evacuation instead of waiting on the default timer, which lets a strong squad "rush" the launches before the waves peak.
- In 7.1.0 there is now a UI element on each generator showing its current health percentage, and the generators' state is shown on the minimap. Watch those numbers — they are your real health bar, not your Helldivers'.
What patch 7.1.0 changed (and why it's brutal now)
The 7.1.0 rework is entirely about removing your breathing room. Here are the exact changes from the official patch notes:
- More waves. The maximum number of enemy waves was increased.
- Less downtime between waves. Three separate timers were cut:
- Start-of-mission gap: 60 seconds → 42 seconds
- End-of-mission gap: 40 seconds → 28 seconds
- Finished-wave gap: 10 seconds → 2 seconds (the pause after you clear a wave before the next one begins)
- Bigger waves. The number of enemies that can spawn in each wave was increased.
- Harsher scaling. "Encounter points" — the game's internal budget for how much it throws at you — now ramp up more exponentially through the mission, and scale up further when more players are present. This is why a full 4-player Helldive lobby feels disproportionately worse than a duo.
- SEAF troops can now spawn in the mission when that modifier is included (friendly AI reinforcements — a small help, not a save).
- Shrieker chance was added to the Terminid version of the mission.
- Randomized loot and weapon locations, plus 3 random supply groups (ammo, health kits, grenades, weapons) scattered through the map, and +10 common samples added to collect during the mission.
The takeaway: the old strategy of parking on one generator and lazily clearing spawns does not work anymore. With the finished-wave gap down to 2 seconds, waves now effectively overlap, and the exponential encounter-point curve means the back half of the mission is far deadlier than the front half. Plan your heaviest stratagem cooldowns for the last two or three rockets, not the first.
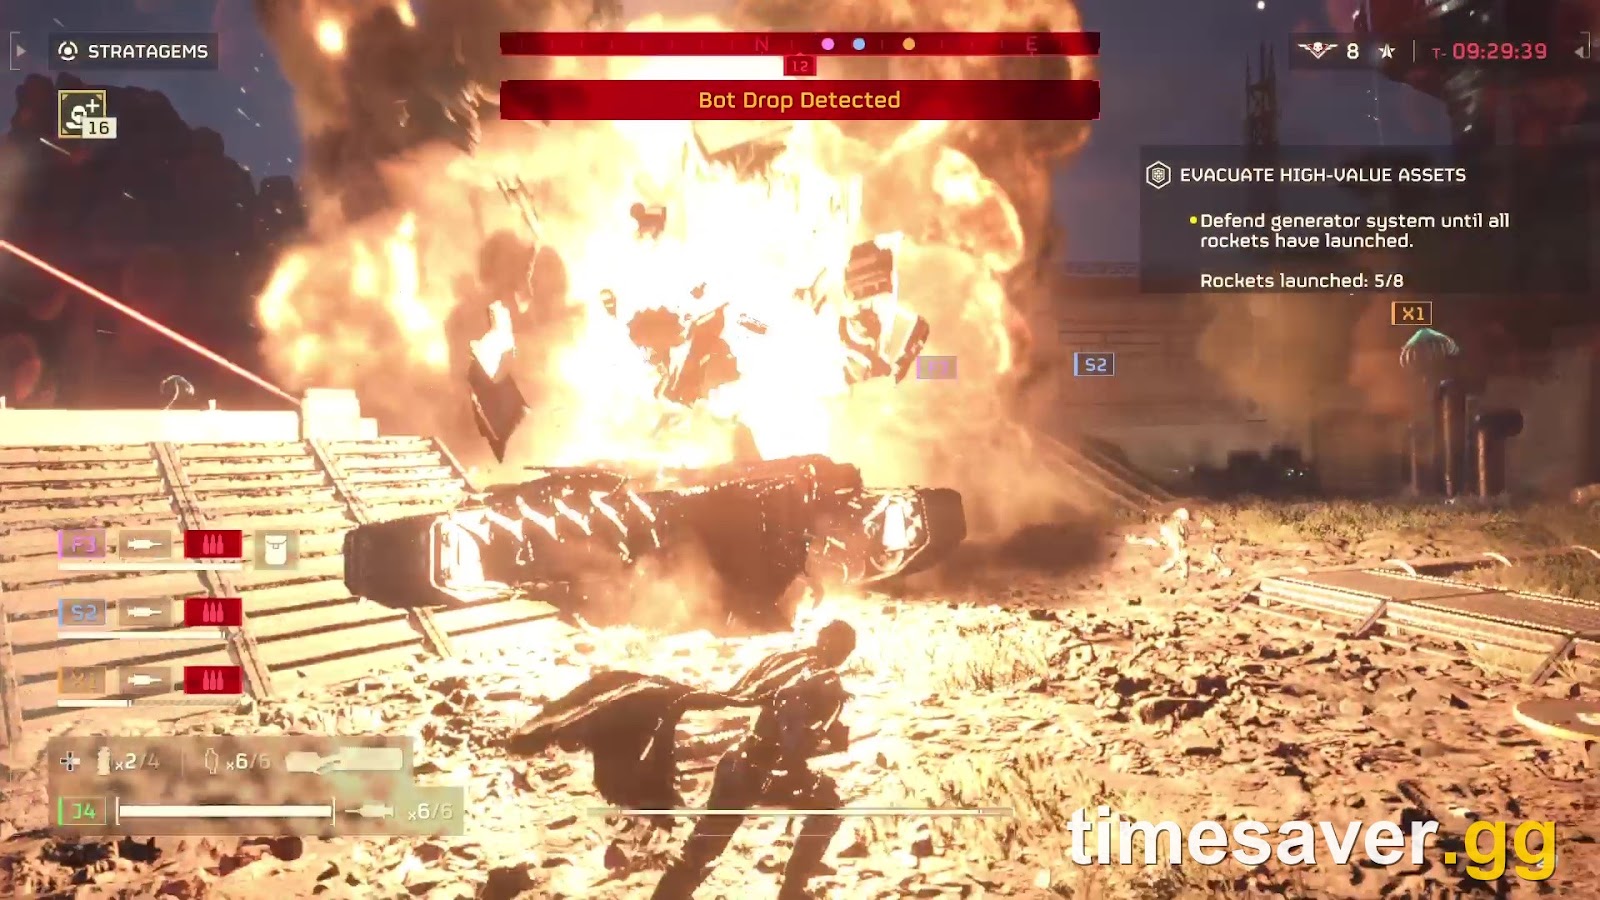
How to beat Evacuate High-Value Assets in 7.1.0
Because Helldivers 2 is co-op PvE with no fixed "best" answer, the strategy is about structure and roles, not a single meta loadout. The principles below hold across all three factions.
Split the map, don't stack the generators
The single biggest mistake is four players standing on one generator. The waves come from multiple lanes, and if everyone clusters, the opposite generator gets chewed up while you are looking the wrong way. Assign each player (or pair) a lane and hold the chokepoints leading into the facility. In 7.1.0, with generator health now on the minimap, one player should always be watching both bars and calling out whichever is taking damage.
Kill dropships and reinforcements in the air
Every wave arrives as a drop. If you destroy the transport before it lands, you delete the entire squad it was carrying. This is the highest-leverage play in the whole mission:
- Automatons: shoot down Dropships by hitting the thrusters/engines with anti-tank (Recoilless Rifle, EATs, Quasar, Commando). A downed dropship crushes the units beneath it.
- Terminids: in 7.1.0 the bug version can now spawn Shriekers — prioritize the Shrieker nests/fliers, because they harass your generator-watchers from angles your walls don't cover.
- Illuminate: watch for warp-in reinforcements and Overseers dropping onto the objective from above.
Wall off the lanes
Static defense rewards area-denial stratagems far more than roaming missions do. Strong picks:
- Mines (Anti-Personnel, Incendiary, Anti-Tank) laid across the enemy lanes — they work for free while you fight elsewhere.
- Sentries (Machine Gun, Gatling, Autocannon, EMS Mortar) placed to cover a lane you aren't personally holding. Note the EMS Mortar Sentry in particular — slowing a whole wave buys the seconds you no longer get from the wave-gap timer.
- Emplacements and the Shield Generator Relay to create a hard point around a generator.
- Eagle and Orbital area strikes (Cluster, Napalm, Gas, 380mm) saved for the moment a wave stacks up in a lane.
Protect the generators from yourself
Because friendly fire destroys generators, be disciplined with explosives near them. Don't drop a 500kg or a Napalm strike on top of a generator to clear a swarm — you will win the fight and lose the mission. Fight the enemy away from the generators, on the approach, not on the objective itself.
Save your heaviest cooldowns for the back half
The exponential encounter-point curve means the last third of the mission is where squads wipe. Bank at least one big orbital and one anti-tank support weapon reload for the final rockets, and start the Power/Fuel/Engines launch early if your squad is stable — the faster the rockets fire, the fewer of those brutal late waves you have to survive.
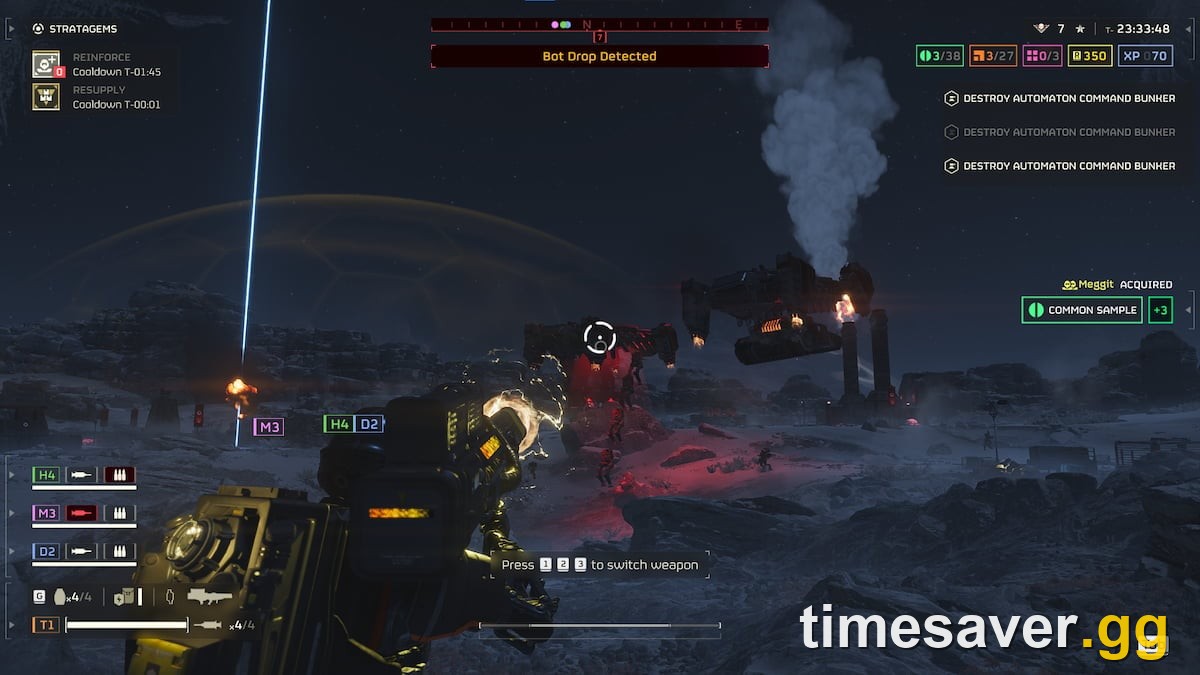
Recommended loadout roles (not a flat tier list)
Helldivers 2 has no competitive ladder and no single best loadout, so build your squad around defense roles rather than copying one character:
- Anti-tank / dropship killer: a Recoilless Rifle, Quasar Cannon, Commando, or EATs to delete transports and heavies before they reach the generators.
- Chaff clear: a high-ammo primary or a Machine Gun / Stalwart / Gatling Sentry to shred the massed light units each wave dumps in.
- Area denial: the mines-and-sentries player who fortifies a lane and then helps elsewhere.
- Flex / reviver: carries the extra samples, grabs the new random supply groups, watches generator health, and reinforces.
Because the mission now seeds randomized ammo, health, and grenade caches around the map, one player peeling off to grab a resupply mid-fight is worth it — you no longer have to hoard everything from your Hellpod.
Helldivers 2 - Difficulty Unlock
Get Super Helldive unlocked
What to bring against each faction
The role framing above survives patches; the specific matchups do not, so segment by enemy:
- Automatons: the classic bot problem — Devastators, Hulks, and dropship-delivered heavies. Prioritize dropship kills and bring medium-to-heavy armor penetration. A dependable anti-tank tool matters most here — our best support weapons breakdown covers the current picks.
- Terminids: swarms plus, now, Shriekers. Crowd control and a way to answer fliers matter more here than raw anti-tank — build around our best Terminid loadout.
- Illuminate: Voteless swarms with Overseers and heavier constructs. Sustained anti-armor and staggered crowd control.
If you're bringing in AI teammates to cover a lane, our SEAF support squad guide explains how the reinforcements behave. And since this mission now drops 10 common samples and extra medals, it pairs well with our fastest way to farm medals.
FAQ
Why is Evacuate High-Value Assets so much harder now? Arrowhead reworked it in the Devoid of Liberty: 7.1.0 update (September 22, 2026) because the mission "had fallen behind in difficulty." They added more waves, made the waves bigger, and cut the time between them — the start gap from 60 to 42 seconds, the end gap from 40 to 28 seconds, and the post-wave gap from 10 to 2 seconds. It also now scales up harder when more players are in the lobby.
What happens if a generator is destroyed? The mission fails immediately. There are two generators and losing either one ends the run — you can then only extract or burn through your remaining reinforcements. Watch the per-generator health UI added in 7.1.0 and keep explosives (including your own) away from them.
Can I start the rocket launch early? Yes. Interact with the mission terminal and use the directional inputs to enable Power, Fuel, and Engines. A stable squad should do this to fire the rockets faster and skip the deadliest late waves, rather than waiting for the default timer.
Does the mission give more samples now? Yes — 7.1.0 added 10 common samples to collect throughout the mission, plus randomized supply caches (ammo, health, grenades, weapons). Remember common samples only count if you extract with them; unlike Super Credits, samples are lost if you leave without extracting.
Is it easier solo or in a full squad? The mission's encounter-point budget scales up with more players, so a 4-player Helldive lobby is proportionally harder — but you also have four sets of stratagems and can cover more lanes. Solo is survivable on lower difficulties but very hard at Helldive (9) and Super Helldive (10) because you can't watch both generators at once.
Do SEAF reinforcements help? A little. 7.1.0 lets SEAF troops spawn in the mission when that modifier is present. They add bodies to the defense, but they are a minor supplement — do not plan the run around them.
The bottom line
Evacuate High-Value Assets is no longer a free win. After Devoid of Liberty: 7.1.0, it is a genuine endurance test: overlapping waves, a punishing player-count scale, and two fragile generators you have to babysit through the whole thing. Beat it by treating it like a proper defense — split the lanes, kill drops in the air, wall the approaches, keep your own explosives off the objective, and rush the launches once you're stable. Get that structure right and the harder version is still very winnable; go in with the old lazy habits and you'll wipe on the last rocket.
Want more Helldivers 2 guides? Browse our full Helldivers 2 guide hub for loadouts, patch breakdowns, and farming methods.
Verified against the official Devoid of Liberty: 7.1.0 patch notes (store.steampowered.com/news/app/553850) and the live Galactic War API on September 24, 2026. Helldivers 2 patches constantly — re-check the current patch before you deploy.