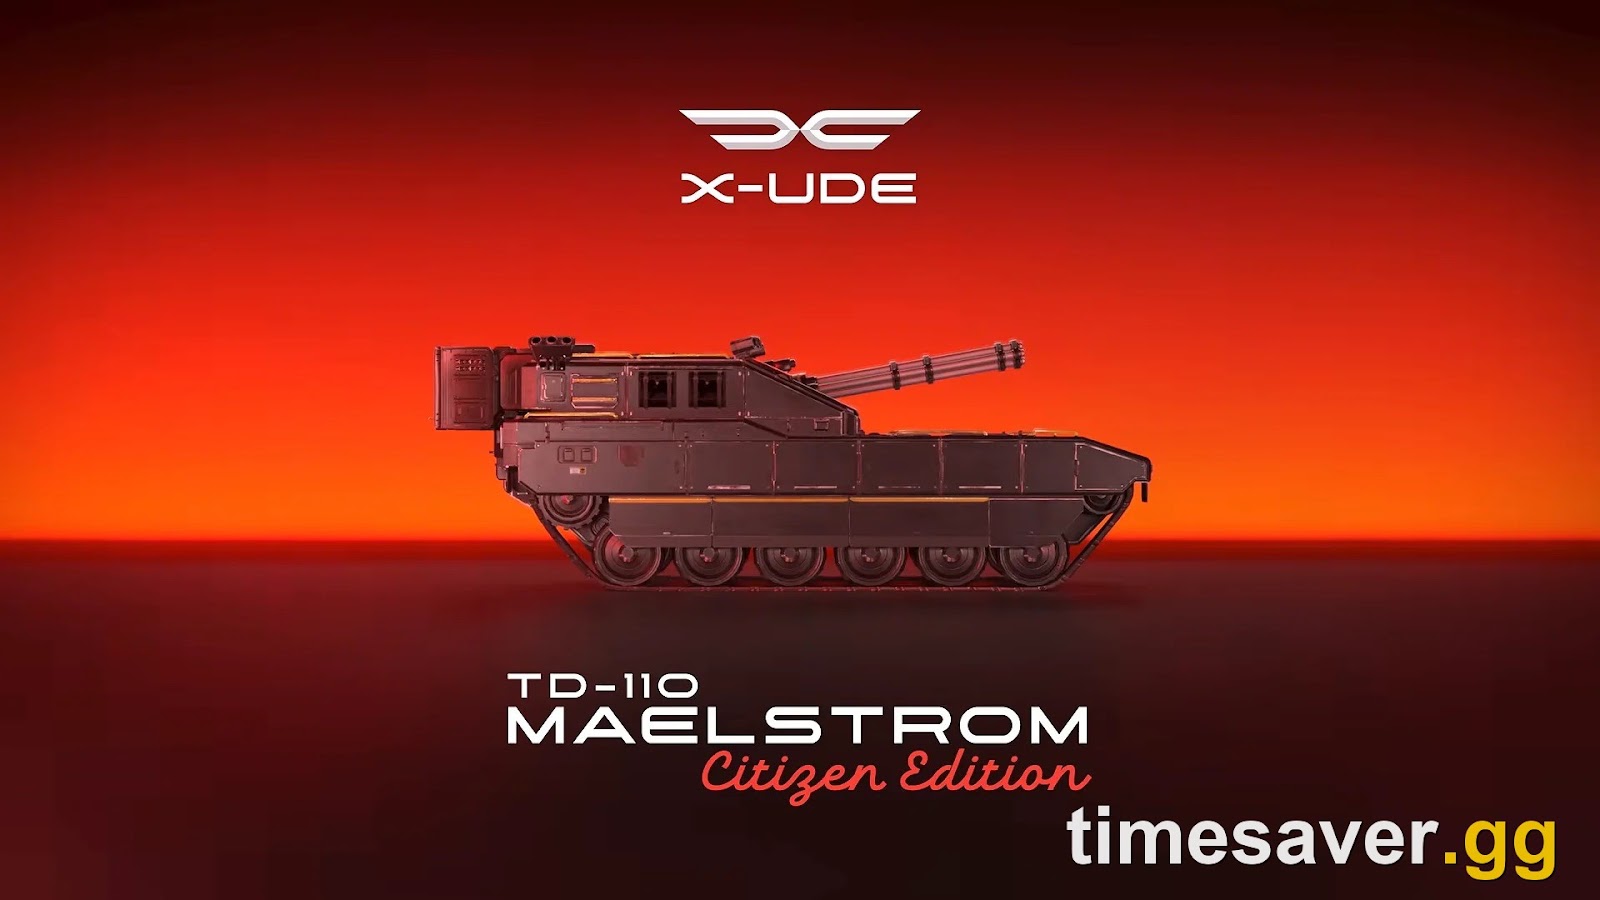
You unlocked the TD-110 Maelstrom in Helldivers 2, dropped it on a Helldive, and it either flattened a Bile Titan or got you killed in ten seconds. The difference is almost never the tank — it is how you crew it. The Maelstrom has a restrictive 40° firing arc, no mid-mission resupply, and a two-role skill ceiling that punishes solo players. This guide covers the controls, the crew jobs, the firing-arc problem, and the exact tactics that keep it alive on difficulty 9–10.
Quick answer: The Maelstrom is a crewed Stratagem tank with a ~40° lateral firing arc — the Driver has to point the whole hull at the target so the Gunner can fire. Put your best-coordinated player on the guns, save the 20 laser-guided missiles for armor (Chargers, Hulks, Bile Titans) and hose chaff with the two rotary guns (2,100 rounds total, no resupply). The Driver's smoke screen (20 charges) is your escape button — pop it and reverse the moment you are swarmed. Passengers ride the roof to cover the flanks the guns cannot reach. Two players in comms hold a lane; a solo Maelstrom is a coffin. If you have not unlocked it yet, see our TD-110 Maelstrom unlock guide.
The Maelstrom arrived in the Devoid of Liberty: 7.1.0 update (September 22, 2026) as a crewed tracked tank Stratagem — the crash hotfix that followed, 7.1.1 (September 24, 2026), changed none of its stats. It joins the existing heavy-armor Bastion vehicle in Super Earth's motor pool, but it fills a very different niche: sustained chaff-clearing fire plus on-demand anti-armor. What makes it special — and what most divers get wrong — is that it is built around coordinated multi-crew play in a way no earlier vehicle was. If you are still setting up your kit for it, our best support weapons guide covers what your Passengers should be bringing along. Below is everything you need to run the tank like a veteran.
Short on time for the climb to 150? Timesaver offers Helldivers 2 power leveling plus sample and medal farming, all played by hand on your account.
Helldivers 2 - Difficulty Unlock
Get Super Helldive unlocked
How do you call in and drive the Maelstrom?
The Maelstrom is a Stratagem (Supply permit), not a piece of gear you equip. Once you have the permit it behaves like any other Stratagem call-in:
- Call-in time: ~10.5 seconds from throwing the beacon to the tank landing.
- Cooldown: 780 seconds (13 minutes) — reduced to 741 seconds with the Morale Augmentation ship module. Some outlets round these to "11 seconds / 13 minutes."
- Uses: unlimited per mission. When one Maelstrom dies or runs dry, you re-call another on the cooldown.
The key thing new drivers miss: there is no resupply for the tank. A Helldiver on foot can top up ammo at a resupply pod; the Maelstrom cannot. It spawns with a fixed loadout, and when that runs out your only option is to bail and re-call on the 780-second timer. Every belt and every missile matters.
Driver controls (PC default)
The Driver sits front-right and cannot hotkey-swap seats mid-drive:
- WASD — move; the tank can pivot in place.
- R / N / D / 1 / 2 — gear selector; L-CTRL shifts down, L-SHIFT shifts up.
- SPACE — handbrake.
- F — horn.
- Left Mouse (M1) — fire the smoke-flare dischargers (your escape tool, covered below).
Reverse gear is not a panic button you hit once — good drivers keep the tank in a reverse-capable posture so they can back out of a swarm without a three-point turn.
The 40° firing arc is the whole game
This is the single most important thing to understand about the Maelstrom, and it is the "one big problem" the community argued about before launch. Per the official Helldivers Wiki:
"The rotary cannons and missile guidance laser have a restrictive lateral aiming arc of approximately 40° (20° to the left and right of the resting position), requiring the driver to position the Maelstrom towards the target for the Gunner to fire at."
The turret does not rotate 360°. The Gunner can only make fine adjustments inside a narrow cone off the hull's front. If a Charger comes in from the side, the Gunner cannot swing to hit it — the Driver has to turn the entire tank. This makes the Maelstrom a two-person conversation: the Gunner calls the target, the Driver aims the hull, the Gunner finishes the shot.
Two consequences follow directly from the arc:
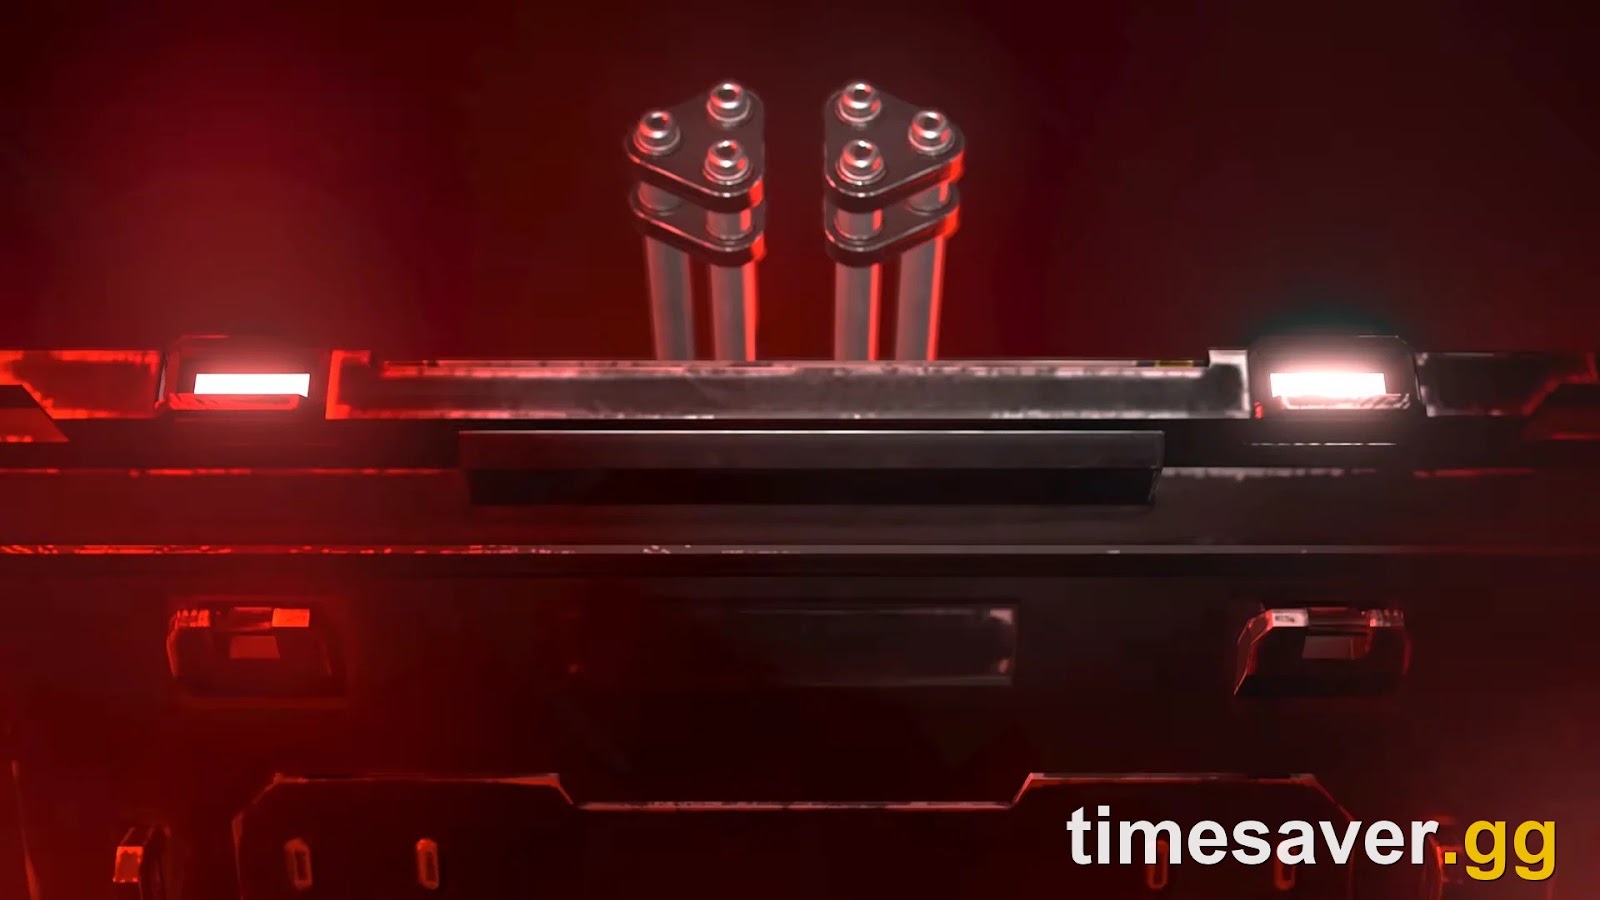
- Front lights = your firing cone. The tank's front lights indicate the possible firing arc. Line a target up between them and the Gunner has a shot; outside them, they do not.
- Passengers cover your blind spots. The two roof Passengers exist precisely to handle the side and rear arcs the main guns cannot reach. Tell them to focus fire on units flanking the tank while the Driver keeps the nose pointed at the biggest threat.
A useful bonus the arc does not stop: the Maelstrom crushes chaff by driving over it, even while turning. When you are surrounded by Scavengers or Voteless, you do not need the guns — just advance and grind them under the tracks.
What does each crew seat do?
The Maelstrom seats up to four Helldivers. Voice comms are strongly recommended — this is not a vehicle you can run silently.
- Driver (front-right): movement, gears, handbrake, and the smoke screen. Owns positioning and the firing arc. Cannot hotkey-swap to other seats.
- Gunner (rear): controls both rotary guns and both missile pods. This is your highest-skill seat — put your most reliable shooter here. Can rotate out to a passenger position with C.
- Passenger x2 (casemate roof): use their own primaries, secondaries, support weapons, Stratagems, stims and throwables, plus cover the flanks. They aim in third-person only and can hunker behind the casemate for cover. This is what makes the Maelstrom more than a two-seat gun — a full crew brings four more Stratagems and four more weapons to the fight.
The practical split on a Helldive: Driver + Gunner as the core, and if you have a full squad, one or two Passengers riding along to shred flankers and throw the occasional Orbital. If you are only two players, the two of you take Driver and Gunner and accept that your sides are exposed — which is exactly when the smoke screen earns its keep.
Gunner controls and ammo discipline
- Hold M1 — fire both triple-barrel rotary guns (Heavy armor penetration). Total ammo is 2,100 rounds — 300 per belt across 7 belts. Reloading with R discards any leftover rounds in the current belt, so reload on empty, not on a whim, or you waste ammo.
- Tap M2 — fire one laser-guided missile straight to the crosshair.
- Hold M2 — fire a missile and manually steer it down the laser in real time, so you decide where it lands instead of firing blind. There are 20 missiles total (two pods, 10 each), rated Anti-Tank.
The discipline that separates a good Gunner from a bad one: rotary guns for everything soft, missiles for everything armored. Do not waste a limited anti-tank missile on a pack of Hunters, and do not chip a Bile Titan's health bar down with rotary fire when two guided missiles end it. With no resupply, the mission's worth of armor kills has to come out of those 20 missiles.
How do you use the smoke screen?
Every Maelstrom driver should treat the smoke screen as the most important defensive tool on the tank. Per the Helldivers Wiki, the Driver presses Fire to eject up to twenty charges of smokescreen for concealment and repositioning. Four dischargers — one on each corner — each fire three smoke grenades roughly twenty meters out.
Use it the instant a swarm closes to melee range: pop smoke, break line of sight, reverse out, and let the cooldown-free rotary guns reset on the enemies stumbling through the cloud. Against the Automatons and Illuminate especially, smoke breaks the ranged fire that otherwise strips the tank's armor from a distance. It is not a gimmick — it is how the Maelstrom survives being focused.
The mistake to avoid is treating smoke as a one-time "oh no" button. Ration it the same way you ration missiles: pop a corner or two when you need to reposition, not the whole bank the first time a Devastator shoots at you. Twenty charges across a mission is plenty if you use them to buy three seconds of blindness at a time, and almost nothing if you dump them all at once. Combined with a reverse-ready gear, smoke turns the Maelstrom from a slow, focus-fired target into something that keeps disappearing and re-engaging on its own terms.
Helldivers 2 - Weapon Leveling
Get your weapons maxed to level 20
What are the best Maelstrom tactics per faction?
The Maelstrom is strong against all three factions, but you play it differently against each. The short version: on bugs you drive forward and grind, on bots you use cover and smoke, on squids you pick off the heavies with missiles. Pair the tank with a faction-appropriate ground kit for the moments you are out of the vehicle.
- Terminids (bugs): this is the Maelstrom's best matchup. Rotary guns delete Warriors, Hunters and Bile Spewers by the dozen, and you can crush breach chaff under the tracks all day. Save missiles for Chargers and Bile Titans — a couple of guided hits drop a Charger fast, and a Bile Titan folds to a focused missile-and-rotary combo. Keep the tank rolling so a Bile Titan's spew does not park on your armor, and let a Passenger hose the Hunters that leap the tracks. If you are also running foot missions on this front, our best Terminid loadout pairs cleanly with a Maelstrom-heavy squad.
- Automatons (bots): the danger here is ranged armor-stripping fire from Devastators, Tanks and Factory Striders that chews through the hull from a distance. Use smoke aggressively to break their line of sight, advance under the cloud, and spend missiles on Hulks and Tanks — a guided missile to a Hulk's eye or a Tank's vent ends it. Do not sit still in the open; the bots will whittle you down before your guns line up. See our best Automaton loadout for the anti-armor tools to bring alongside it.
- Illuminate (squids): the community's headline result is that the Maelstrom is a genuine Leviathan deleter — sustained heavy-pen rotary fire plus guided missiles can bring down the flying capital unit that normally demands a full squad's Stratagems. The same crew-focus-fire approach is the fastest ground answer to the Hive Lord when it surfaces. Watch for Overseers and the regenerating Crusher on the flanks and let your Passengers handle them while the Gunner stays locked on the big target. The best Illuminate loadout covers the on-foot backup you will want when the tank is on cooldown.
Common Maelstrom mistakes
- Running it solo. With a 40° arc and no way to aim the guns independently of the hull, one player cannot drive and shoot effectively at the same time. Two coordinated players is the real minimum.
- Burning missiles on chaff. You have 20 anti-tank missiles for the whole mission and no resupply. Every one you waste on a bug swarm is one you do not have for the Bile Titan.
- Reloading a half-full belt. The R reload discards leftover rounds. Fire the belt dry first.
- Ignoring the smoke. Divers treat the Maelstrom as pure offense and never touch the smoke screen — then die the first time they get swarmed. Pop it and reposition.
- Sitting still. Static tanks get flanked into their blind arcs and stripped from range. Keep the nose on the biggest threat and keep moving.
If your goal is to burn through the current tank-themed Major Order and the leveling grind behind it quickly, timesaver.gg runs Helldivers 2 leveling and carry services — a "save the grind" option, not a shortcut around learning the tank. Everything above works whether you grind it yourself or not.
FAQ
How do you use the Maelstrom tank in Helldivers 2? Call it in as a Stratagem, then crew it with at least a Driver and a Gunner. The Driver points the hull at targets because the guns only aim within a ~40° cone; the Gunner fires the rotary guns at soft targets and the 20 laser-guided missiles at armor; the Driver pops the 20-charge smoke screen to escape swarms. Passengers ride the roof and cover the flanks.
Can you use the Maelstrom solo? You can drive it alone, but it is far weaker. The 40° firing arc means one player cannot aim the hull and fire the guns effectively at the same time, and no one is covering the side and rear arcs. Two players in voice comms — Driver plus a dedicated Gunner — is the practical minimum for Helldive difficulty.
Why won't the Maelstrom's guns aim where I'm looking? Because the rotary cannons and missile-guidance laser have a restrictive lateral arc of about 40° (20° each side of center). The Gunner can only make fine adjustments inside that cone; to hit anything outside it, the Driver has to turn the whole tank toward the target. The tank's front lights show the current firing arc.
How many missiles and how much ammo does the Maelstrom have? Two missile pods hold 10 laser-guided Anti-Tank missiles each, for 20 total. The two triple-barrel rotary guns carry 2,100 rounds — 300 per belt across 7 belts. There is no mid-mission resupply, so when the tank runs dry you re-call a fresh one on the 780-second cooldown.
Is the Maelstrom good against the Leviathan? Yes. The heavy-penetration rotary guns plus guided Anti-Tank missiles let a coordinated crew bring down the Illuminate Leviathan that would normally require several players' Stratagems — divers report it as one of the fastest single-vehicle answers to that unit. Aim the hull at the target, hold the rotary fire on it, and finish with guided missiles. The same focus-fire approach also shortens a Hive Lord fight considerably.
What is the best crew size for the Maelstrom? Two is the working minimum (Driver plus a dedicated Gunner in comms) and four is ideal. Adding two Passengers on the roof does not just add bodies — it adds four more weapons and four more Stratagems, and it covers the side and rear arcs the main guns physically cannot reach. If you have the players, fill every seat.
What is the Maelstrom's cooldown? 780 seconds (13 minutes), reduced to 741 seconds with the Morale Augmentation ship module. Call-in time is about 10.5 seconds, and it has unlimited uses per mission.