

The Harvester is the only place in ARC Raiders that hands out the Equalizer and Jupiter blueprints, and it is easy to walk in and come out with nothing. Not because the Queen kills you, but because the puzzle inside punishes doing things in the wrong order: a Fire Discharge spits your fusion cores back out, an Electrical Surge strips your shield mid-solve, and twelve yellow targets have to die before the loot container opens. This guide breaks the whole core activation sequence into a solve order that survives both defense cycles, with every number checked against the community-maintained ARC Raiders Wiki Harvester page and the official Frozen Trail 2.0 update notes.
Quick answer (TL;DR): The Harvester puzzle has three steps. 1) Get three fusion cores: breach the containers on the Harvester's upper level, and grab the one that spawns on the ground in the center. 2) Open the chambers at the base of the central pillar and insert all three cores in quick succession. 3) Shoot all twelve yellow targets (roughly 100 damage each). When the last one breaks, containers open in the center with 1–3 Equalizer or Jupiter blueprints. The solve order that works: clear the yellow targets one side at a time, because a fully cleared side stops the next Fire Discharge from ejecting the core on that side. The Electrical Surge only drains shields and stuns, and it needs the Queen to fire it.
The Harvester is a rotating map condition, not a permanent fixture. Check the in-game map condition schedule before you load in, and see our map conditions guide for how the rotation works.
Did this answer your question?
Your feedback helps improve this guide.
What is the Harvester in ARC Raiders?
The Harvester is a minor map condition that drops a huge ARC harvesting structure at a fixed location on the map and parks a Queen next to it as a guard. The in-game condition card reads: "A mysterious harvesting machine has appeared, heavily guarded by the feared Queen. What kind of riches are to be found within?"
It rotates on three maps. The wiki's condition infobox gives each one a difficulty rating:
| Map | Harvester available | Wiki difficulty rating |
|---|---|---|
| Dam Battlegrounds | Yes | 3 |
| The Spaceport | Yes | 4 |
| The Blue Gate | Yes | 4 |
| Buried City, Stella Montis, Riven Tides, Pendola Pass | No | — |
Dam Battlegrounds is the softest of the three, which makes it the best map for a first attempt. If you are new to the layouts, our ARC Raiders map hub covers every map and extract.
Do not confuse the Harvester with the Harvester Payloads on Pendola Pass. Those are summonable containers called down with an Emperor Beacon under the Redirection condition, a completely separate system. Nothing in this guide applies to them.
How does the Harvester puzzle work?
The wiki calls it the core activation sequence. Three steps, always in this order:
| Step | What you do | The catch |
|---|---|---|
| 1. Procure fusion cores | Breach containers on the Harvester's upper level to get fusion cores; one of the three spawns on the ground in the center | You need three in hand before step 2 |
| 2. Insert the cores | Interact with the base of the central pillar to open its chambers, then insert all three | All three must go in in quick succession |
| 3. Destroy the yellow targets | Shoot the twelve pulsating yellow targets that appear inside | About 100 damage each; a Fire Discharge can undo step 2 |

Once every yellow target is destroyed, containers open in the center of the Harvester. The wiki states that solving the puzzle guarantees one to three blueprints, drawn from the Equalizer and Jupiter.
The important detail most players miss: the Harvester's own defenses switch off the moment the sequence is complete. Every second you spend half-finished is a second of Fire Discharges and Surges. Speed is the whole game.
What is the best Harvester solve order?
This is the order we recommend. It is built around one mechanic the wiki documents: destroying every yellow target on one of the Harvester's three sides stops the fusion core perpendicular to that side from being ejected at the next Fire Discharge. Clear a side, and that core is locked in.
- Scout before you breach. Note where the Queen is patrolling and which exterior venting doors you will use to escape fire. You will be leaving and re-entering.
- Collect all three cores first. Breach the upper-level containers and grab the floor core in the center. Do not insert anything until you hold three.
- Insert all three back to back. The wiki is explicit that they must go in in quick succession. Have the whole squad covering the doors while one raider does it.
- Pick one side and clear it completely. Do not spray targets around the room. Kill every yellow target on a single side before moving on, so that side's core is protected from the next discharge.
- Rotate to the second side, then the third. Each fully cleared side is another core you will not have to re-insert.
- When the yellow warning light and alarm fire, get out. Leave through the venting doors, let the discharge burn off, then re-enter.
- Re-insert any ejected cores immediately and keep going on the side you were working.
- Last target down = loot. Defenses disengage. Grab the center containers, then decide whether you are fighting for an extract or slipping out.
Each fully cleared side protects only its own core, so with one side done a discharge still ejects two cores, and with two sides done it ejects one. Scattered damage protects nothing and every discharge ejects all three.
What are the Harvester's defenses?
Two systems, and they behave very differently:
| Defense | When it starts | What it does | How to beat it |
|---|---|---|---|
| Fire Discharge | Periodically, throughout the sequence | Burns every raider inside; ejects all fusion cores from the central pillar | Watch for the yellow warning light and sound, exit through the venting doors that open, come back after |
| Electrical Surge | Only after the cores are inserted | Depletes your shield and stuns you briefly; cannot kill on its own | Fired by the Queen, so no Queen means no Surge; the wiki notes unequipping your shield negates it |

The Fire Discharge is the one that ruins runs. Besides the warning light, there is a visual cue outside: the Harvester ejects a capsule skyward. If your squad has someone outside on overwatch, that is their call to shout.
The Electrical Surge is subtler. Per the wiki, once you insert the cores the Queen turns hostile and targets raiders inside the Harvester, and the Queen's page adds that she can fire her laser into a node on top of the Harvester to electrocute everyone inside. Unlike the Fire Discharge, the doors do not open first, so you cannot dodge it by leaving. It does not kill, but in our view a stun with no shield while another squad pushes the doors is the most dangerous moment of the run.
Should you kill the Queen first or solve around her?
This is the real decision of every Harvester run. Both work; they suit different squads.
| Approach | Upside | Downside | Best for |
|---|---|---|---|
| Kill the Queen first | No Electrical Surge, no mortars while you solve; Queen loot on top of the puzzle | ~23,000 HP (wiki estimate) of Heavy-armor ARC; long, loud fight that pulls other raiders in | Full squads with armor-shredding weapons |
| Solve around her | Fast; quieter; you are in and out | Queen is hostile once cores go in; Surges and mortars while you shoot targets | Duos and confident solos |
The Queen's numbers, from the wiki Queen page: ~23,000 HP (the wiki flags this as an estimate), Heavy armor, weak points at the core and leg joints. She fires 2–5 mortars that explode into a fiery inferno two seconds after impact, periodically fires a laser beam at a raider in line of sight, and alternates an EMP pulse or ground slam when you get close. Killing her is worth +1000 XP, scavenging her core another +1000 XP, and each leg you scavenge +500 XP.
Frozen Trail 2.0 also changed where her best loot sits. Embark's patch notes: "Moved higher tier loot from the armor pieces of the legs to the legs pieces for Queen and Matriarch." The developers' reasoning: "The armor plates are supposed to protect the legs, so it made sense to relocate the loot to the protected area." Armor pieces still drop some loot, but the good stuff now comes from the legs themselves. For the full fight breakdown, read our Queen and Matriarch kill guide and the Queen core farming guide.
Our pick: solve around her on a first run, kill her once your squad has the weapons for it. The blueprints are the prize; the Queen is a bonus.
What loot does the Harvester drop?
Two loot sources inside the Harvester itself, and the blueprints are the headline.
The puzzle reward: the center containers hold loot including a guaranteed 1–3 blueprints for the Equalizer or Jupiter. The wiki's Blueprints index lists these two as the only blueprints sourced from the Harvester, and neither can be scavenged anywhere else.

The upper-level breach containers (chance-based): the same containers that give you the cores. The wiki lists these confirmed drops:
- ARC Alloy
- ARC Circuitry
- Advanced ARC Powercell
- ARC Performance Steel
- Burned ARC Circuitry
- Impure ARC Coolant
The wiki marks several other ARC materials as unconfirmed for this pool and notes the list is incomplete, so treat anything beyond these six as unverified. For every other blueprint source in the game, see our ARC Raiders blueprints index.
Equalizer vs Jupiter: which blueprint do you want?
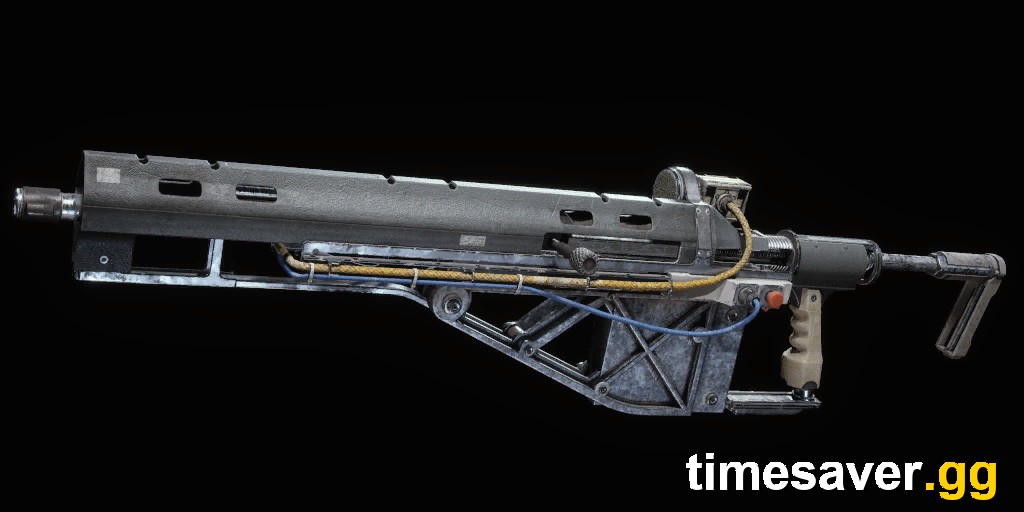
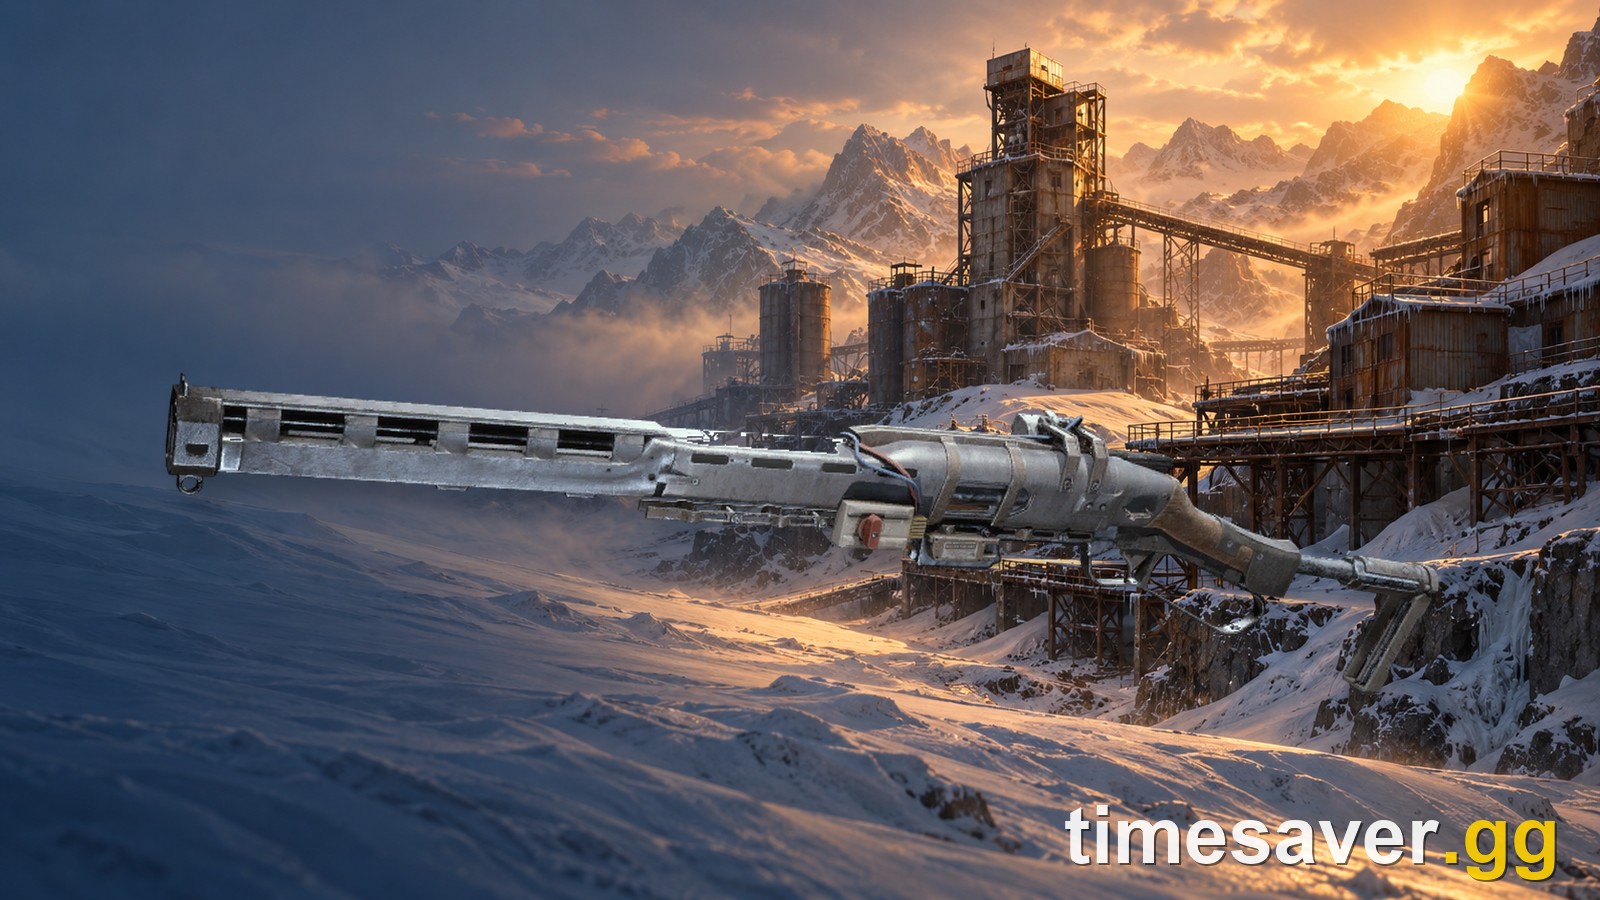
You do not get to choose, but you should know which one changes your loadout more. Both are Legendary, both run on Energy Clips, both sell for 27,500, and both craft from the same recipe.
| Equalizer | Jupiter | |
|---|---|---|
| Type | Special beam rifle, fully automatic | Bolt-action sniper rifle |
| Damage per shot | 8 | 60 |
| Fire rate | 33.33 | 7.67 |
| Magazine | 50 | 5 |
| ARC armor penetration | Very Strong | Very Strong |
| Weight | 14.0 | 9.0 |
| Craft | 3 Magnetic Accelerator + 3 Complex Gun Parts + 1 Queen Reactor, Gunsmith 3 | Same |
Stats from the wiki Equalizer and Jupiter pages. Note the Queen Reactor in the recipe: the blueprint alone does not get you the gun. You need a Queen kill or leg-segment scavenge for the reactor, which is another argument for eventually killing her. Our Queen and Matriarch reactor guide covers that farm.
Frozen Trail 2.0 also fixed a Jupiter bug. Per the patch notes, a double-propagation fix leaves the Jupiter stronger against armor and slightly weaker against weak spots. If you already own one, our Jupiter amplification guide covers its upgrade nodes.
Community sentiment leans toward the Equalizer. In an r/ArcRaiders thread asking for more Harvester rotations, a reply (paraphrased) rated the Equalizer well above the Aphelion as the energy weapon worth chasing.
What should you bring to the Harvester?
- A reliable gun for yellow targets. About 100 damage each, twelve of them, while you are being burned and stunned. Accuracy matters more than raw DPS.
- The Dolabra is now an option. The Frozen Trail 2.0 notes list: "Fixed an issue where the Dolabra would not destroy the yellow weak points inside the Harvester." Before that fix it simply did not work on them.
- A plan for your shield. The wiki documents that the Surge only hits shields, so it can be negated by unequipping yours. That leaves you exposed to raiders and Queen mortars, so only consider it when the room is secured.
- An exit route. In a Harvester experience thread on r/ArcRaiders, a player about two weeks into the game said that with anything good in their bag they would take a far Raider Hatch and stay wary even in quiet lobbies. Harvester loot is exactly that kind of bag. Plan the extract before you start step 1.
- Healing for fire. You will eat at least one discharge if you stay inside too long.
What are the most common Harvester mistakes?
- Inserting cores one at a time. They must go in in quick succession. Hold all three first.
- Shooting targets at random. Scattered damage means no side is fully cleared, so every Fire Discharge ejects all three cores again.
- Staying in for the fire. The warning light and sound give you time. Leave through the venting doors.
- Treating the Surge as harmless. It cannot kill you, but it stuns you shieldless, and that is when the other squad pushes.
- Chasing the Queen with a weak kit. Roughly 23,000 HP of Heavy armor is not a side quest. Skip her if your loadout cannot strip armor.
- Forgetting the crafting cost. A blueprint without a Queen Reactor is a blueprint you cannot craft yet.
Want the Harvester and the Queen done for you? timesaver.gg runs Harvester puzzle and Queen kill services with real raiders, no cheats or automation, on PC, PlayStation and Xbox:
- ARC Raiders services — pick the Harvester Puzzle or The Queen Kill from the full ARC Raiders catalog.
FAQ
Where do you get fusion cores for the Harvester puzzle? From breaching the containers on the Harvester's upper level, and one of the three spawns on the ground in the center of the Harvester. You need all three before you insert any.
How many yellow targets are in the Harvester? Twelve. They appear after all three fusion cores are inserted, and the wiki estimates each needs about 100 damage to destroy.
Why did my fusion cores get ejected? A Fire Discharge ejects every core from the central pillar. Fully clearing all yellow targets on one side stops the core perpendicular to that side from being ejected at the next discharge, which is why you clear one side at a time.
Can the Electrical Surge kill you? No. Per the wiki it only depletes your shield and stuns you briefly. It is triggered by the Queen, so it cannot happen if she is dead.
What does the Harvester puzzle reward? One to three blueprints for the Equalizer or Jupiter, both Legendary energy weapons, plus whatever the upper-level containers dropped while you collected cores.
Which maps have the Harvester? Dam Battlegrounds, The Spaceport and The Blue Gate, when the Harvester map condition is active. It does not rotate on Buried City, Stella Montis, Riven Tides or Pendola Pass.