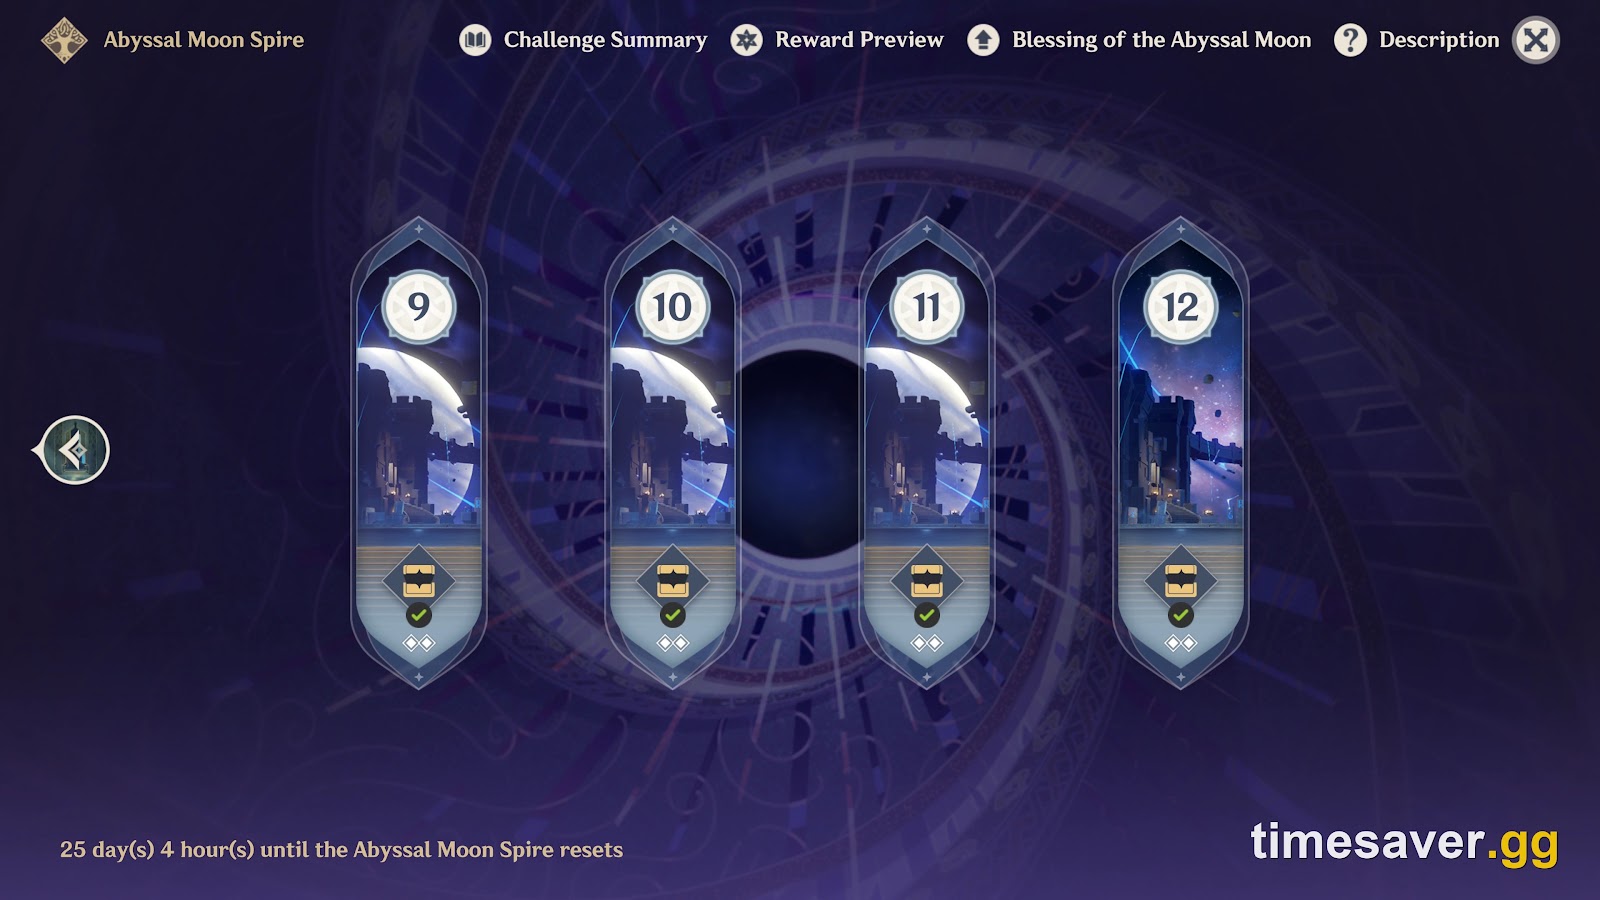
Floor 12 is the only part of the Spiral Abyss most players ever look up, because it is the only part that changes often enough to be worth looking up — and the thing almost every guide still gets wrong is when it stops being true. This page covers the layout that went live on 16 September 2026: every enemy by chamber and level, both halves of the Ley Line Disorder, the star timings, and the reset date older articles still print incorrectly.
Quick answer: In the 16 September 2026 cycle, Floor 12's Ley Line Disorder boosts Swirl DMG by 200% and Stellar Swirl DMG by 75% in the first half, and Electro-Charged DMG by 200% and Lunar-Charged DMG by 75% in the second. Chamber levels are 95 / 98 / 100. Every first half is a single boss — a Chimeric Burrowbeast in 12-1, an Immortal Construct in 12-2 and a Domovoy Sculptor in 12-3 — so AoE damage is close to worthless there. Stars need 180, 300 and 420 seconds left on the clock. This layout runs until 16 October 2026, 03:59:59 server time; the Abyssal Moon Spire resets on the 16th of the month only, and has done since June 2024. Nothing happens on the 1st.
Article status: written 21 September 2026. The Disorder text and blessing wording below are quoted from HoYoverse's own in-game announcement for Version 7.0, Everwinter Without Mercy (announcement 21857, section XII), read live today from the official Genshin Impact news feed. Enemy lineups and star timings are cross-checked against the Genshin Impact Wiki's 2026-09-16 Floor rotation page and Game8's Floor 12 guide. No leaks or datamines are used anywhere on this page.

What are the Ley Line Disorders on Floor 12 right now?
HoYoverse's wording, verbatim from the Version 7.0 update notice: "First Half: Characters' Swirl DMG increased by 200% and Stellar Swirl DMG increased by 75%. Second Half: Characters' Electro-Charged DMG increased by 200% and Lunar-Charged DMG increased by 75%."
That is a different kind of buff than the one directly below it on Floor 11, which hands out "a 60% Anemo DMG Bonus" and "a 60% Electro DMG Bonus" — a flat bonus scaling whatever your characters already did. Floor 12's Disorder does not touch your DMG Bonus at all. It multiplies two specific reactions, and that decides your build: a DMG Bonus rewards the usual ATK / CRIT stack, while a reaction multiplier rewards Elemental Mastery and character level, because transformative and lunar reaction damage scales off those and ignores CRIT entirely. So this is not a nudge to "bring Anemo" — it is a nudge to bring an Anemo unit actually built to Swirl, EM on the sands and circlet.
The second half flips the element pair entirely. Electro-Charged wants Hydro and Electro sitting on the same target continuously — an off-field Electro applier plus a Hydro unit who keeps the aura up, not a burst team that applies both once and walks away.
What is the Blessing of the Abyssal Moon this cycle?
The spire-wide blessing for the 16 September cycle is Cascading Moon. HoYoverse's text: "When a character deals Swirl or Stellar Swirl DMG to an opponent, a shockwave will be unleashed at the opponent's position, dealing True DMG. This effect can be triggered once every 4s."
Worth flagging: at least one major database still shows an older cycle's blessing name at the top of its Floor 12 page while printing this description underneath. If you see "Ice-Surging Moon" (16 July to 16 August 2026) or "Luster-Piercing Moon" (the 16 August phase) on a page dated this month, that header is stale.
Here is the read that matters — a read rather than a fact, because HoYoverse publishes no number for the shockwave: Cascading Moon only fires off Swirl and Stellar Swirl, and both need an Anemo character on the team. That lines up perfectly with the Swirl-based first half and leaves the blessing doing essentially nothing in the Electro-Charged second half. If your second-half team has no Anemo unit, expect to run that half with the blessing effectively switched off. That is normal this cycle, not a mistake on your end.
What enemies are on Spiral Abyss Floor 12 in this cycle?
HoYoverse's patch note is a single line — "Updated the monster lineup on Floors 11 – 12 of the Spiral Abyss" — and does not enumerate it. The lineup below is the community-documented one for the 16 September rotation, matching both the wiki rotation page and Game8's chamber tables.
| Chamber | Level | First half | Second half |
|---|---|---|---|
| 12-1 | 95 | Battle-Hardened Chimeric Burrowbeast ×1 | Wilderness Exile ×9, then Battle-Hardened Fireblade Shock Trooper ×1 |
| 12-2 | 98 | Immortal Construct ×1 | Fisher of Hidden Depths ×4, then Lord of the Hidden Depths: Whisperer of Nightmares ×1 |
| 12-3 | 100 | Battle-Hardened Domovoy Sculptor ×1 | Battle-Hardened Lightkeeper ×1 |
A few details that change how those rows play:
12-1 second half is nine Exiles, not three. Only three stand on the field at a time; each one you kill is replaced until all nine are gone. The objective counts 10 opponents across the half — nine Exiles plus the Shock Trooper. If you sized your team for a three-enemy pack, that is why the clock keeps beating you.
12-2 second half refills itself. Four Fishers of Hidden Depths come first, and the Lord of the Hidden Depths summons a fresh set once it appears. Sources disagree on the objective counter's total, so treat it as "four, then more" and bring something that clears adds while the boss is alive.
12-3 second half does the same trick. The Lightkeeper summons four Wilderness Exiles in its second phase, and if you leave them alive its lantern absorbs them for a heavy explosion — which also wipes your progress on the grey Grief-Stricken bar, the bar you actually have to empty to finish it off. Killing the Exiles fast is damage you keep.
Why is every Floor 12 first half a single boss this cycle?
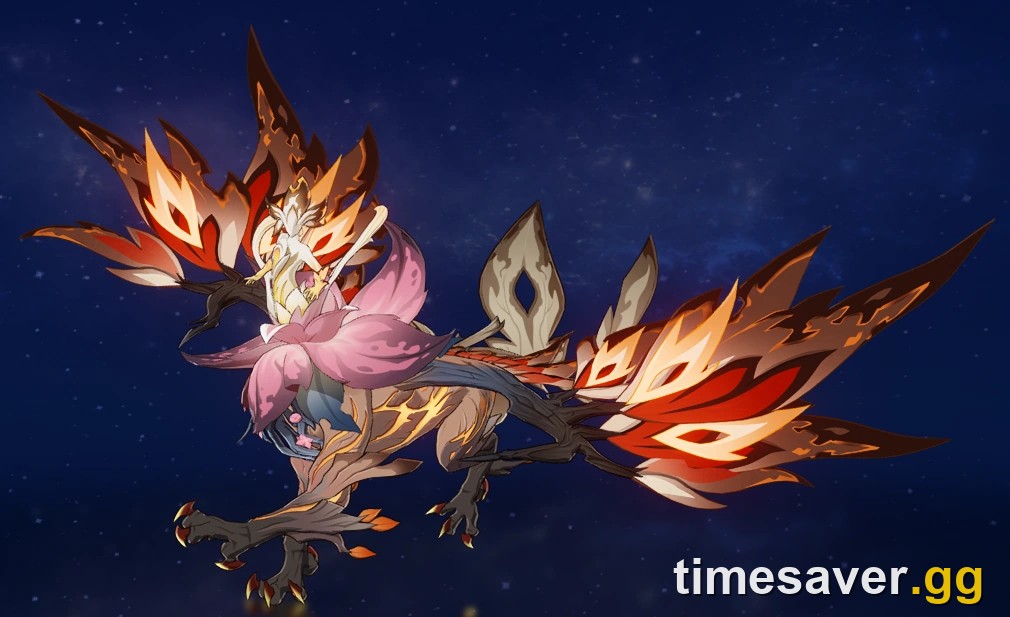
All three open on exactly one enemy: a Burrowbeast in 12-1, an Immortal Construct in 12-2, a Domovoy Sculptor in 12-3 — no adds, no waves, no second target. A creator writing up this rotation on HoYoLAB put the consequence bluntly: "Single-target damage is extremely recommended here because all first half only have a single boss. You dont need an AoE DPS at all."
If you are failing first halves, the usual cause is not your artifacts — it is a wide-hitting carry spreading damage across targets that do not exist, while the boss sits behind a gate only concentrated damage opens:
- The Chimeric Burrowbeast holds roughly 150% Electro RES and 130% RES to everything else while it is small, and only drops to 10% and 30% in its giant state. The swap is gated by the Electro bar under its health: 45 points, filling on its own at 1 per second, plus 2 more per Electro hit that lands. An Electro applier roughly triples the fill rate rather than being the only key — without one you sit out the full 45 seconds every cycle, and damage dealt before the swap is mostly wasted.
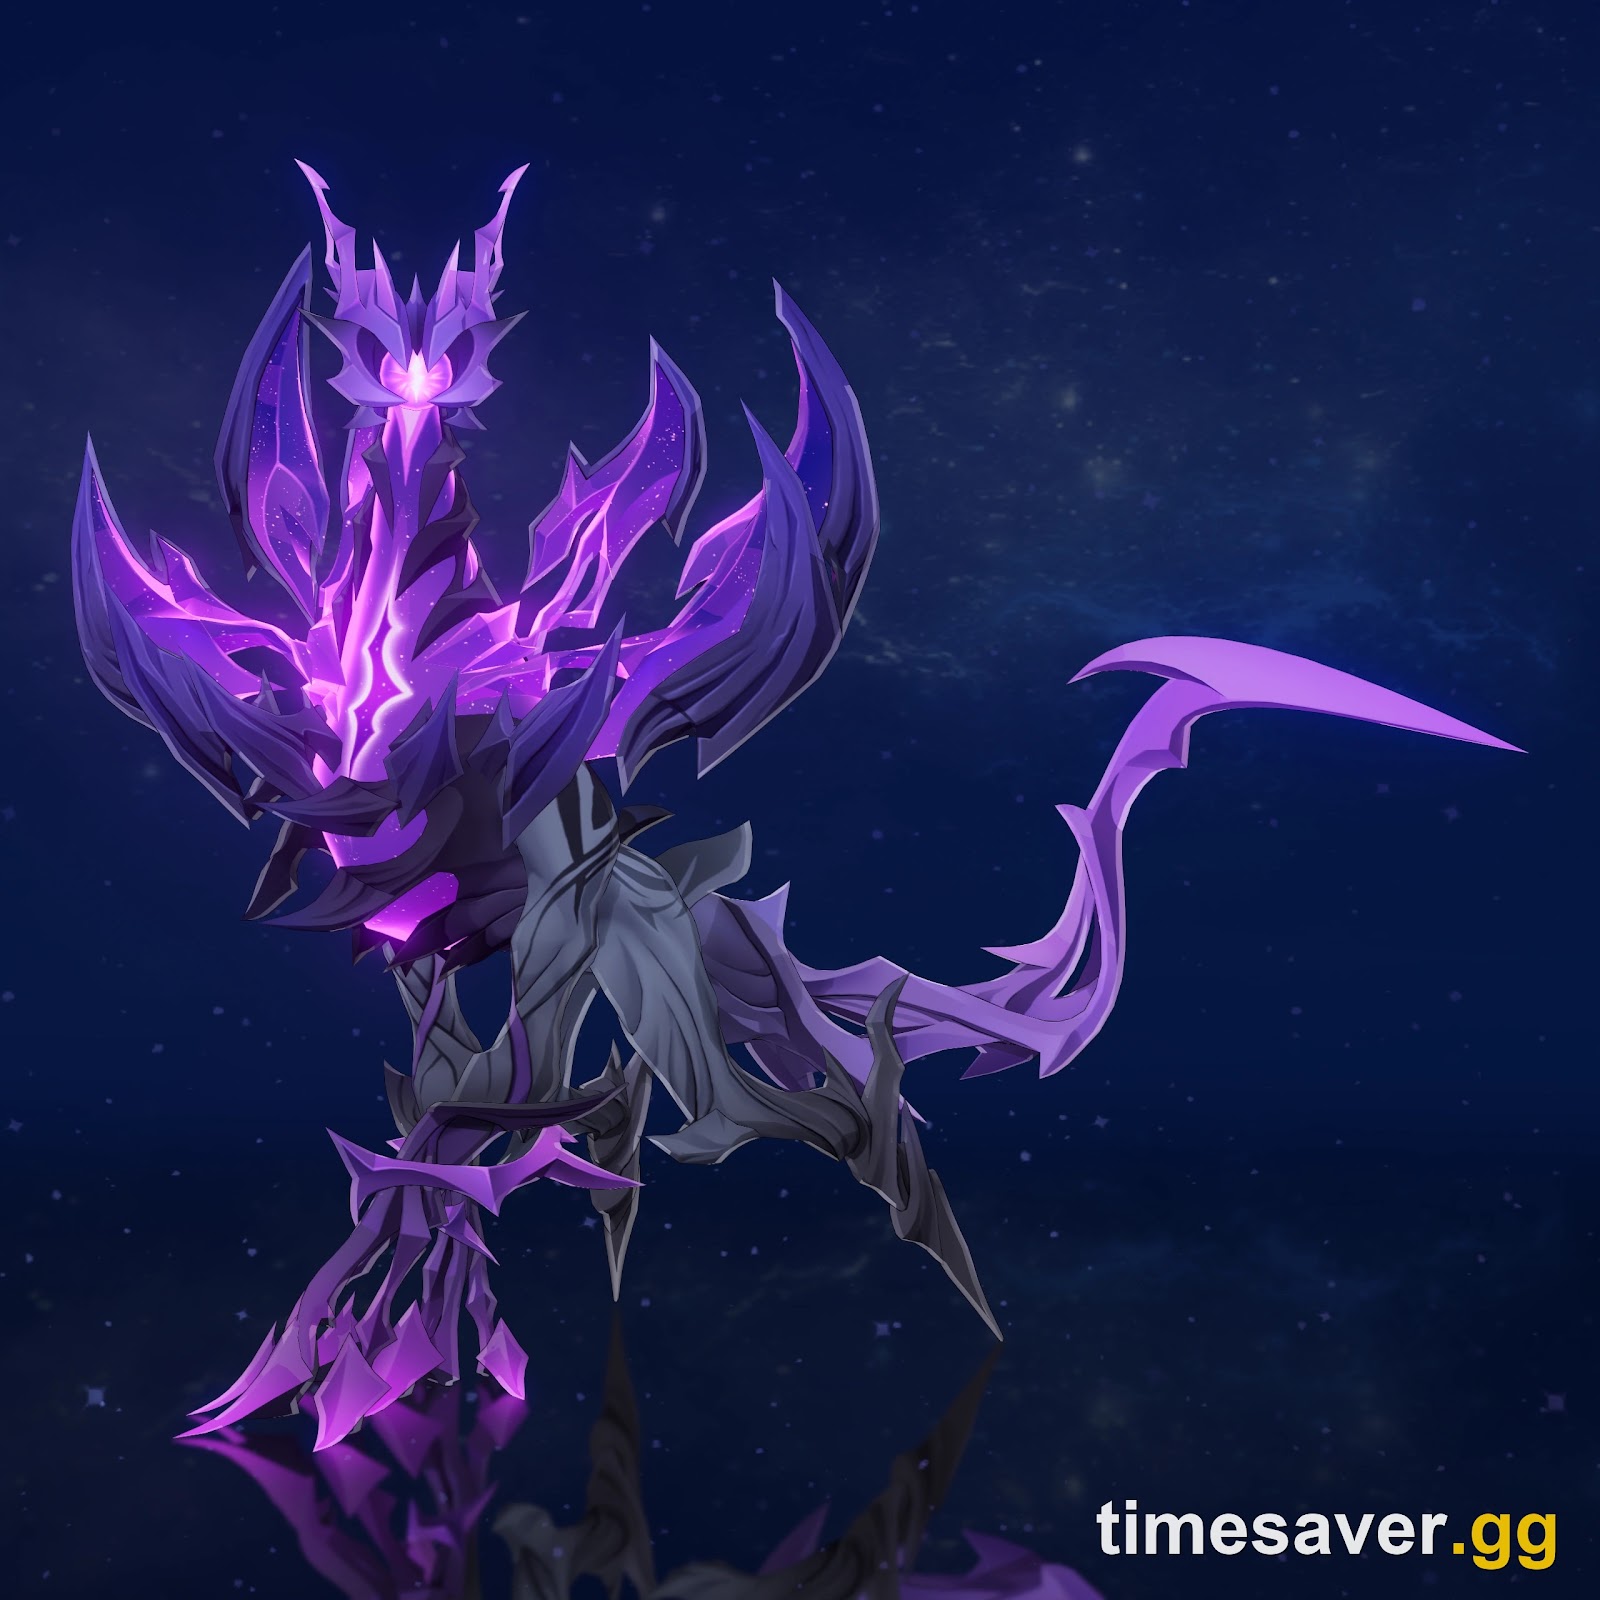
- The Immortal Construct carries 50% Pyro RES and loops back into a shield regeneration cycle. Ordinary damage strips the shield layers; Stellar damage is what stops the regen.
- The Domovoy Sculptor is the one that kills runs outright, because it carves ice blocks into Jack Frost statues while you fight it. Game8's warning about those statues is worth quoting exactly: "Be careful on going near them since these statues can potentially one shot your active character."
The pattern is the same in all three: a gate you open on purpose, then a window you dump into.
What are the star conditions and time limit on Floor 12?
Identical across all three chambers this cycle, and stated on the challenge screen as remaining time: ★ more than 180 seconds left · ★★ more than 300 seconds · ★★★ more than 420 seconds.
The chamber timer is 600 seconds, so three stars means clearing both halves in under three minutes — about ninety seconds per half, and the first halves are single bosses behind resistance gates, which is exactly where that budget gets eaten.
A full 9★ Floor 12 clear pays Mora ×60,000 and Primogems ×200 in Star's Bounty across the three chambers. One first-party change from the patch note also affects the grind either side of the spire: the Ley Line Domain Reliquary Tier I and Tier II artifact rewards on Floors 9–12 were swapped to Scarlet Proof and Heart of the Furnace this version.
Which teams clear Floor 12 in the September 2026 cycle?
The honest answer first: you do not need a Swirl team to clear this floor, and anyone telling you the Disorder is mandatory is overselling it. Game8's own assessment of the first half: "Because of the first half's enemy lineup and the Leyline Disorder, Stellar-Swirl teams are especially strong for this Chamber. Granted, the enemies are vulnerable to Stellar-Glimmer DMG in general, so even without using the Disorder, Stellar-Conduct is still a viable option." The same goes for the second half, where Lunar-Bloom and Lunar-Crystallize both stay viable even if you never build around the Disorder.
Working lineups for this rotation, first half:
- Mizuki / Odette / Cryo Traveler / Sucrose — the heaviest Swirl build and the only row without an Electro unit. It still fills the Burrowbeast's bar, from the passive tick and by swirling the boss's own Electro attacks back onto it, so 12-1 is slower for this row rather than closed to it.
- Sandrone / Odette / Qiqi / Yae Miko — Yae Miko supplies the Electro for the gauge, Qiqi covers 12-3 sustain
- Wriothesley / Nicole / Odette / Yae Miko — the most straightforward single-target boss-killer
Second half, where the Disorder has moved to Electro-Charged and Lunar-Charged:
- Flins / Columbina / Ineffa / Ororon — Hydro-plus-Electro uptime for the full 200% multiplier
- Nefer / Lauma / Columbina / Shinobu — Lunar-Bloom variant, for thin Electro-Charged rosters
- Zibai / Linnea / Illuga / Columbina — Lunar-Crystallize variant, more built-in survivability
Two build notes apply regardless of which row you pick. Put real Elemental Mastery on whoever triggers the buffed reaction — a 200% multiplier triggered by a 100 EM support is a fraction of the floor's ceiling. And do not skimp on healing in 12-3; a Jack Frost statue can break a shield and still one-shot the character behind it, so real sustain beats a shield-only comp.
If a chamber feels unreasonable, read the panel first. Every mechanic on this page is printed on the challenge screen before you press start, and most failed Floor 12 runs are a team-building problem the panel already warned you about.
When does this Floor 12 rotation end?
16 October 2026 at 03:59:59 server time. The new cycle — new enemies, new Disorder, new blessing — begins at 04:00 the same morning.
This is where a surprising number of pages are still wrong, including some updated recently. The Abyssal Moon Spire used to reset twice a month, on the 1st and the 16th, split into a Waxing Phase and a Waning Phase. The Genshin Impact Wiki records the change plainly: "The Abyssal Moon Spire will reset once a month, occurring on the 16th of each month, which will also cause a new period of Blessing of the Abyssal Moon to begin," and notes that the twice-monthly rewards schedule applied only "Prior to June 16th, 2024."
So, for this cycle:
- Nothing resets on 1 October 2026. Your stars, your clear, the enemy lineup and the blessing all survive it.
- Everything resets on 16 October 2026 at 04:00 server time.
- You have roughly three and a half weeks from today to bank this clear.
Version 7.1 arriving on 23 September does not change that. The update lands mid-cycle, and the wiki's rotation entry for this layout runs through 15 October with the next one dated 16 October — the same boundary, counted in whole days. The patch and the spire reset are on separate clocks, so your progress and this lineup both survive the 7.1 maintenance window.
A second cadence sits on top, and it is why Floor 12 is a repeat search while Floors 9 and 10 are not. Per the wiki: "The enemies on floors 9 and 10 generally change once every anniversary update (i.e. during Version X.0), while the enemies on floors 11 and 12 generally change once every version, taking effect after the Abyssal Moon Spire is reset within that version." That closing clause is the part that matters on 23 September: a new version does not swap the lineup on patch day, it swaps it at the next spire reset. The wiki's own rotation pages have in fact flagged Floors 11 and 12 as changed at every monthly reset this year — so Floors 9 and 10 are a one-time homework assignment, while Floor 12 is homework you get again every month.
Frequently Asked Questions
Does Spiral Abyss Floor 12 reset on the 1st of the month? No. The Abyssal Moon Spire has reset once a month, on the 16th only, since 16 June 2024. The twice-monthly Waxing and Waning phases were removed then. The current layout stands until 16 October 2026, 03:59:59 server time.
What Adventure Rank do I need for Floor 12? The Spiral Abyss unlocks at Adventure Rank 20 and the Abyssal Moon Spire opens once you clear all eight Abyss Corridor floors; Floor 12 has no separate AR gate beyond that. The chambers are Level 95, 98 and 100, so under Level 80 with unfinished talents the star timings will be the wall long before the mechanics are.
Do I have to use an Anemo character on Floor 12? No. The first-half Disorder and the Cascading Moon blessing both key off Swirl, so an Anemo unit built for Elemental Mastery is the highest-ceiling option — but Game8 notes the enemies are vulnerable to Stellar-Glimmer damage generally, so non-Swirl teams stay viable. The second half does not reward Anemo at all.
Why does the boss in 12-3 keep healing? When the Lightkeeper hits zero health it enters a Grief-Stricken state and then restores HP equal to whatever part of the bar you did not grey out — so the grey bar, not the health bar, is the one you have to empty. It also summons four Wilderness Exiles in its second phase and absorbs them if you leave them standing, which wipes your Grief-Stricken progress outright. Kill the Exiles as they appear rather than ignoring them to focus the boss.
Is Floor 12 harder than Floor 11 this cycle? Not necessarily. One HoYoLAB guide writer calls Floor 11's first chamber second half "the stage most people will find challenging (even harder than Floor 12)" this rotation, so confirm which floor is actually blocking you before rebuilding a Floor 12 team.
The short version
Floor 12 in the 16 September 2026 cycle is a single-target floor wearing a reaction-damage hat: the Disorder multiplies Swirl by 200% in the first half and Electro-Charged by 200% in the second, so build Elemental Mastery, not CRIT, and bring concentrated damage rather than AoE. The whole layout is yours until 16 October at 04:00 server time — not 1 October, whatever an older guide told you.