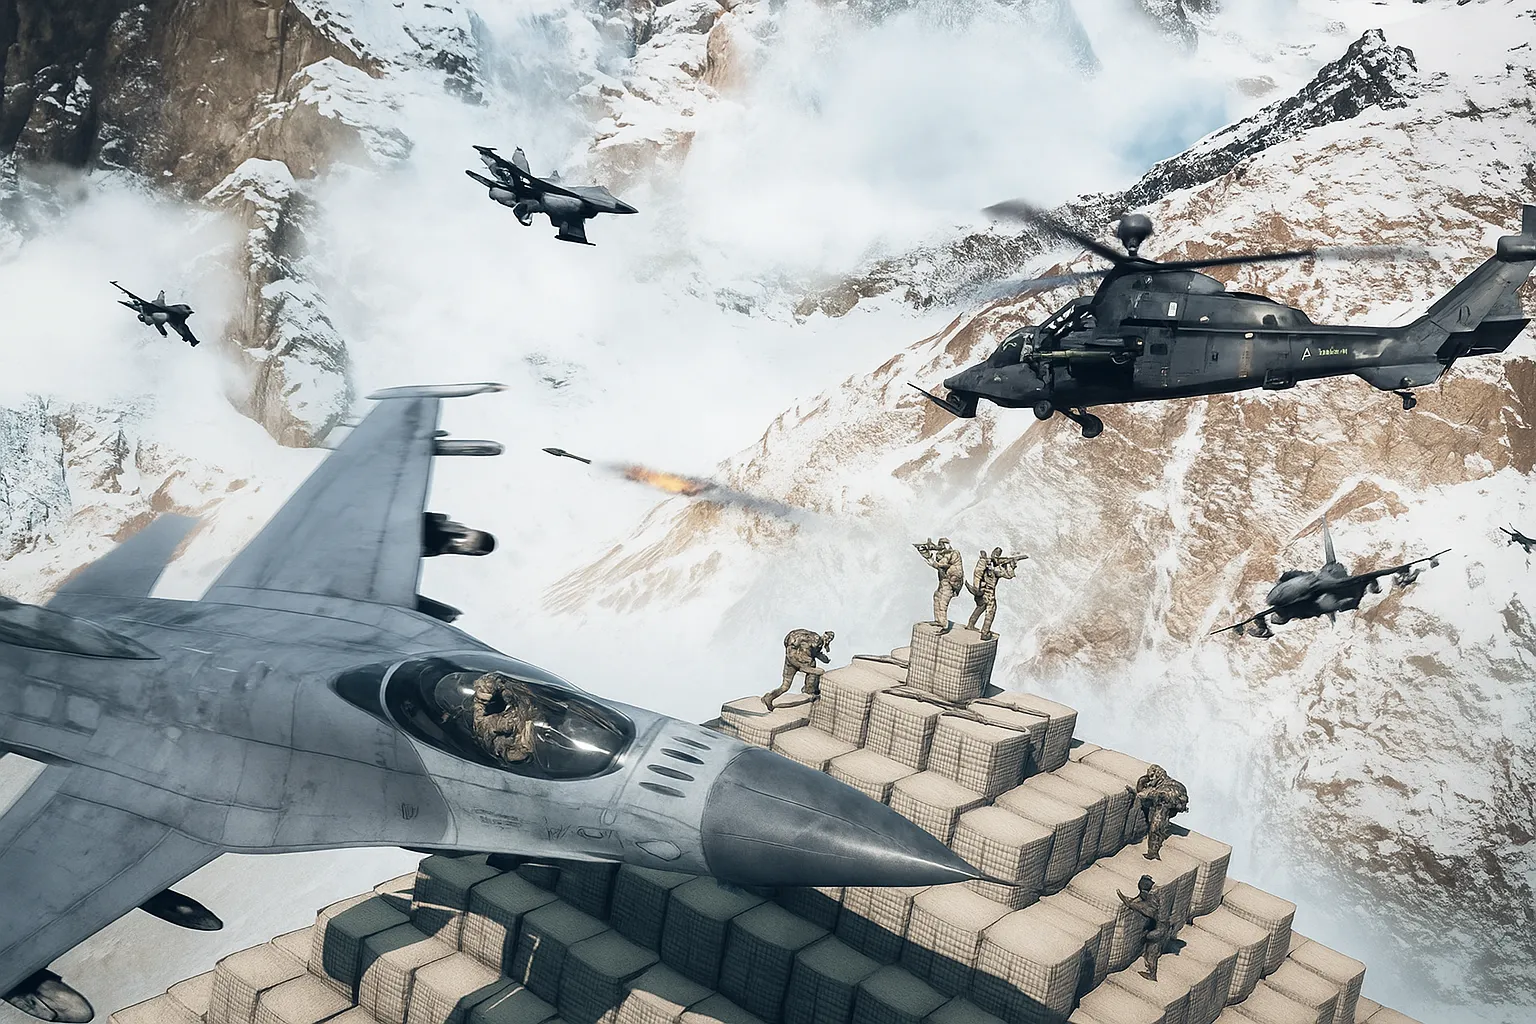
The fights are no longer defined by infantry alone. In Battlefield 6, vehicle control often determines which side holds the line, breaks through, or falls behind. The team that masters its tanks, jets, and transports controls the entire flow of the match. Here you'll learn about the best Battlefield 6 vehicle loadouts, how they work, and how to use them successfully.
How BF6 Vehicle Loadouts Work
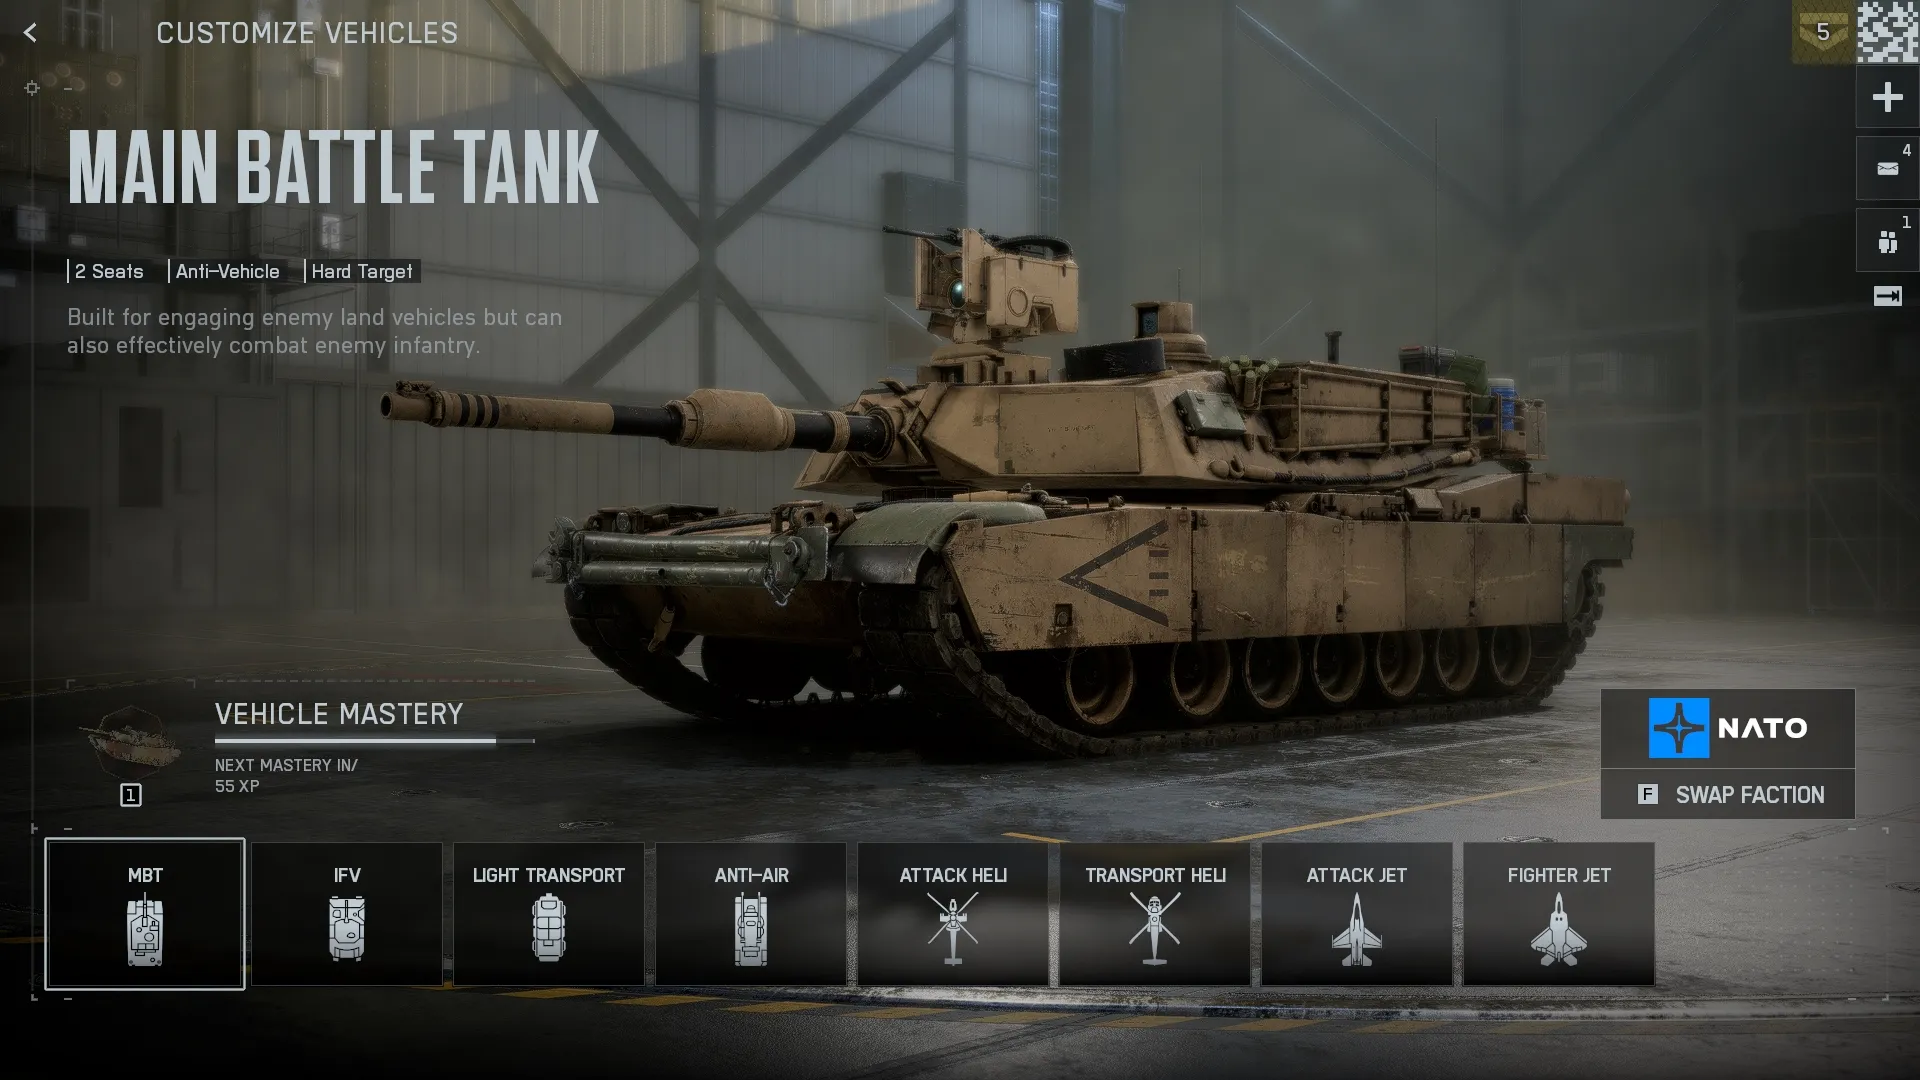
MBT Loadout Structure
Main battle tanks (MBTs) in Battlefield 6 rely on a dual-primary shell system. You can equip two types of main ammunition at once, such as HE Shell (High Explosive Shell), Multi-Purpose, or APFSDS rounds. Each has a role: HE is optimal for infantry and soft targets. Multi-Purpose balances armor penetration and splash, while APFSDS is strictly anti-armor with minimal area effect.
Secondary weapons for MBTs usually include HMGs or LMGs, used to support anti-personnel engagements. The choice depends on your ability to control recoil and your engagement range. LMGs are easier to handle up close, while HMGs offer power at range.
MBT Equipment and Upgrades
Essential equipment modules include Active Protection Systems (APS), Emergency Repair systems, Mine Countermeasures, and Thermal Smoke. APS can intercept incoming threats but may suffer from activation delay. Mine Countermeasures assist in team-based play by clearing paths. Emergency Repair grants survivability during critical phases.
Upgrades like Reinforced Plating or Enhanced Loading change how the tank performs under pressure. Plating increases durability. Enhanced Loading reduces reload times, allowing for more aggressive play. Optimized Handling is viable for mobility-centric roles.
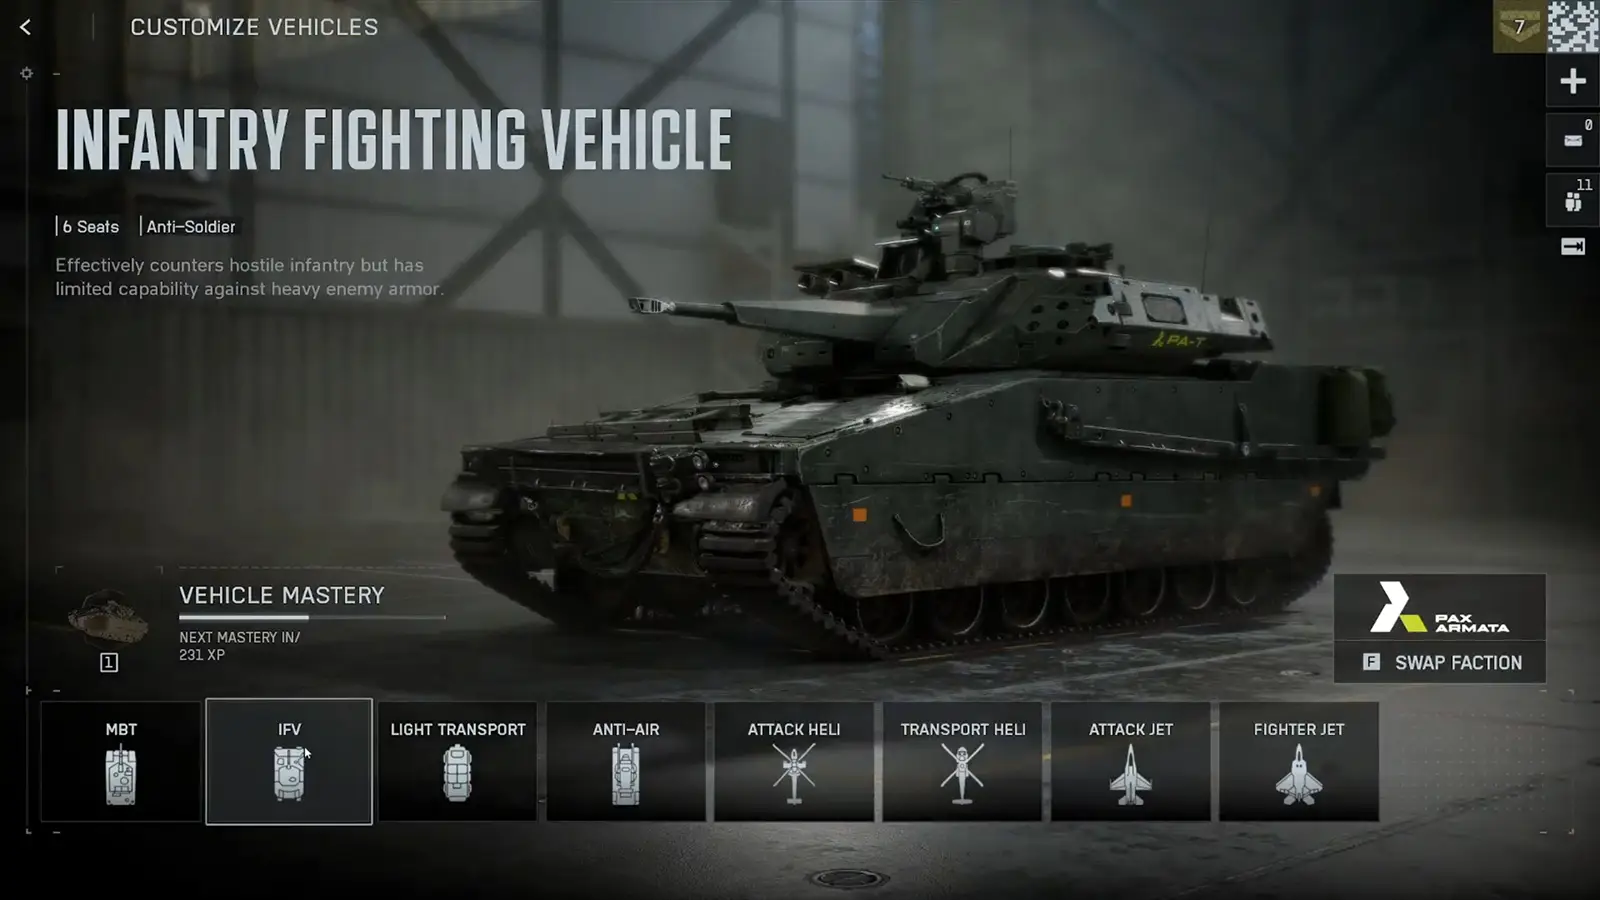
IFV Loadout Structure
IFVs use lighter armaments but are more flexible. Their primary weapons include: HE, Canister, and AP shells. HE is top-tier against infantry. Canister is effective in short-range bursts. AP helps in vehicle duels.
Secondary options include Aim‑Guided TOW missiles, Lock‑On Rockets, and unguided Light Rockets. TOW missiles offer long-range anti-vehicle control, while Light Rockets excel at infantry farming in dense urban areas.
IFV Equipment and Upgrades
Equipment slots allow for combinations like Emergency Repair with Thermal Blocking (IR Smoke) or a radar-based build with Counter-fire Radar and Proximity Threat Detector. Each combo suits a specific tactical need.
Upgrades like Systems Upgrade reduce ability cooldowns, while Targeting Jammer hides your presence from detection systems. These choices allow for aggressive or stealth-based approaches depending on your preferred playstyle.
Air Loadouts and Restrictions
Helicopters and jets operate under a modular system as well. Heavy Rockets deal significant damage to ground targets. Light Rockets favor rapid firing. Aim‑Guided weapons require line-of-sight aiming and work best against soft targets. TOW missiles on helicopters reward pilots with tracking skill.
Attack jets typically equip bombs or AGM missiles for anti-ground runs. However, full air-to-air (A2A) customization is limited. Fighter jets lean toward mobility, using miniguns and speed rather than missiles. Jet loadouts are currently somewhat restricted due to balancing issues.
Best Settings & Control Tweaks
Ground Vehicle Settings
- Field of View: Increase the third-person field of view to its maximum for better peripheral awareness in dense combat zones.
- Keybinds: Adjust your controls to enable instant switching between shell types and camera views.
- Visuals: Reduce the overall brightness slightly to help enemies stand out better in low-light situations.
Air Vehicle Settings
- Sensitivity: Max out your pitch and yaw settings for tighter, more responsive control.
- Boost Function: Set your boost to "hold" rather than "toggle" for smoother throttle management.
- Jet Controls: Assign "pitch-up" to the spacebar to enable precise feathering during sharp turns.
- Helicopter Controls: Use mouse input for yaw and keyboard keys for roll to achieve more stable flight.
Meta Tank Loadouts
Core Loadout Philosophy
The default recommendation for MBTs is to use Multi-Purpose shells for their flexibility against both infantry and vehicles. HE shells complement this setup by providing strong splash damage, making them ideal for clearing points or infantry hiding in cover.
In maps where aerial threats are more prominent, consider swapping one shell for an Aim‑Guided variant. This can deter or eliminate helicopters hovering at mid-distance. Weapon handling plays a key role in this strategy, so pair with an HMG if you can manage recoil, or an LMG for easier use.
Equipment and Upgrades for Tanks
APS remains a top pick due to its ability to block high-damage threats. Despite activation delay, it's often the difference between survival and death. For your secondary equipment, Mine Countermeasures are strong in team-based pushes, particularly when operated by a coordinated gunner.
Reinforced Plating increases resistance to explosive damage. Enhanced Loading is ideal for players who frequently engage armor. Optimized Handling should be reserved for fast-movement builds in flanking roles.
Role-Based Tank Builds
In a Breakthrough Anchor role, focus on durability. Use HE shells to suppress infantry near objectives. Equip Plating and APS to sustain prolonged firefights. HMGs are useful here to cover wide lanes and elevation.
For a Flanking Punisher approach, mobility and burst potential are essential. Multi-Purpose shells with Aim‑Guided support allow for takedowns of both tanks and helicopters. Pair with Enhanced Loading to maximize damage output and rotate aggressively around enemy positions.
Meta IFV Loadouts
Core Loadout Philosophy
HE remains the top shell for IFVs in most environments, especially for infantry-rich scenarios. When your team lacks anti-armor capabilities, consider swapping to AP rounds to support in armor duels.
Secondary loadout choices depend on terrain. Aim‑Guided TOW Missiles offer universal engagement capabilities. Lock‑On Rockets options are easier to use but easier to counter. Light Rockets are optimal in close-quarters maps.
Equipment and Upgrades for IFVs
Thermal Blocking is essential when facing guided threats. Emergency Repair provides a safety net when under pressure. In public matches, Proximity Threat Detection is valuable for avoiding ambushes, while Counter-fire Radar gives advanced warning against RPG users.
Upgrades should reflect your squad role. Systems Upgrade is good for ability spam. Targeting Jammer works well against recon-heavy teams. Choose based on threat composition.
Role-Based IFV Builds
Urban Sweep IFVs prioritize fast, short pushes. HE shells and Light Rockets let you clear buildings rapidly. Use Systems Upgrade and Proximity Detector for high-tempo aggression, retreating after 10–15 seconds of engagement.
Hybrid Hunter IFVs work as all-rounders. Combining HE with TOW missiles, and adding Thermal Blocking plus Targeting Jammer, allows contesting both tanks and helis while avoiding overexposure.
Common IFV Mistakes
- Overextending without support.
- Using AP rounds when no enemy armor is present.
- Not using IR Smoke when under lock-on.
- Holding secondary missiles too long instead of cycling.
- Neglecting cooldown management on abilities.
- Staying static for too long, making yourself an easy target.
Air Meta: Helicopters & Jets
Attack Helicopter
Heavy Rockets remain the go-to primary weapon for attack helicopters, delivering high burst damage against infantry and light vehicles. Aim‑Guided rockets require practice due to their aim-from-reticle mechanic but reward precision when engaging moving targets. TOW missiles add long-range threat potential when piloted skillfully.
For secondary options, AA missiles are useful only in lobbies with active air combat. Otherwise, they go unused. Emergency Repair is a must-have in nearly every scenario. Improved Armor helps absorb chip damage from small arms, while Heavy Warheads or Targeting Interference offer conditional boosts to lethality or survivability.
Transport Helicopter
This vehicle fills a mobility and spawn-role support function. While its weapon options are limited, positioning under rooftops or natural cover allows gunners to perform optimally. Coordinate with squadmates to ensure it remains in motion and doesn't become an easy lock-on target.
Attack Jet
Attack jets thrive with a loadout of AGM missiles and bomb payloads. Flying low and slow allows accurate bombing runs, but it requires precise control. Planning a loop back to the airfield for rearming after each strike is essential for sustainability.
Fighter Jet
Fighter jets are most effective against enemy helicopters and unprotected air targets. Use the minigun and mobility to break from enemy sightlines. Feathering the airbrake and pitching up with high sensitivity bindings allows tight turns. Keep in mind that air-to-air lock-ons remain inconsistent, and dogfighting relies more on movement than missiles.
Counterplay & Mobile AA
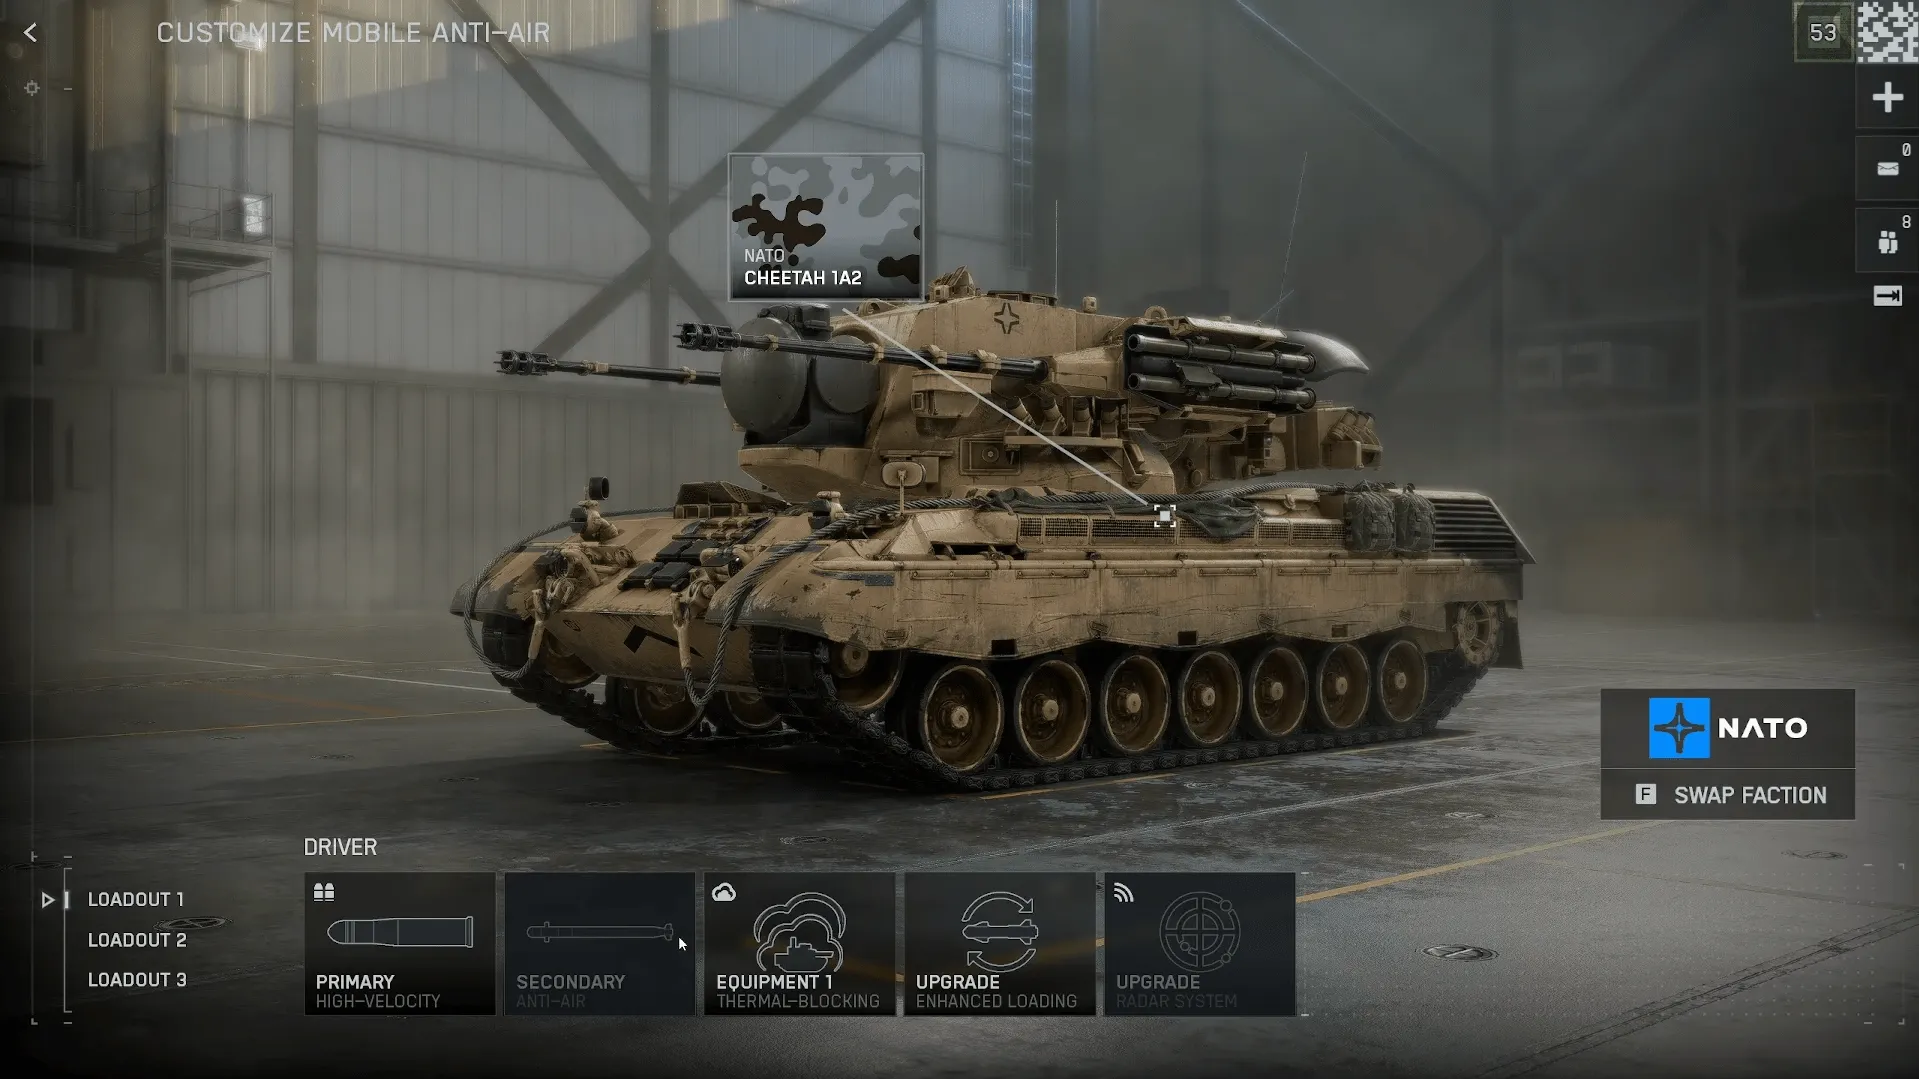
Loadout Variants for Mobile AA
Mobile anti-air (MAA) units in Battlefield 6 come with three shell types: Multi-Purpose, High Velocity, and Anti-Armor. Each has different velocity and tracking properties. High Velocity shells are currently the best for engaging helicopters and jets. Anti-Armor performs better against vehicles but lacks projectile speed.
A solid starting build uses High Velocity with Enhanced Loading to maximize damage per engagement window. Thermal Blocking adds lock-on resistance, while Targeting Jammer or Optimized Handling round out your defense or mobility depending on your role.
Effective Air Denial Tactics
To reliably shoot down air targets, follow these principles:
- Aim ahead of the target, not directly at it.
- Use short bursts to stay accurate.
- Maintain altitude parity for better hit chances.
- Avoid firing into flares.
- Choose positions near airfields to intercept runs.
- Use cover to avoid counter-fire.
If you're facing:
- Helicopters: Use High Velocity at medium range and burst fire as they hover.
- Fighter Jets: Hold fire until they commit to a pass, then lead with bursts.
- Bombers: Engage early and force them to retreat before payload drop.
Positioning, Repairs & Team Synergy
Ground Vehicle Tactics
Effective tank and IFV gameplay starts with smart positioning. Play from mid to long range when possible. Let infantry enter buildings and clear upper floors before advancing. And remember, vehicles should never outpace the front line.
In case of damage, withdraw cautiously, keeping your front towards the threat. Never abandon your vehicle during combat unless it's a last resort, as it may be recoverable. Only initiate repairs once you have reached friendly lines.
Engineer Support and Map Strategy
Coordinate with engineers for ammo and repairs. Communicate when you're pushing so they can time APS or smoke deployments. On many maps, the tank serves as an anchor while the IFV clears or flanks ahead. Urban maps favor tight, predictable lanes and vertical pressure. Open maps reward long sightlines and use of elevation. Recognizing these patterns helps avoid overcommitting into ambushes.
Check out our top Battlefield 6 boosting services

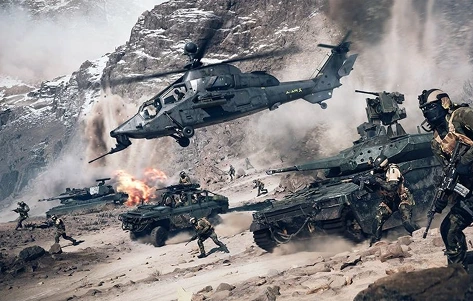

Steel in Motion
Vehicles in Battlefield 6 serve as force multipliers and tools of precision that, when used wisely, dictate the tempo of an entire match. A finely tuned loadout on a tank or helicopter can become the cornerstone of map control. Individual stats are secondary to the strategic power you unlock when your role, equipment, and team work together seamlessly. Understand the systems, move with intention, and show your squad you're the driving force behind progress.
FAQ
What are the best Battlefield 6 vehicle loadouts for holding objectives on urban maps?
Use HE-equipped tanks with Plating and APS. Add LMG or HMG for suppression and stay near cover.
Which Battlefield 6 vehicle meta loadouts counter heavy armor and attackers reliably?
Choose Multi-Purpose with APFSDS or Aim‑Guided support, Reinforced Plating, and Mine Countermeasures.
How do I adjust my loadout for long ranges without losing close-quarters mobility?
Use Multi-Purpose or HE shells with Enhanced Loading and mobile upgrades. Pair with IR Smoke to disengage fast.