Battlefield 6 vehicles are essential for controlling the map, influencing the outcome, and achieving a high rank. With such a wide variety of options, it's important to be able to choose the right one for every situation. This tier list ranks the best tanks, jets, and helicopters across Conquest, Breakthrough, and Escalation, factoring in power, survivability, mobility, and team value. We also consider ease of use and real-world performance on live servers.
How Vehicles Work in Battlefield 6
Vehicles in Battlefield 6 give your team speed, firepower, and a way to control the map. Each type has its own role, strengths, and counters. Beyond aim, success lies in timing and teamwork.
- Main Battle Tanks hold key areas and push frontlines.
- IFVs support infantry and apply pressure on flanks.
- Attack Helicopters strike fast and break enemy positions.
- Mobile AA defends against air threats and protects armor.
- Jets secure the skies and disrupt enemy vehicles.
- Light transports help squads rotate and reach key points early.
- Transport helicopters move full squads quickly and safely.
Each vehicle in Battlefield 6 has a unique loadout, spawn time, and best-use scenario. Ground vehicles can be customized for different tasks, while aircraft have preset weapons. Remember, vehicles are for helping the team out, not just for getting kills. If you use them at the right time, they can totally help you.
Quick BF6 Vehicle Tier List
| Tier | Vehicles | Why |
| S | Attack Helicopters, Mobile Anti-Air, Attack Jets | Area denial and strike tempo |
| A | Main Battle Tanks, Infantry Fighting Vehicles, Fighter Jets | Objective control and counters |
| B | Light Ground Vehicles | Rotation and early pressure |
| C | Transport Helicopter, Quadbike | Situational mobility and spawn value |
S-Tier Vehicles
Attack Helicopters: M77E Falchion / Panthera KHT
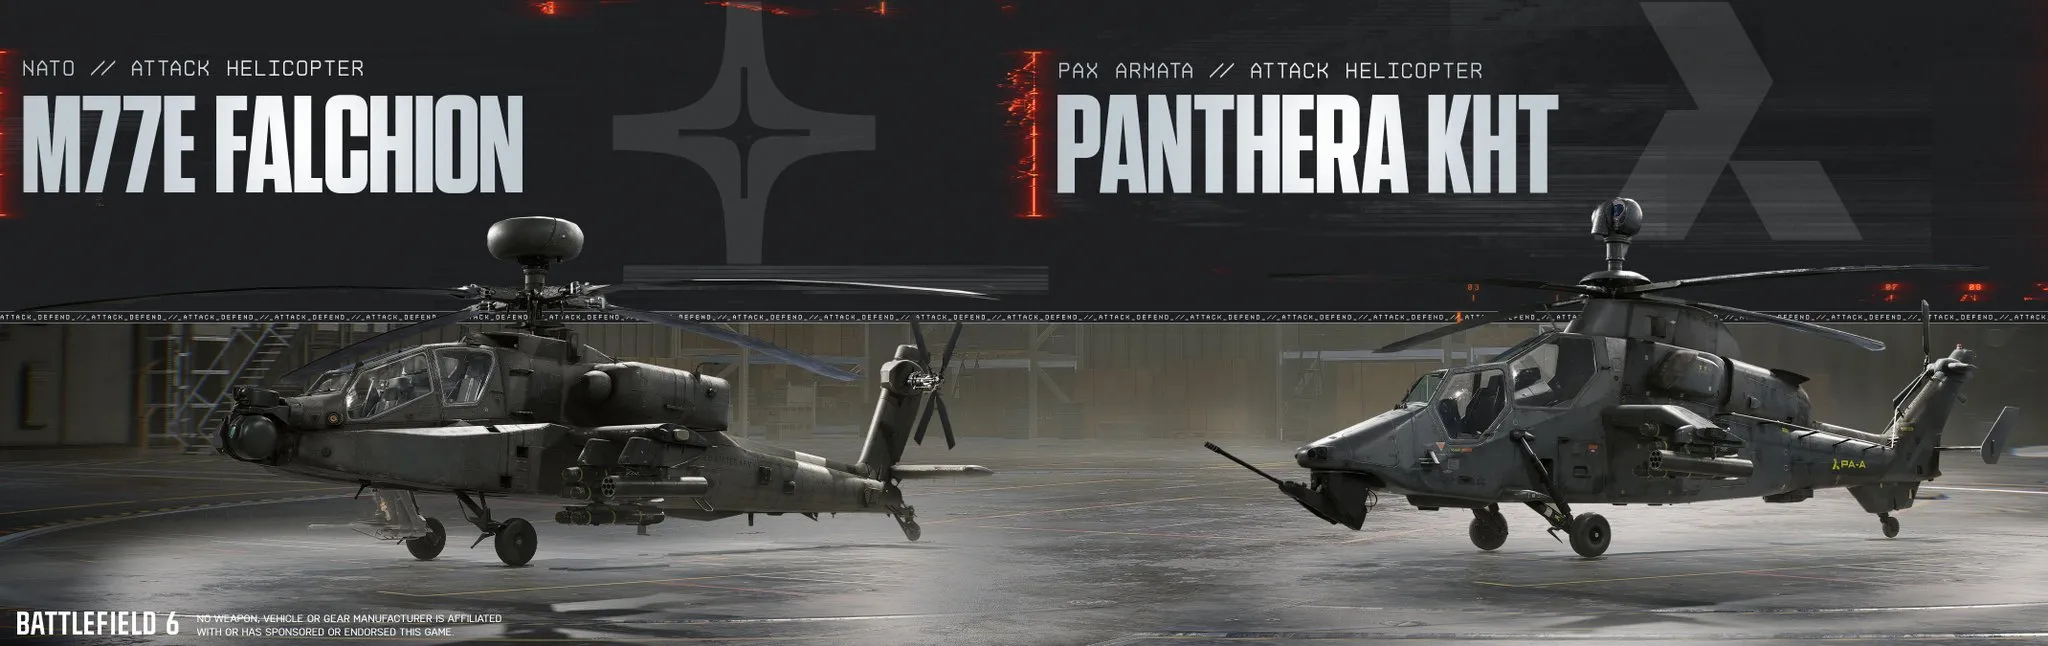
Attack helicopters are extremely powerful. They can quickly engage multiple targets, destroy armored vehicles with guided missiles, and defend themselves against enemy aircraft. Teams without anti-air defenses are very vulnerable to them, and they can easily eliminate infantry on open ground.
- Best loadouts: Heavy Rockets for primary, with either Aim-Guided or Anti-Air missiles. Emergency Repair is a must-pick to survive bad angles or tailspins. These picks dominate meta guides and scale well across all map sizes.
- Hard counters: Mobile AA, fighter heatseekers, and coordinated infantry locks will punish greedy hover time. So pilots should minimize exposure, use terrain and smoke to break line of sight, and vary approach angles to avoid autocannon tracking.
Their primary role is close air support. Use the terrain to get close, fire rockets quickly, and then break away before the enemy can lock on. A pilot-gunner duo that communicates over altitude and flanks can make flags unsafe to contest.
Mobile Anti-Air: Cheetah 1A2 / GE-26 PAX
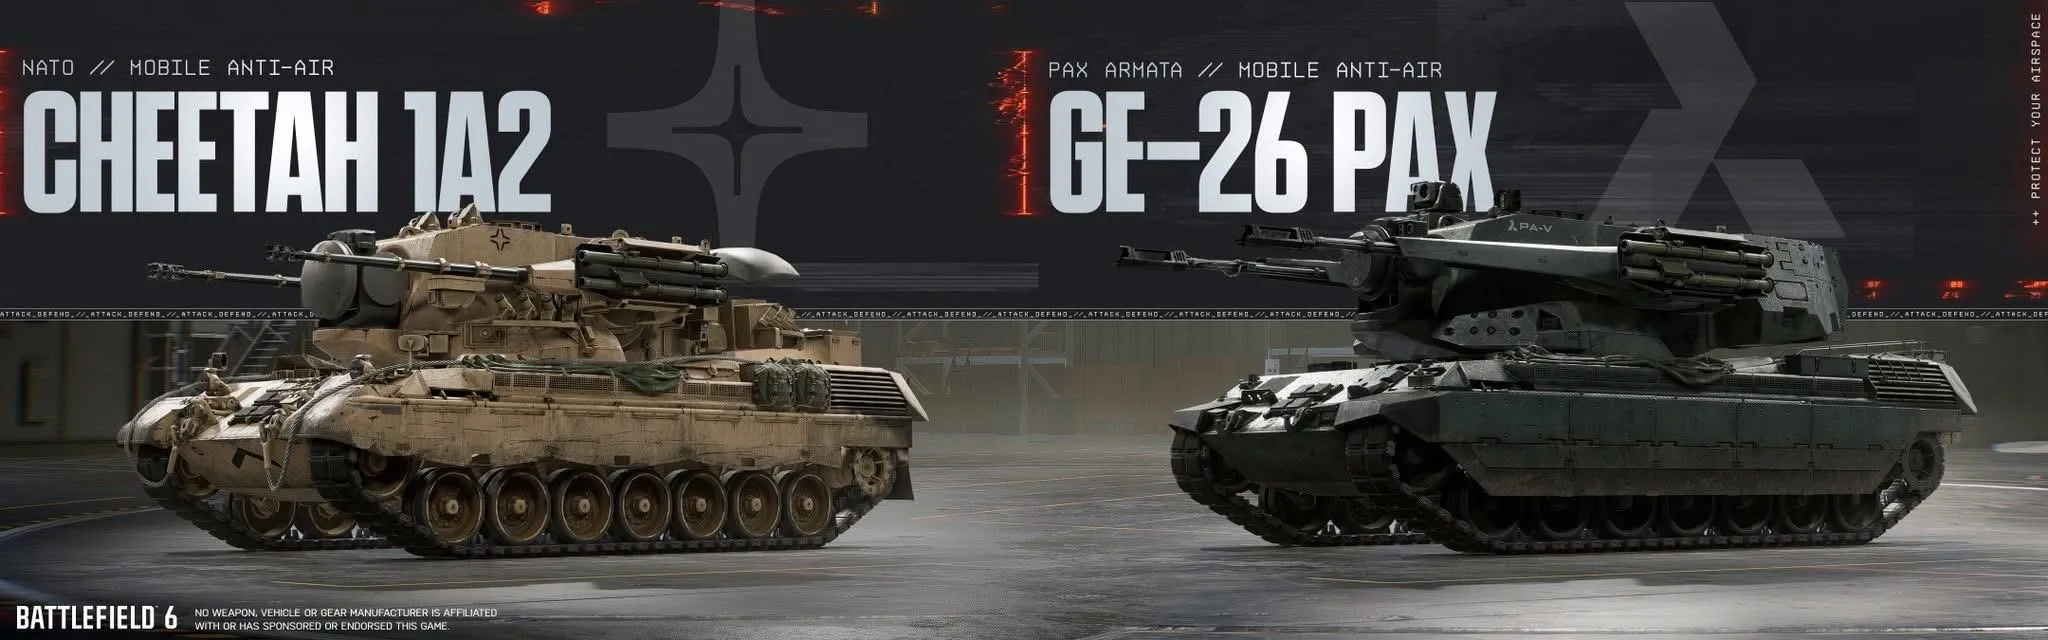
Mobile AA is the most reliable way to control the sky. It protects your armor, shuts down helis and jets, and locks airspace so your team can move freely. One well-placed MAA near an objective can completely deny enemy air control.
- Positioning: Stay close to armor or infantry. Pick sightlines that cover common flight paths and predicted exit routes after flare pops. High-velocity shells and Thermal-Blocking Smoke are top picks for survivability.
- Counters: Tanks or IFVs can force you to move, and smoke spam plus terrain can block locks. If enemy helis and jets dive in together at low altitude, they can burst down a solo MAA caught out of position.
Attack Jets: F-61V / F-39E
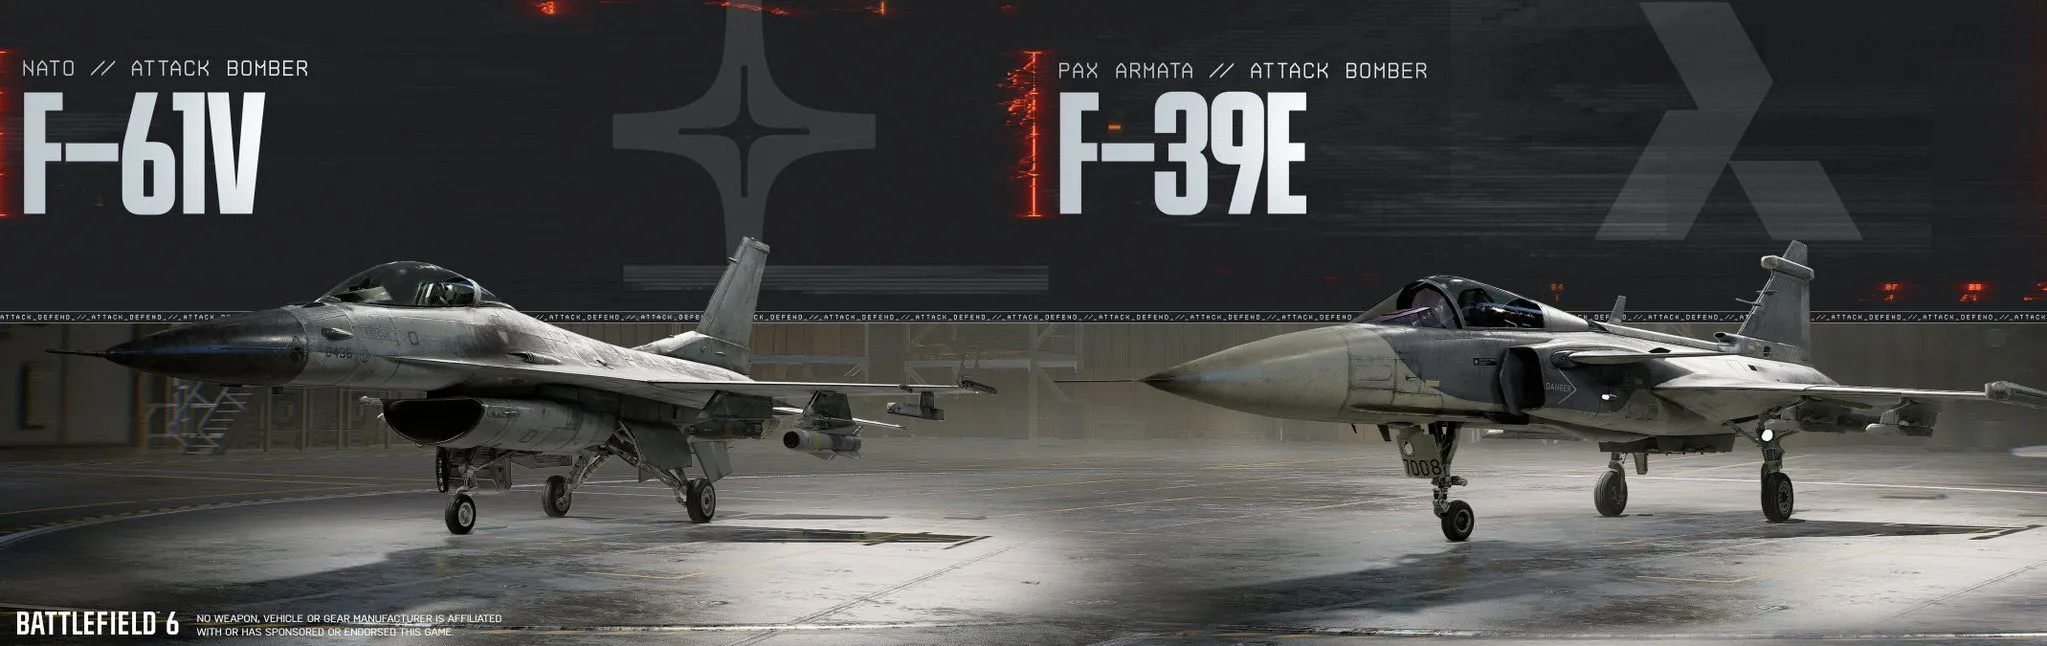
Attack jets deliver power fast. They race from spawn, drop heavy ordnance on tanks or clusters, and reset before AA can respond. Used well, they stop pushes cold and force ground vehicles off open lanes.
- How to use them: Watch the timing. Strike when AA is distracted or rotating. Flare, dive out, re-enter from a new angle. Never fight AA head-on. When enemy helis pull eyes upward or fighters peel MAA away, that's your moment.
- Limitations: Even the best attack jets will struggle against teams that layer MAA and fighter escorts. Patience matters more than just flying skill.
A-Tier Vehicles
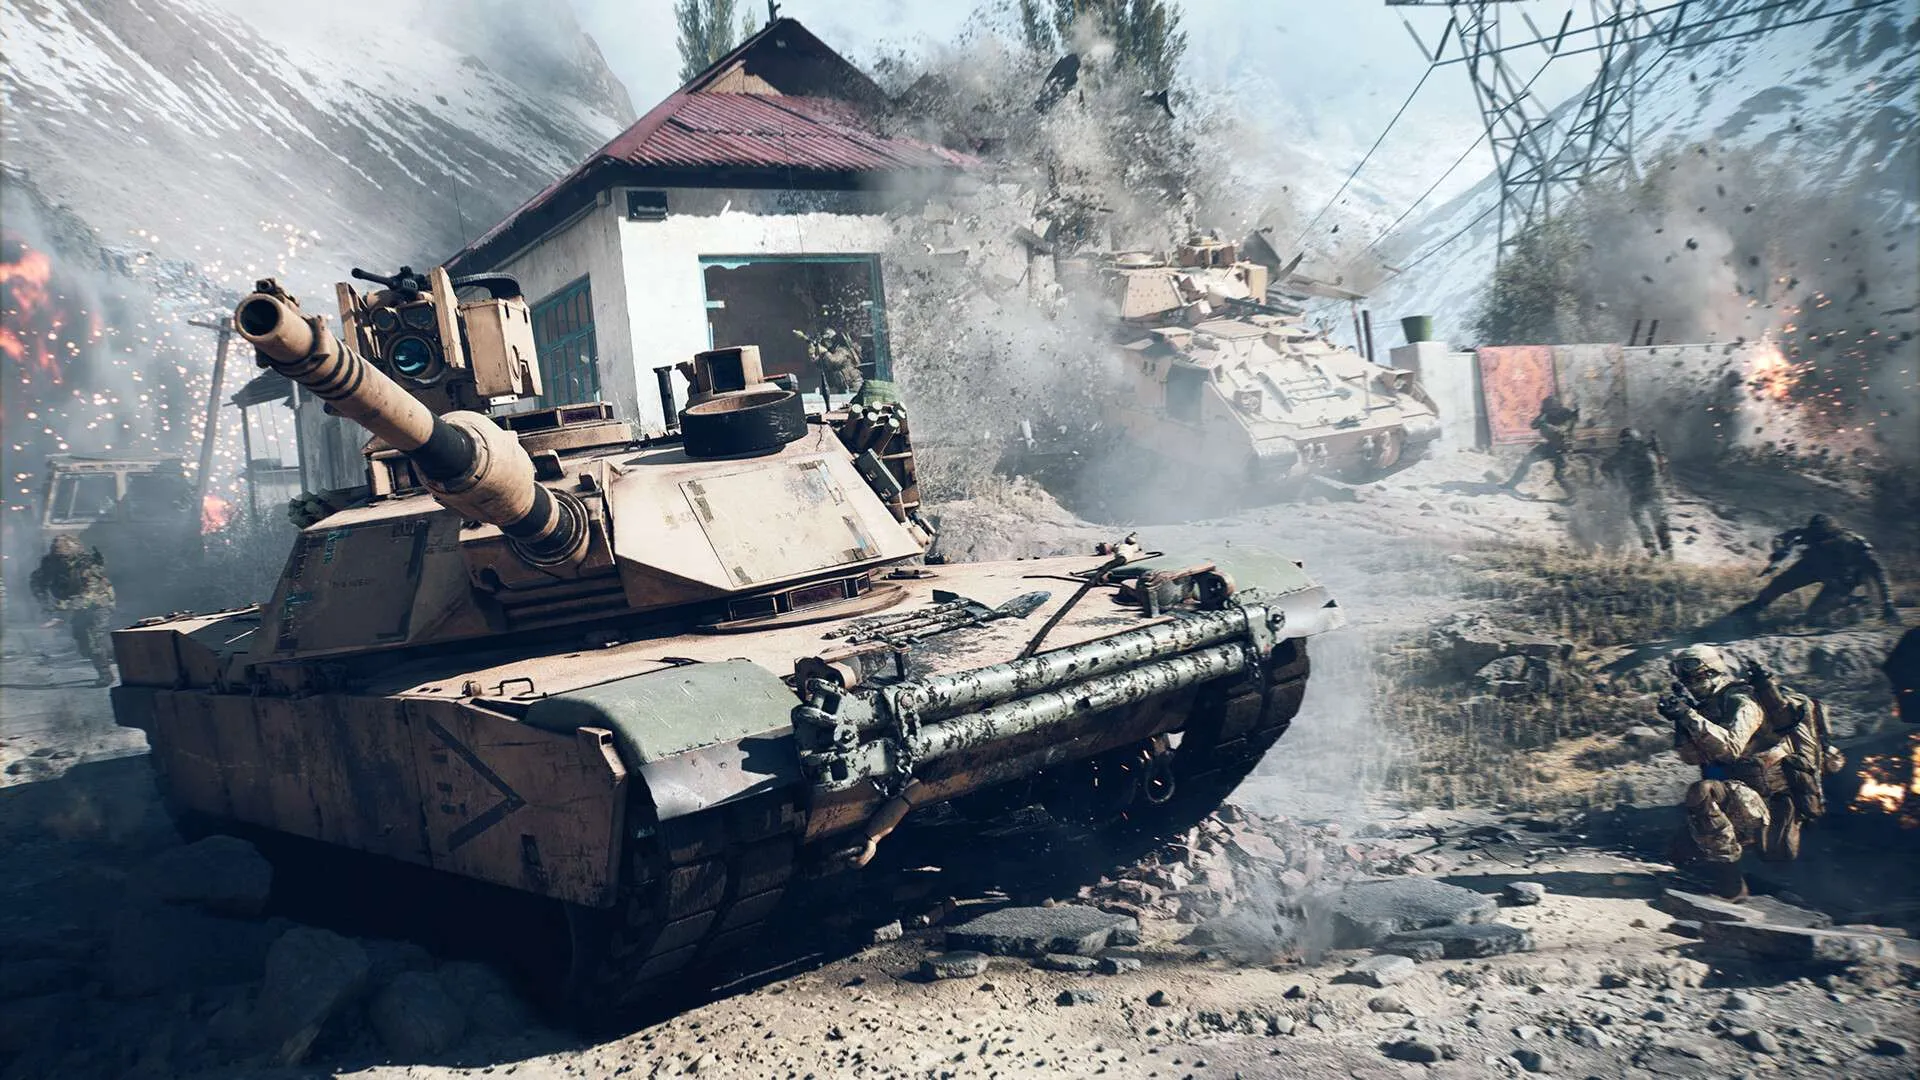
Main Battle Tanks: M1A2 SEPV3 / LEO A4
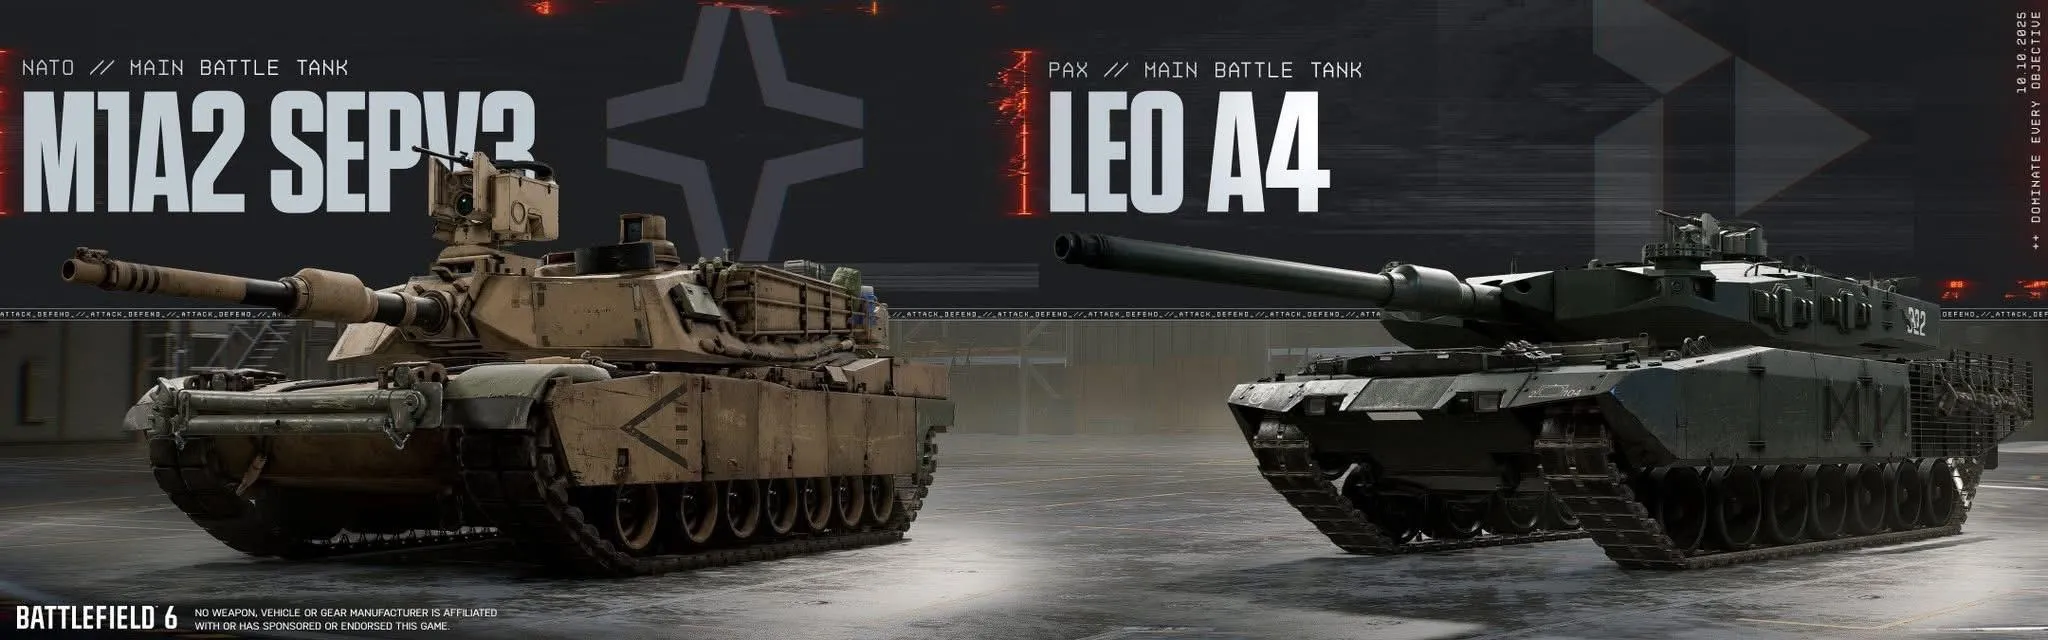
MBTs serve as frontline anchors. They bring heavy armor, powerful cannons, and flexible upgrades that let you tune for anti-infantry, anti-vehicle, or a hybrid role. In supported pushes, they control sightlines and dominate flags, especially in urban zones where air threats are limited. With repairs and infantry around, an MBT can lock down critical ground.
Recommended loadout:
- High Explosive for splash or AP for tank duels.
- Aim-Guided or Coax HMG as secondary.
- Defensive picks like Projectile Intercept or Thermal-Blocking.
- Reinforced Plating for extra time to reposition after the first hit.
MBTs are vulnerable when exposed. Mobile AA, attack helis, and infantry with AT tools can chip them down from multiple angles. Keep moving and avoid open plateaus.
Infantry Fighting Vehicles: M3A3 Bradley / STRF 09 A4
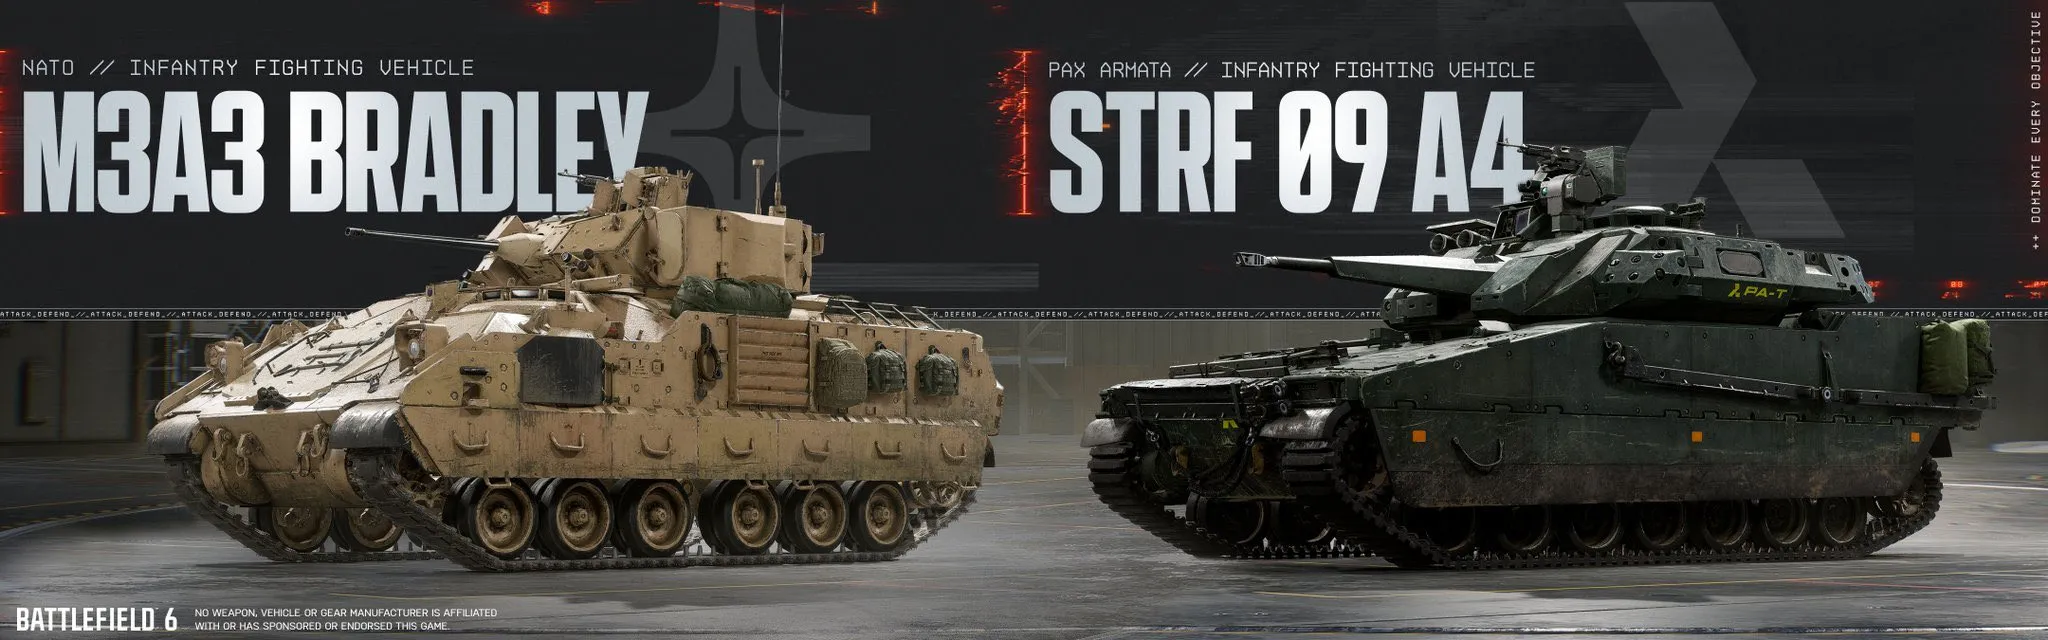
IFVs are fast and flexible support vehicles. They carry passengers, pressure flags, and harass both infantry and light armor. They shine in hit-and-run tactics and quick squad inserts behind cover. While they lose straight fights to MBTs, they win through movement and utility.
Recommended loadout:
- AP shells to poke vehicles.
- Lock-Guided missiles to punish overextending armor.
- Thermal-Blocking smoke and Counter-Fire Radar to escape ambushes.
Fighter Jets: F-97 Kestrel / SU-57
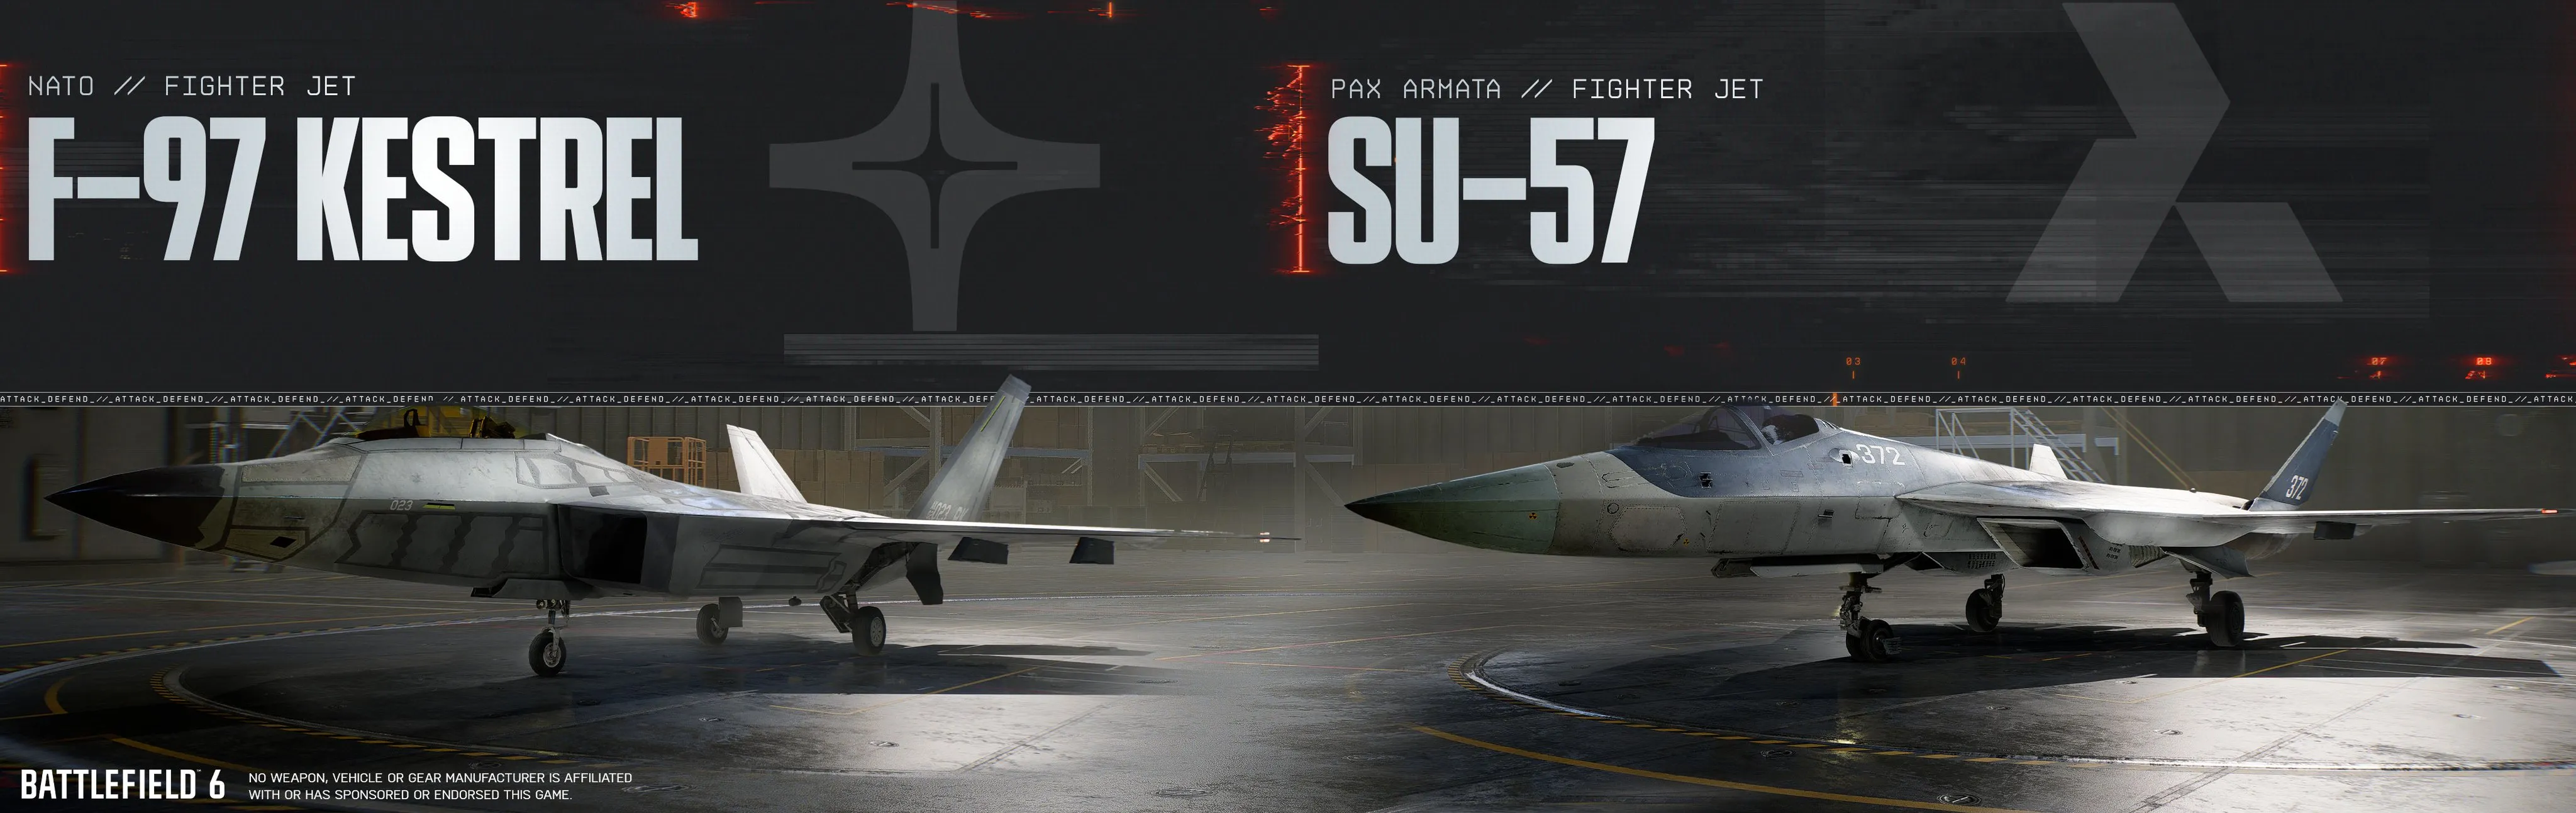
Fighters' main job is air control, clearing enemy helis and intercepting jets before they disrupt your team. They are not as strong at ground damage, and the skill floor is high, but a capable fighter pilot can keep your attack heli or strike jet operational for the entire game.
Tactics:
- Use altitude discipline and speed to control fights.
- Bait locks and break line of sight with flares and terrain.
- Time your engages to open a window for your air team.
B-Tier Vehicles
Light Ground Transports: Glider 96 / Vector
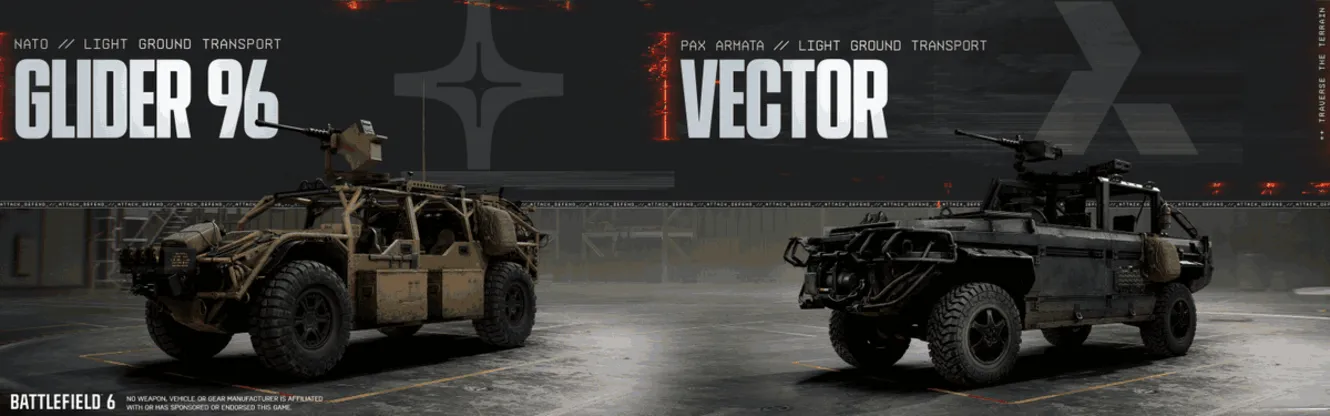
Light transports allow squads to flank, back-cap, or get boots on the ground before armor rolls out. These vehicles are fragile and don't scale well once AA and explosives saturate the field.
How to use them:
- Push into open ground before heavy vehicles arrive.
- Use gunners for suppression while dismounting.
- Abandon the vehicle when it's no longer safe or useful.
C-Tier Vehicles
Transport Helicopter: UH-79
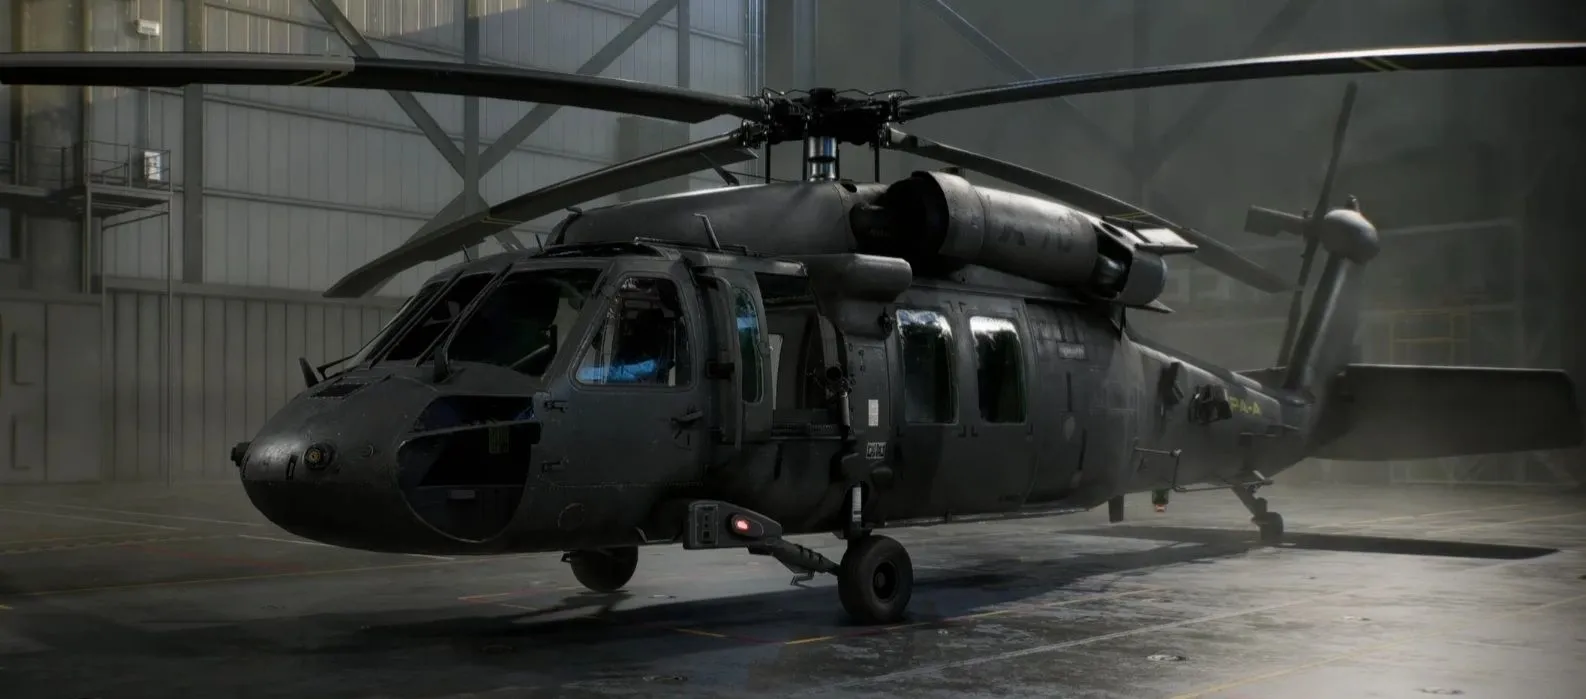
This heli exists for spawn utility and squad insertions. Its miniguns can push off solo threats, but the large frame makes it easy prey for Mobile AA and lock-ons.
Tactics:
- Early flag rushes on large maps.
- Fast full-squad drops behind enemy lines.
- Emergency redeploy when no beacons are up.
Use it early to set up positioning or long-distance redeploys. Once the air war heats up, swap to something more durable.
Quadbike: Rugged MV740
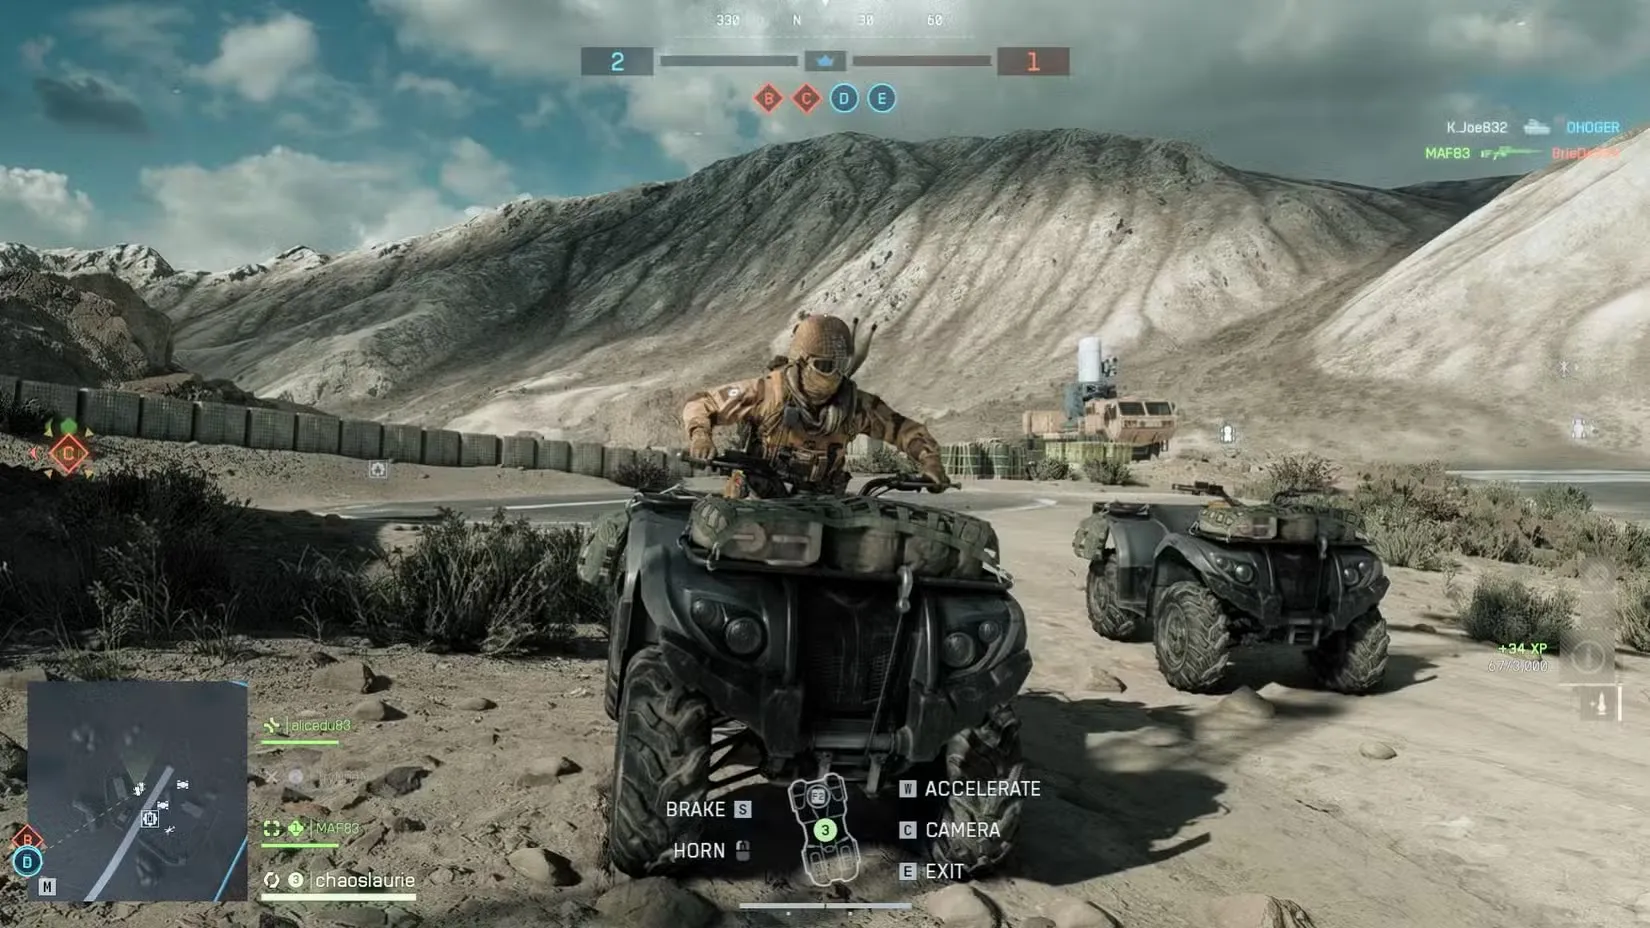
The quadbike is all about speed. It lets players pull off fast rotations or solo caps, especially on wide maps with distant flags.
Best use cases:
- Back-cap runs at match start.
- Flank rotations through open terrain.
- Repositioning when all other spawns are down.
It offers no protection and minimal utility beyond movement. Most of the time, you will want to abandon it after arrival.
Counters to S‑Tier
- Versus Attack Helicopters: Deploy a Mobile AA near your ground team and ask a fighter jet to orbit overhead. Use engineers with lock‑ons to force the heli to burn flares then hit it when it exits. Smoke breaks line of sight and denies tracking. Stay near your squad to avoid the heli lone hunting you.
- Versus MBTs from A‑Tier: Vehicles die to multi‑angle pressure. Attack sides or rear when you can. Deny repairs by staggering fire and placing mines on likely routes. If you are in an IFV, poke tanks at range with AP and avoid head‑on fights. On foot, mark the tank and strike when it reloads.
- Versus Jets: Target the lane, not the sky. Place your MAA where you expect the jet's exit path and hold elevation. Use autocannons to lead its flight path. Bait a flare by locking once, then strike with guided missiles from another source. Teams that coordinate volleys force pilots to reset instead of re‑engaging.
Check out our top Battlefield 6 boosting services


Pick The Right Ride in BF6
Choosing the right vehicle is important for winning. It defines how effectively you can capture objectives and control the map. So victory largely depends on selecting the right vehicle for a specific situation. This tier list provides a basis for making smarter choices in all modes and on all maps. Understand your purpose, adapt to the situation, and use your strengths. It's crucial to recognize when to deploy your resources and how the environment operates.
FAQ
What vehicles are in Battlefield 6 right now and which ones are best for holding an objective?
The main categories are MBTs, IFVs, Light Ground Transports, Mobile AA, Attack Helicopters, Transport Helicopters, Attack Jets, and Fighter Jets. MBTs and IFVs hold objectives best thanks to strong armor, sustained fire, and squad transport capacity.
How do helicopter pilots avoid aerial threats and missile locks on dense map layouts?
Fly low using terrain, change approach angles often, and time your runs between lock windows. Use flares early to break the first lock, then drop altitude or escape line of sight before re-engaging. Emergency Repair can save a damaged heli mid-run.
Which jet loadouts are equipped for anti-armor strikes against enemy tanks?
Attack jets are best for that role. Load heavy ordnance and use quick strike patterns to avoid lock-on time. Dive in, hit hard, and climb out before defenses respond. Fly with MAA or fighters nearby to keep enemy air busy.
How can a player use light armor to protect infantry while staying mobile?
Use light transports or IFVs to deliver squads safely behind cover. Smoke their entry, drop them on flanks that avoid direct fire, and rotate away before heavy threats arrive. Keep moving to deny easy hits and stay alive longer.